Playback & Backup
DVR User Manual
55
click
to pop up a backup information window. Click “Backup” button in the window to
pop up the backup window. Select the device, backup path and backup format and then click
“Backup” button to start the backup.
8.3 Record Search, Playback & Backup
The record data and the snapped pictures can be backed up through network or USB (U disk or
USB mobile HDD). The file system of the backup devices should be FAT32 format.
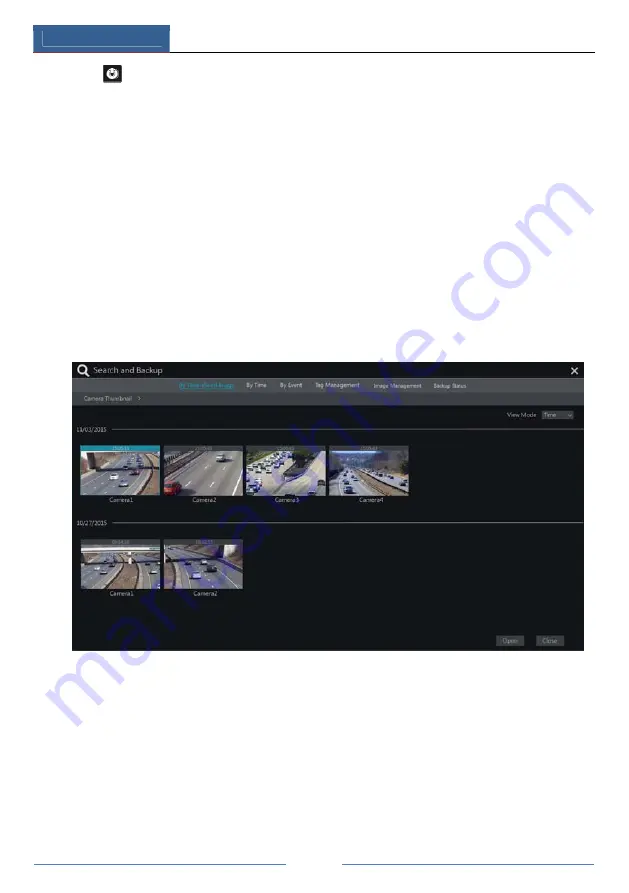
8.3.1 Search, Playback & Backup by Time-sliced Image
①
Click Start
Search and Backup
By Time-sliced Image to go to “By Time-sliced Image”
tab. There are two view modes: by time and by camera. In the time view mode, a maximum of
64 camera thumbnails can be showed. If the camera thumbnail number is more than 64, the
cameras will be listed directly by their camera name, not the thumbnail. A maximum of 196
camera names can be listed. If the camera name number is more than 196, the time view mode
will be disabled and the camera view mode will be available only.
②
Select one camera in the interface and then click “Open” button.
③
Click the image box to play the record in the small playback box on the left side of the
interface (the box which has image inside indicates that the record data exist).
④
Refer to the picture below. Drag the color blocks on the time scale to select the record data
and then click “Backup” button to pop up the “Record Backup” window as shown below.
Select the device name, backup format and path and then click “Backup” button to start the
backup.
Содержание JN6300-S
Страница 108: ...FAQ DVR User Manual 102 Fig 9 2...


