Cables
The Gen5 interposer is connected to the Summit T5 by means of proprietary high speed serial cables.
The straight cable allows the connection of a single interposer to a Summit T5 analyzer and leverages the full buffer for
recording bus activity in a single bus, this cable can be used with x1, x4, x8 or x16 interposers. Other cable configurations
are discussed in the
Gen5 Cables User Manual and Quick Start Guide
including:
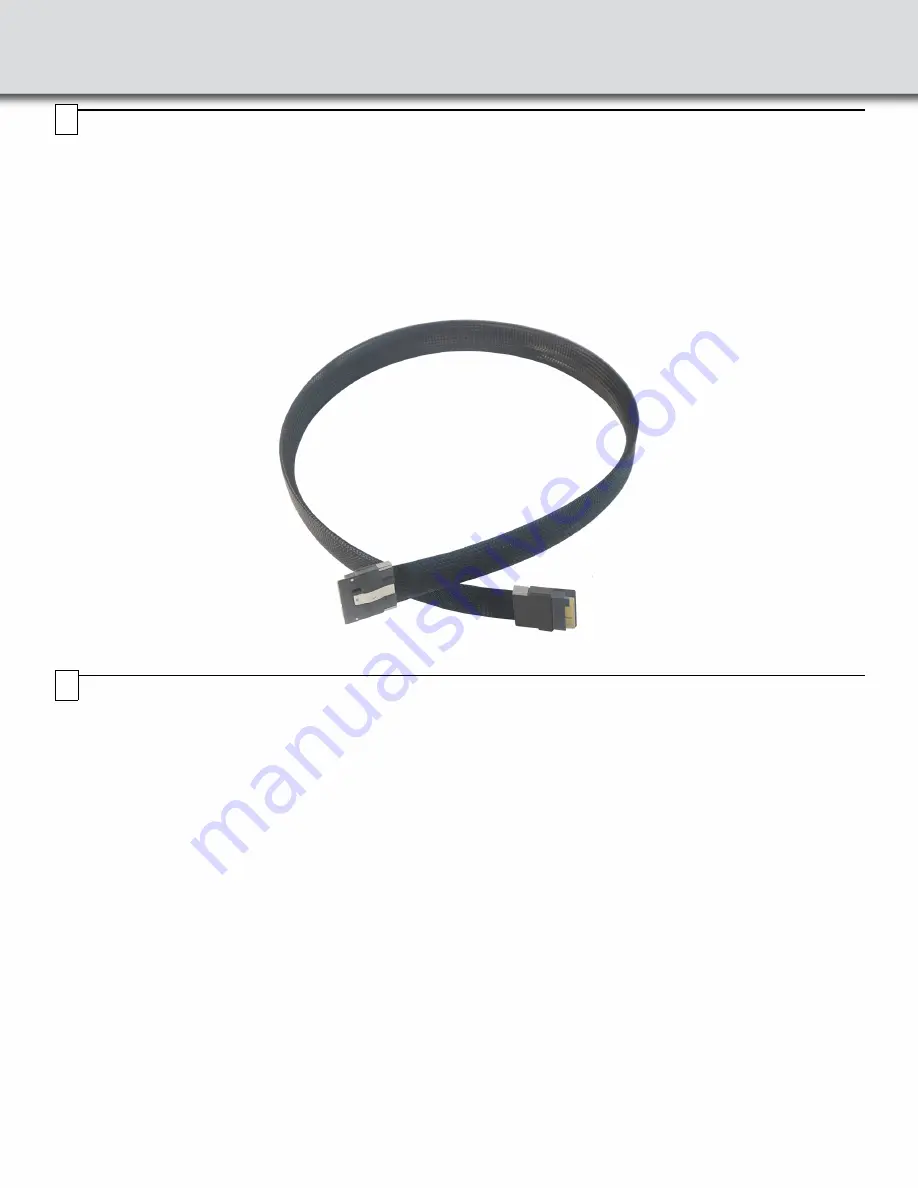
• Gen5 x4 Straight Cable (PE027UCA-X) shown below
• Gen5 x8 Y Cable for Summit T54s in Expanded Mode (PE028UCA-X)
• Gen4 to Gen5 Straight x4 Conversion Cable (PE030UCA-X)
Gen5 x4 Straight cable (PE027UCA-X)
Connections
Perform to the following steps to connect the Interposer (see the image below):
Warning
: The interposer has a bracket that can be secured to a chassis to provide stability. Always secure the interposer
properly to a chassis otherwise the interposer (and your equipment) could be damaged and warranties voided.
1. Install the Interposer into the host system under test PCIe CEM slot connector.
2. Install the PCIe expansion card under test (DUT) into the top connector on the interposer. When plugging in a device
with any supported link width (x1, x2, x4, x8 or x16), the devices will negotiate to a lesser common link width between
the PCIe plug in card and the selected active lanes by SW3 discussed in
.
3. Connect 12V DC using the AC adapter supplied with the interposer. Make sure that the AC adapter is turned on.
4. Connect the Gen5 interposer to a Summit T5 analyzer using the selected cable (PE027UCA-X).
5. Connect the compatible Summit analyzer to a host machine using the USB or Ethernet port on the front panel of the
analyzer.
6. Install the PCIe Protocol Analysis on a host machine. This application is needed to control the protocol analyzer.
7. Power ON the analyzer.
8. Start recording with the analyzer.
9. Power ON the host system.
10. Use the Teledyne LeCroy software application to monitor, record and view PCI Express in the PCI expansion card DUT
system.
Note
: Steps 7, 8, and 9 are needed in this order for "Power ON" traces.
See Interconnection next page.
3
4