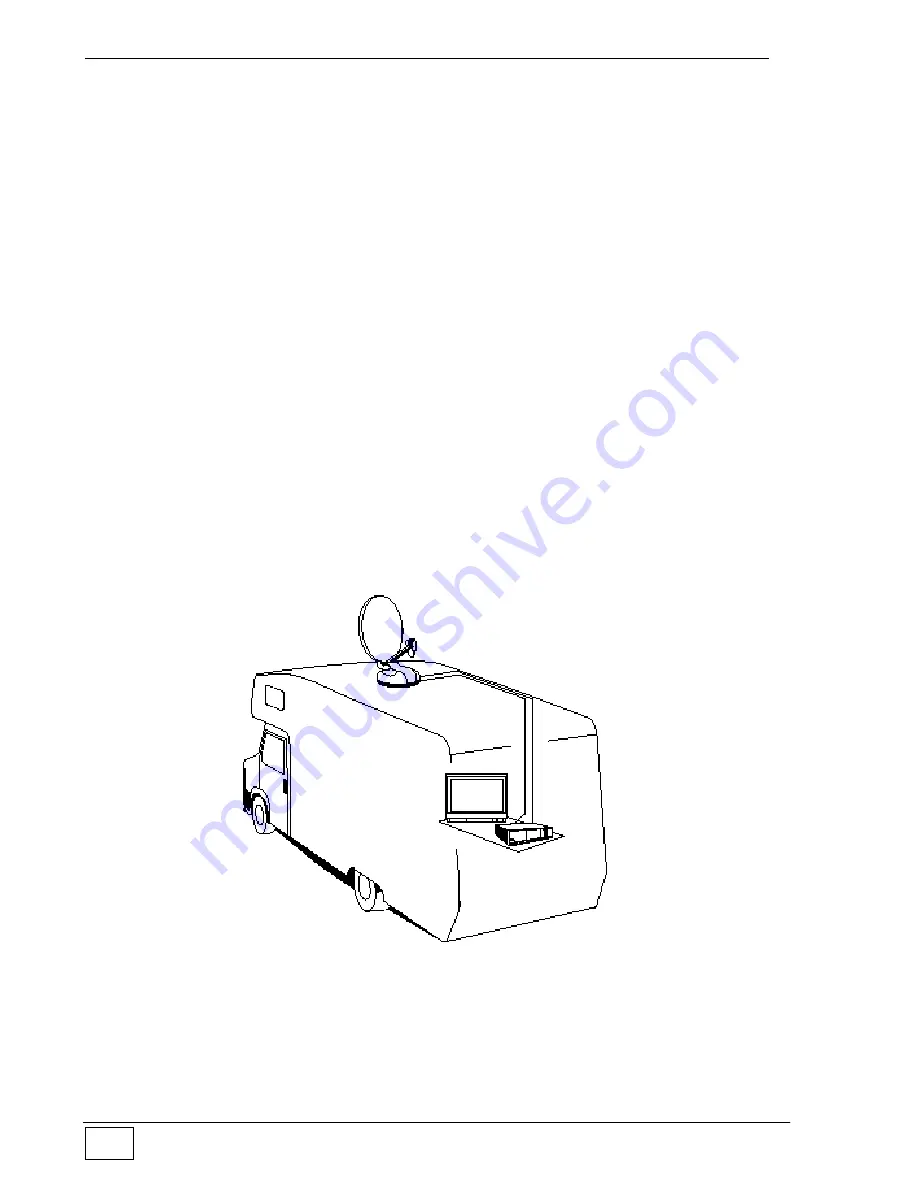
Assembly instructions
Flat Sat Light
Vers. 001
8
After checking that everything is in order, install the dish on the driving unit as follows:
1) Temporarily connect the Control unit to the driving unit through the grey motor cable.
2) Power both the Control unit and the receiver using a battery.
3) Press the Red button (ON/OFF) in the remote control and extend the dish support
mast.
4) Press the " STOP " button in the remote control to lock the mast in a vertical position.
5) Secure the dish to the mast and screw down the four supplied screws.
6) Press the " DOWN " button in the remote control and lower the antenna.
7) Disconnect the Control unit, the battery and install Flat Sat Light on the vehicle.
Assembly instructions
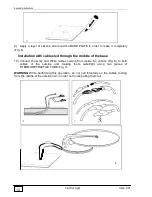
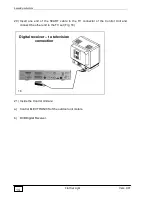
1) Position the Control unit in a compartment near the TV set
2) Fix the MIR remote control Extension to a wall or your TV-set and connect it to the
Control Unit (Fig.1 – page 9).
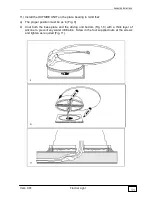
3) On the roof of the vehicle, choose a free area large enough to allow the antenna to
revolve (Fig.2 – page 9).
4) Install the (Grey and White) connection cables to reach the OUTDOOR installation
area.
5) Clean the roof carefully in the area the OUTSIDE UNIT is to be installed in.
Содержание Flat Sat Classic Smart 85
Страница 1: ...Vers 001 INSTALLATION GUIDE AND USER MANUAL OF THE FLAT SAT LIGHT GB...
Страница 63: ...Flat Sat Light digital Tav 1 Vers 1 del 10 02 2009...
Страница 65: ...Flat Sat Light digital Tav 2 Vers 1 del 10 02 2009...
Страница 68: ...Flat Sat Light digital Tav 3 Vers 1 del 10 02 2009...
Страница 70: ...Flat Sat Light digital Tav 4 Vers 1 del 10 02 2009...


