


Page 1 of 1
Overview
Color calibration procedures adjust the printer for optimal color output. Color settings may need adjustment upon initial
printer set-up or when toners and imaging units are replaced. There are two procedures:
Lighten/Darken Colors
and
Balance Colors
. If the overall image appears either too light or dark, use the
Lighten/Darken Colors
procedure. If a finer
adjustment of the primary colors (cyan, magenta and yellow) is needed, continue with the
Balance Colors
procedure.
Lighten/Darken Colors
The Lighten/Darken Colors procedure uniformly increases or decreases each primary color (cyan, magenta and yellow
and black) to produce a lighter or darker image.
Procedure:
1.
Select
Lighten/Darken Colors
from the
Calibrate Colors Menu
and press OK. Use the printed
Color Reference Page
to evaluate the lightness/darkness of the image. The printer's current Lighten/Darken Value is listed on the page.
2.
Use the Up Arrow and Down Arrow keys to change the value from -5 (lightest) to 5 (darkest) and press OK.
3.
The
Color Reference Page
automatically prints using the new lighten/darken value. Repeat this procedure until you
achieve the desired result.
4.
To finish the procedure select one of the following:
Accept Changes and Continue
: Saves the new value and returns to the
Calibrate Colors Menu
.
Accept Changes and Exit
: Saves the new value and returns to the
Main Menu
.
Discard Changes and Exit
: Returns to the
Main Menu
without saving.
Balance Colors
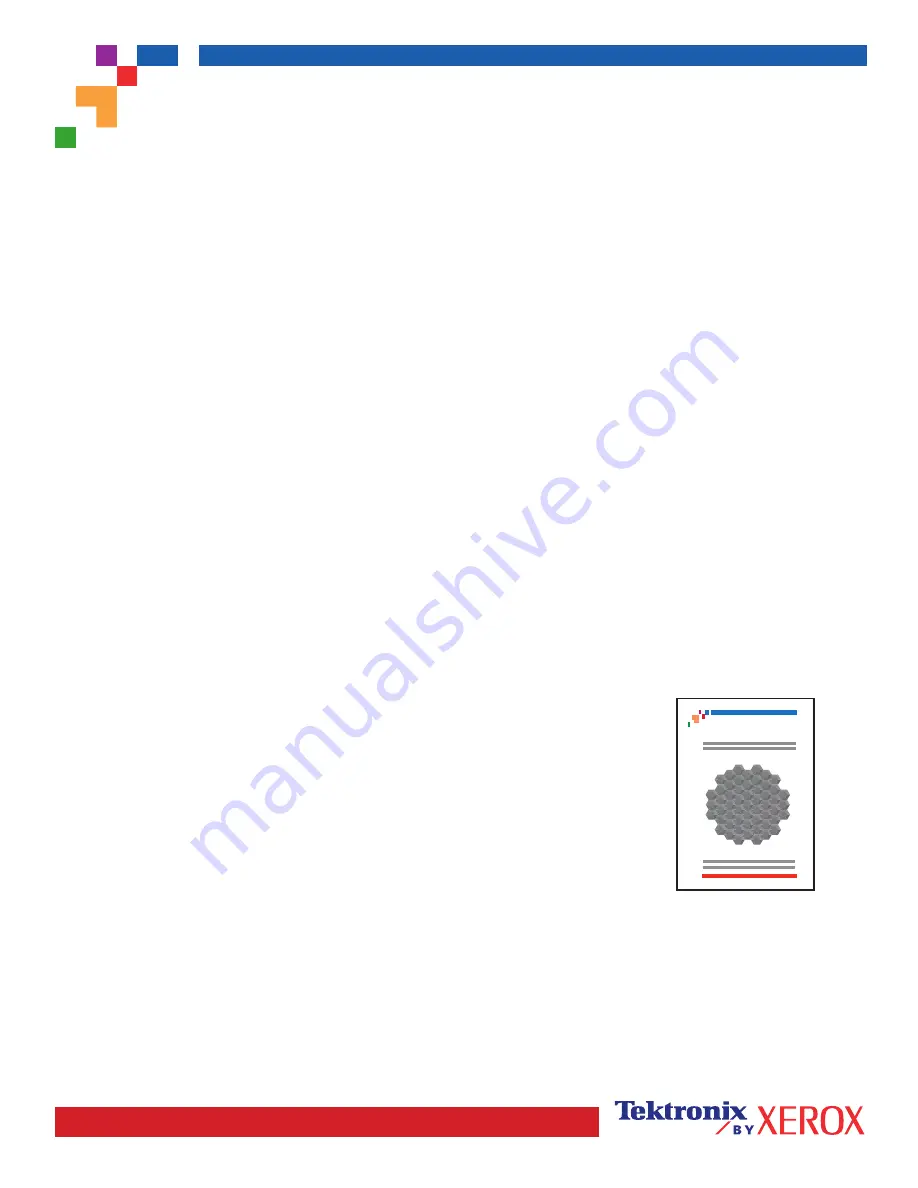
The Balance Colors procedure sets the balance between the primary colors (cyan, magenta and yellow) to simulate black.
Each of the color balance pages (like the page illustrated on the right) contains a
large cluster of circles, numbered from 0 to 54, that vary in hue.
The center circle (0) should match or appear to blend with some portion of its
surrounding hexagonal gray ring. The circle can show a color shift if one or more
of the colors are printing with a different density. For example, if cyan is printing
lighter than normal, the circle will appear redder.
Procedure:
1.
Select
Balance Colors
from the
Calibrate Colors Menu
. The
Light Color Balance
page prints automatically.
2.
Follow the steps on the
Light Color Balance
page until the desired adjustment is achieved.
3.
Follow the steps on the
Dark Color Balance
page until the desired adjustment is achieved.
Phaser 7300 Color Printer
Light Color Balance Adjustment
0
1
2
3
4
5
6
7
8
9
10
11
12
13
14
15
16
17
18
19
20
21
22
23
24
25
26
27
28
29
30
31
32
33
34
35
36
37
38
39
40
41
42
43
44
45
46
47
48
49
50
51
52
53
54
PHASER
®
7300 COLOR PRINTER
Color Calibration Tutorial
Содержание PHASER 7300
Страница 1: ...P h a s e r F ä r g s k r i v a r e 7300 Felsöknings guide ...
Страница 28: ...Rengöringssats Phaser 7300 färgskrivare 14 Rengöringssats 4 x 00 10 ...
Страница 29: ...Ersättning av värmeenheten Phaser 7300 färgskrivare 15 Ersättning av värmeenheten 00 10 ...
Страница 30: ...Ersättning av värmeenheten Phaser 7300 färgskrivare 16 ...
Страница 31: ...Ersättning av bildenhet Phaser 7300 färgskrivare 17 Ersättning av bildenhet 00 10 1 2 ...
Страница 33: ...Ersättning av bildenhet Phaser 7300 färgskrivare 19 1 2 4 x 4 x 4 x 1 2 ...
Страница 34: ...Ersättning av tonerkassett Phaser 7300 färgskrivare 20 Ersättning av tonerkassett 00 10 4 ...
Страница 35: ...Ersättning av tonerkassett Phaser 7300 färgskrivare 21 8 2 1 10 9 1 2 7 7 2 7 1 4 x ...
Страница 37: ...Ersättning av överföringsenhet Phaser 7300 färgskrivare 23 ...
Страница 39: ...Instruktioner för ompaketering Phaser 7300 färgskrivare 25 1 3 2 68 kg 149 lbs 6 1 6 2 7 2 7 3 7 4 7 1 ...


