


157
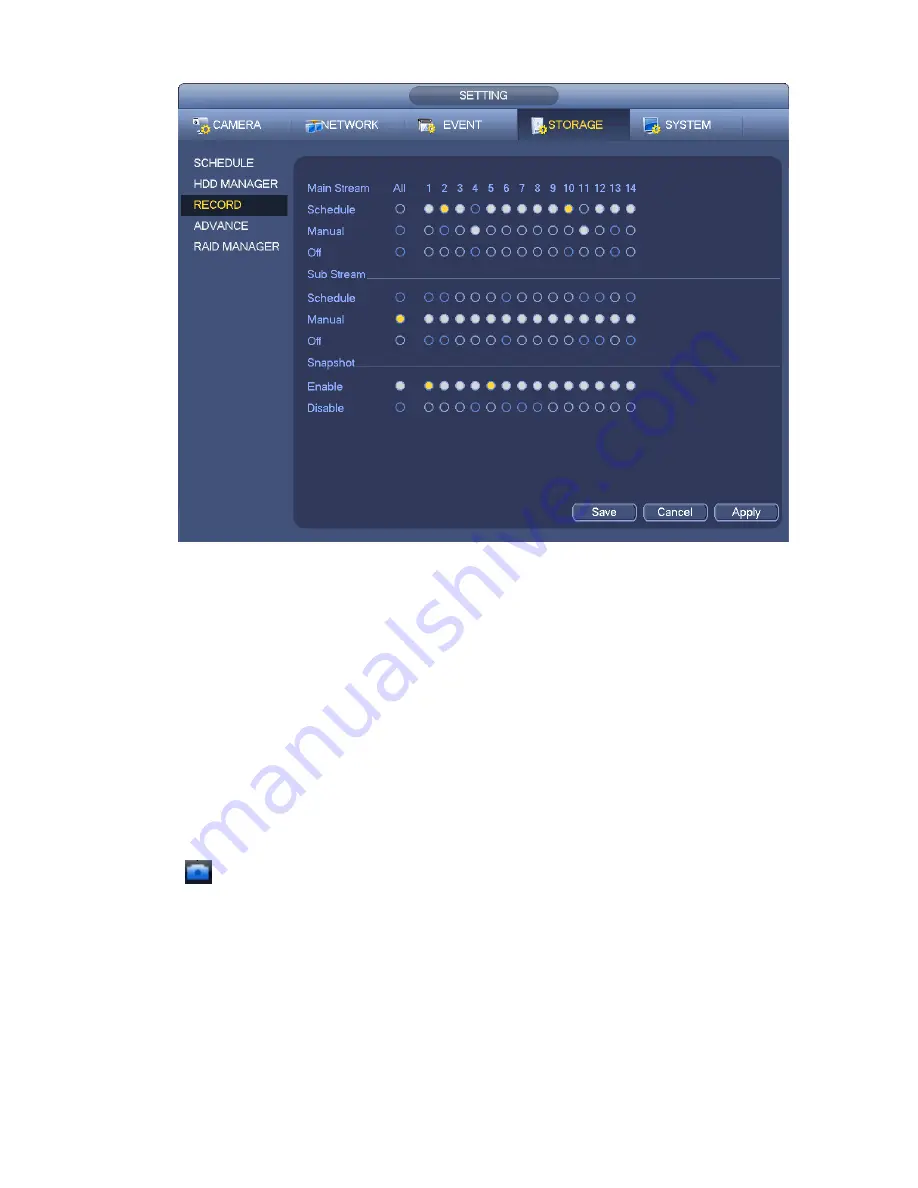
Figure 4-67
b) Check the box here to select manual record channel(s). You can see the corresponding
indicator light on the front panel is on.
Channel: It is to display device all channels.
Manual: It has the highest priority. Enable corresponding channel to record no matter what period
applied in the record setup. Now system is record general file.
Auto: System enables auto record function as you set in chapter 4.8.2 schedule interface
(General/Motion detect/Alarm)
Stop: Stop current channel record/Snapshot no matter what period applied in the record setup.
All: Check the All box to select all channels.
c) Click OK button to complete manual record setup.
4.8.5.2 Manual Snapshot
Click
button at the preview control bar, you can snapshot 1-5 picture(s). From main
menu->Setting->Camera->Encode->Snapshot, you can set snapshot times. You can go to chapter 4.9 to
view snapshot picture.
4.8.6
Holiday Record/Snapshot
It is for you to set holiday record or snapshot plan. Please note the holiday record/snapshot setup has the
higher priority than the ordinary date record/snapshot setup.
4.8.6.1 Holiday Record
a) From Mani menu->Setting->System->General, you can go to the following interface. See Figure
Содержание NVR-ELE8M-4K
Страница 16: ...2 Front Panel and Rear Panel 2 1 Front Panel 2 1 1 The front panel is shown as in Figure...
Страница 28: ...100 3 5 6 Please refer to Figure 3 6 for connection sample Figure 3 6...
Страница 87: ...172 Figure 4 81 Figure 4 82...
Страница 88: ...173 Figure 4 83 Figure 4 84...
Страница 94: ...179 Figure 4 89 Figure 4 90...
Страница 95: ...180 Figure 4 91 Figure 4 92...
Страница 96: ...181 Figure 4 93 Figure 4 94...
Страница 98: ...183 Figure 4 96 Figure 4 97...
Страница 124: ...209 Figure 4 125 In Figure 4 125 click one HDD item the S M A R T interface is shown as in Figure 4 126 Figure 4 126...
Страница 185: ...270 The motion detect interface is shown as in Figure 5 54 Figure 5 54 Figure 5 55...
Страница 186: ...271 Figure 5 56 Figure 5 57 Figure 5 58...
Страница 190: ...275 Figure 5 62 Figure 5 63...


