40
41
Important note on disposal of batteries/accumulators: Batteries/accumulators
may contain toxic substances that are harmful to the environment. Therefore,
it is necessary to dispose of batteries/accumulators in accordance with
applicable laws. Never dispose of batteries/accumulators in normal household
waste. You can dispose of used batteries/accumulators at your dealer or at
special recycling facilities free of charge.
12 Connecting the receiver
12.1 Connecting to power supply
The Digital Receiver should not be connected to the mains until the unit is fully
connected to the signal and the TV. This will prevent damage to the Digital Receiver
or other components.
>
After making all connections according to the following points, connect the
receiver to the power supply.
>
Please ensure that the power cord is easily and quickly accessible.
12.2 Connecting to TV set
>
Please connect an HDMI cable to your TV and to the HDMI output of the
Digital Receiver
(5)
. If your TV is properly equipped, it will automatically switch
to HDMI input when the digital receiver is turned on. Optionally you can also
connect your receiver to your TV set in analogue mode (connection with
EURO-SCART cable
(6)
).
12.3 USB slot
The USB socket (3) is used for software updates, recording and multimedia playback
(music, videos, photos).
The receiver supports all types of hard drives up to 1TB in external enclosures that
are equipped with an independent power supply. The only condition is that the hard
drive has one primary partition that is formatted in NTSF (recommended) or FAT32.
We recommend that you regularly archive your data on a PC. A large number of files
with recordings may slow down cooperation with the receiver (slow loading of the
file list).
12.4 Connecting the antenna cable
> Connect the cable from your DVB-T/T2 antenna to the RF-Input of the receiver
(4)
.
Please also refer to the
Antenna Setup
item in the User Manual.
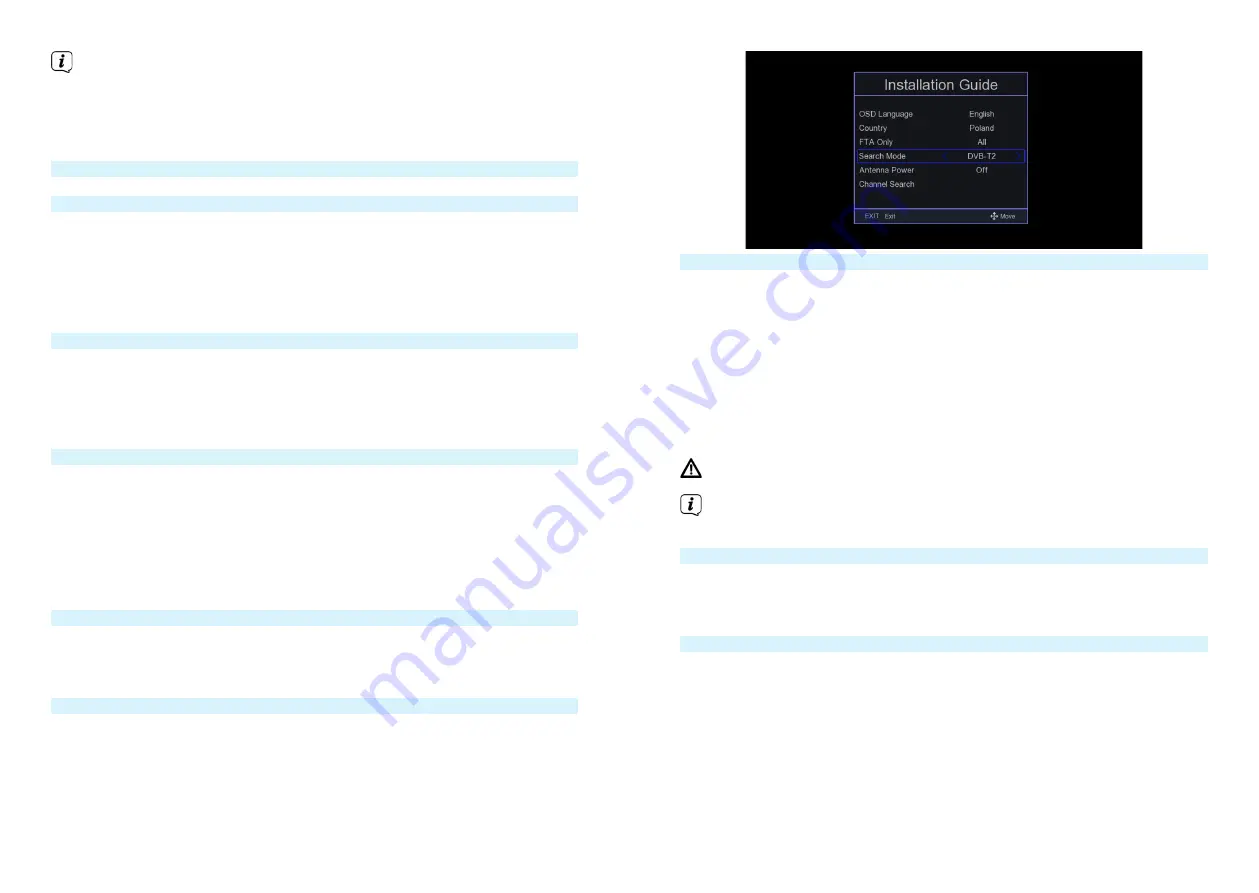
12.5 First start-up
The receiver must be configured during initial startup.
>
With the arrow buttons, select the menu language and the country in which
the receiver will operate.
>
Then use the OK button to confirm your selection. The receiver starts
searching for available programmes.
13 Basic operation
Dear Customer, the following points will introduce you to the user interface that
allows you to use many of the receiver's settings and functions. Some buttons on
the remote control give you direct access to the functions of the unit. Some of these
buttons are labeled, for example EPG, MENU, OK, or colored for ease of use. Other
buttons are multi-functional and their operation depends on the menu location
selected by the user. Below is a brief description of how to use some of the unit's
functions available through the menus.
1. The up/down arrow keys move the cursor up and down in the menu.
2. The left/right arrow keys move the cursor left and right.
3. The EXIT key is used to exit a menu or function.
4. When using a submenu, the OK key is used to confirm the selection.
Caution - Indicates an important note that must be followed to avoid
malfunction or unintended operation of the unit.
Note - Indicates a note about the function being described, as well as a
related function.
13.1 Turning the device on / off
>
If the unit is in standby mode, you can turn it on by pressing the On/Standby
button on the remote control.
>
To turn on the receiver, press the On/Standby button again.
13.2 Calling up the main menu and menu navigation
The following example shows how to access the main menu and call up the
submenus. The purpose of the example is to call up the screen setup menu.
>
When you press the Menu key, the main menu on the screen opens first.


