10
Chapter 1
Chapter 1: Overview and Setup
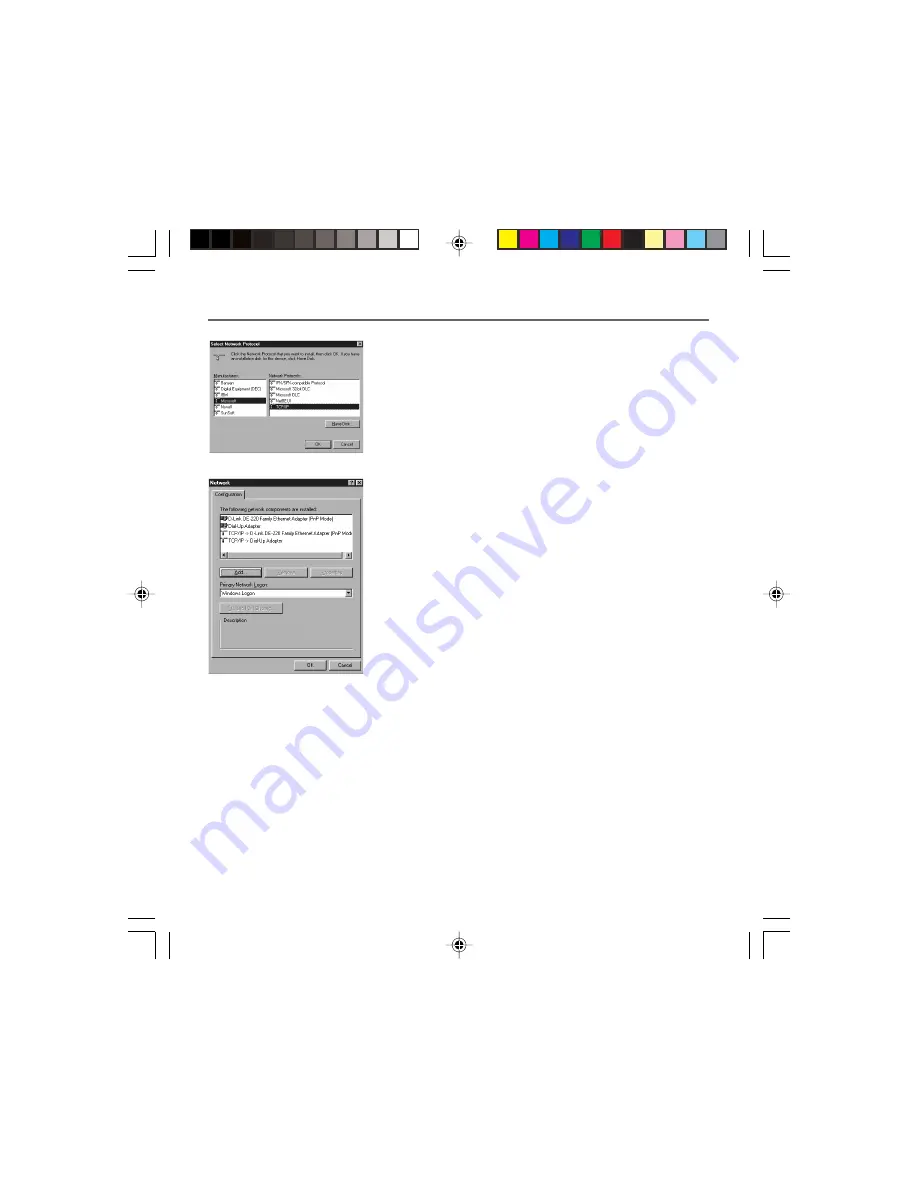
Fig. 3
Fig. 4
7. After a few seconds, the main Network window will appear.
The TCP/IP Protocol should now be listed.
8. Click the
OK
button again. Windows may ask you for the
original Windows installation disk or additional files. Supply
them by pointing to the correct file location, e.g., D:\win9x,
c:\windows\options\cabs, etc. (if “D” is the letter of your
CD-ROM drive).
9. Windows will ask you to restart the PC. Click the
Yes
button.
The TCP/IP installation is now complete.
Your PC: Configuring DHCP on a TCP/IP Stack on a PC
These instructions will help you configure each of your computers to be able to communicate
with the gateway to obtain an IP (or TCP/IP) address automatically (called DHCP, Dynamic Host
Configuration Protocol).
Find out which operating system your computer is running by clicking the
Start
button and then
going to the
Settings
option. Then click
Control Panel
and double-click the
System
icon. If your
Start menu doesn’t have a Settings option, you’re running Windows XP. Click the Cancel button
when done.
You may need to do this for each computer you are connecting to the gateway.
16096620 DCW615/25. 01 Oview
6/26/03, 10:45 AM
10


