Page 52 / 101 ECOC: EGC0 ; LOC: AI
528050-1
412-18876 Rev. G
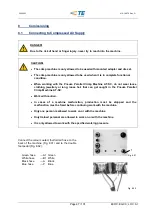
- Disconnect air supply.
-
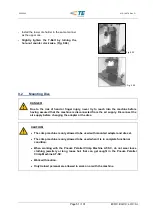
Choose the correct die-set and remove special
screws from the die (Fig. 9.05).
-
Place the lower and upper die onto the die-
holder, replace and tighten the screws
INFORMATION:
Control the right position of the die halves!
- Connect air supply.
9.3
Push-in device (P/N 528052-1) (Optional Acceccesory for WDT Adapter)
DANGER!
Due to the risk of hand or finger injury, never try to reach into the machine before
having assured that the machine is disconnected from the air supply. Disconnect the
air supply before changing the adapter or the dies.
CAUTION!
The crimp machine is only allowed to be used with mounted adapter and die set.
The crimp machine is only allowed to be used when it is in complete functional
condition.
When working with the Pneum. Parallel Crimp Machine AT-SC, do not wear loose
clothing, jewellery or long, loose hair that can get caught in the Pneum. Parallel
Crimp Machine AT-SC.
Work with caution.
Only trained personal are allowed to work on or with the machine.
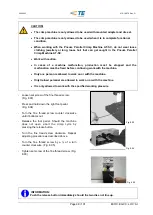
- Disconnect air supply.
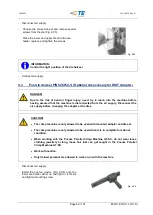
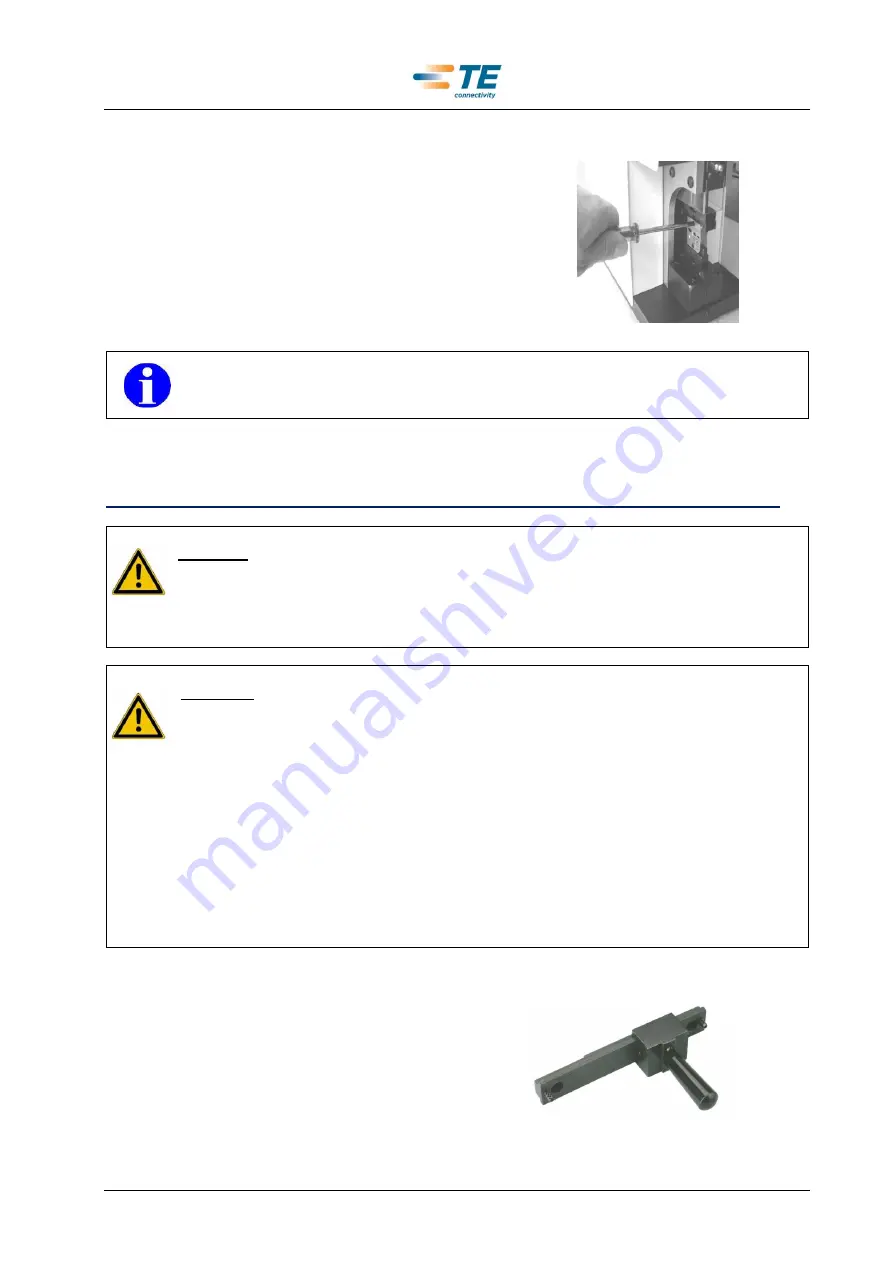
- Install the push-in device (Fig. 9.06) onto the
lower die holder either on the right or left side
and tighten mounting screw.
Fig. 9.06
Fig. 9.05
Содержание AT-SC
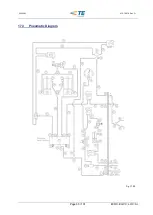
Страница 32: ...Page 32 101 ECOC EGC0 LOC AI 528050 1 412 18876 Rev G 17 3 Pneumatik Schema Abb 17 02...
Страница 65: ...Page 65 101 ECOC EGC0 LOC AI 528050 1 412 18876 Rev G 17 3 Pneumatic Diagram Fig 17 02...
Страница 98: ...Page 98 101 ECOC EGC0 LOC AI 528050 1 412 18876 Rev G 17 3 Sch ma Pneumatique Fig 17 02...

