17
METERS
16
M
ME
ET
TE
ER
RS
S &
& C
CO
ON
NS
SE
EC
CU
UT
TIIV
VE
E C
CL
LIIP
PP
PIIN
NG
GS
S
M
Me
ette
errss
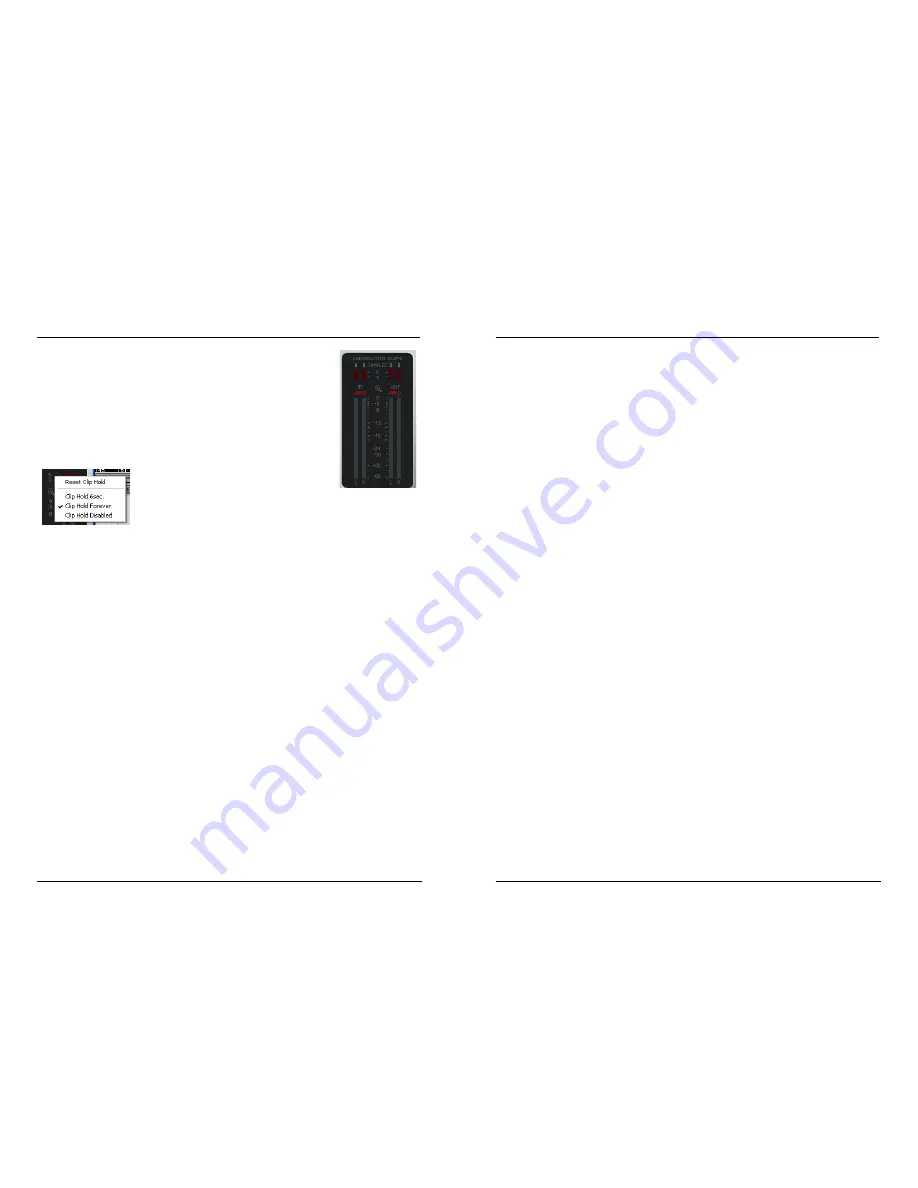
These PPM meters (Peak Programme Meters) include a very
accurate Peak Hold function. Set your levels as close to 0 dB as
possible, without distorting the signal. The numerical peak
display gives you the exact reading you require for that.
Clicking on the meters will bring up a pop-up display with a
variety of meters options.
M
Me
ette
err Z
Zo
oo
om
m
By clicking on the magnifying glass the meter range will change
from -60 dB/0 dB to -18 dB to 0 dB
C
Co
on
nsse
eccu
uttiiv
ve
e C
Clliip
pp
piin
ng
gss
The CONSECUTIVE CLIPPINGS display is a highly accurate tool which will display any and
all clips in your material. The numerical reading even counts single clips. The meters give
you an additional visual feedback after the 3rd consecutive clip.
Like in the METERS display, clicking on the clipping meters will bring up a menu with a
variety of options.
M
MA
AS
ST
TE
ER
R Y
YO
OU
UR
R M
MIIX
X W
WIIT
TH
H M
MA
AS
ST
TE
ER
R X
X5
5!!
...or six easy steps to ultimate happiness! The following chapter introduces the various
modules and features of Master X5 in a “hands-on” tutorial.
Let’s imagine we’re working with some rock music. It’s the final mix from that very
expensive
recording studio down the road, but for some reason there is 5.0 dB of headroom left,
wasting precious volume reserves. No compression was applied to the stereo mix.
(Actually, we are happy about this because it leaves all options open).
11.. S
Se
ettu
up
p
Before we start, let’s set up Master X5 as follows:
Look Ahead Delay:
3 ms
Digtal Ceiling:
0 dB
3 Band Levels:
0 dB
Output: 0
dB
Expander: off
Compressor: off
Limiter: off
Target Curve:
linear
(Alternatively, load the Preset “Manual Workshop 1.”)
2
2.. IIn
np
pu
utt L
Le
ev
ve
ell A
Ad
djju
ussttm
me
en
ntt
Set the input level for both channels to +5.0 dB. In our example, this will bring the input
level up to an optimal value of 0 dB. Adjust this value until no clipping is indicated (i.e.,
until there are no Consecutive Clips in the input). For this example, set it to +4.9 dB.
Remember: as long as you don’t alter any settings in the signal chain before Master X5,
you won’t get any changes in the input level, so there is no risk of clipping once you’ve
set the level correctly!
3
3.. T
Tu
urrn
n o
on
n tth
he
e C
Co
om
mp
prre
esssso
orr b
bllo
occk
k
The FREQUENCY/LEVELS display in the upper-half of the Plug-In window, the three
displays beneath them, and the Compressor’s parameter faders come to life! The music
has probably come up in volume already, and the sound has changed a little too – and
perhaps some “pumping” is evident. So, let’s set the Compressor properly to get rid of
the pumping, beef up the overall sound, and, yes – we want it louder!
(Alternatively, load the Preset “Manual Workshop 2.”)
MASTER YOUR MIX WITH MASTER X5


