background image

4 – Basic operations

12

 TASCAM CD-D1x4

audio) until a final table of contents (TOC) has been 
written at the start of the disc.

The process of writing this table of contents is known 
as “finalizing” and is performed automatically by the 

CD-D1x4. Once this has been done, no further data 
can be written to the disc. 

In the case of a CD-RW disc which has been final-
ized, the whole of the disc may be erased, and the 
disc re-used. 

Additional copy modes

This is an option accessed from the 

SETUP

 menu, 

allowing you to set the different copy modes. There 
are five such modes:

• Copying (

COPY

), which copies the contents of a 

disc from the master drive to any slave drives with 
discs inserted.

• Verifying already copied data (

VERIFY

). 

NOTE

The verify option is not available for the following 
types of disc: CD-DA (audio CDs), CD-ROM XA Form 2 
discs and CD-EXTRA discs.

• Copying with verification (

COPY+V

). Copying 

followed by verification (as above). The same 
restrictions apply to the verification process as 
apply to verification alone. During this process, the 
display shows 

COPY+V/C

 during the copy 

phase of the operation, followed by 

COPY+V/V


during the verification phase.

• Read check (

RD CHECK

). This provides a check 

as to whether the target discs can be read correctly 
after they have been copied.

NOTE

Note that when an audio disc is checked after copying 
or recording, no error will be shown unless the disc is 
very badly damaged (large audible errors). Any check-
ing on a disc containing errors may take a significantly 
longer time than checking a good disc.

• Copy with read check (

COPY+R

). Copying, fol-

lowed by the read check as described above. Dur-
ing this process, the display shows 

COPY+R/C


during the copy phase, followed by 

COPY+R/R


during the read check.

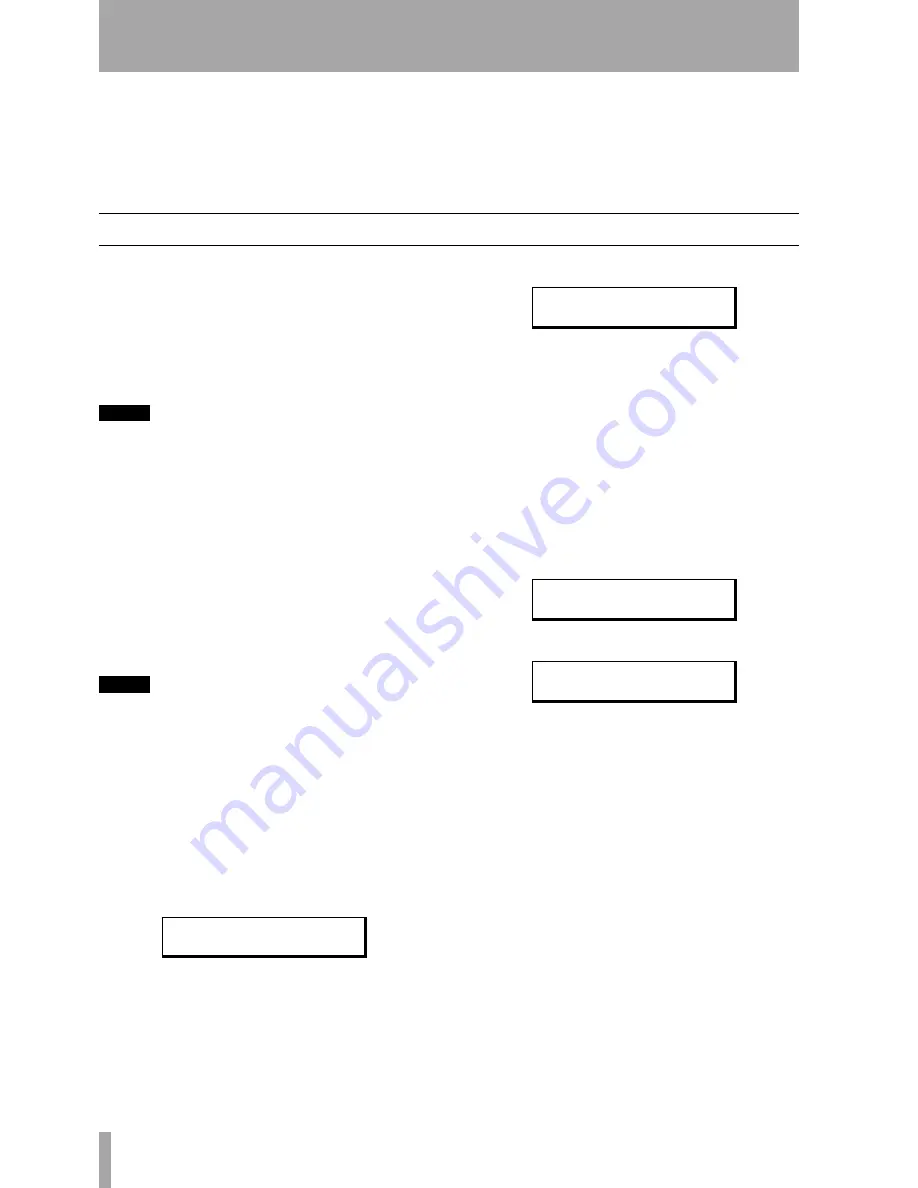
1

Press the 

MODE

 key until the display shows:

2

Press 

ENTER

, The screen should show:.

The bottom line of the screen may be differ-
ent, depending on the currently-set mode.

3

Press 

ENTER

 again.

4

Press the 

MODE

 key until the mode to be 

used appears on the screen (from the list 
above). Press 

ENTER

 to confirm the setting.

Pressing the 

ESCAPE

 key takes you back a 

level without changing anything.

5

If you select the verification or read check 
operations, you should press 

ESCAPE

 until 

the screen shows:

or

6

Press 

ENTER

 to start the operation. The 

drive trays open automatically. Put the discs 
to be verified or checked into the drives, and 
when this is done, the drives have been 
closed, and the unit has recognized all the 
discs (the drive indicators have gone out), 
press 

ENTER

.

The verification or read check process then 
starts.

S E T U P ?

( M O D E

C H A N G E )

> M O D E

S E L E C T ?

( C O P Y )

V E R I F Y

S T A R T ?

R D

C H E C K

S T A R T ?

Содержание CD-D1X4

Страница 1: ...ture accompanying the appliance The lightning flash with arrowhead symbol within an equilateral triangle is intended to alert the user to the presence of uninsulated dangerous voltage within the produ...

Страница 2: ...DOUBT CONSULT A COMPETENT ELECTRICIAN TO THE USER This equipment has been tested and found to comply with the limits for a Class A digital device pursuant to Part 15 of the FCC Rules These limits are...

Страница 3: ...ng structure grounding of the lead in wire to an antenna discharge unit size of grounding conductors location of antenna discharge unit con nection to grounding electrodes and requirements for the gro...

Страница 4: ...hazardous invisi ble laser radiation during operation because invisible laser radiation emitted inside of this product is completely confined in the protective housings The label required in this reg...

Страница 5: ...cs 11 Power down 11 Modes 11 Finalized discs 11 Additional copy modes 12 5 Disc copy Setting the writing speed 13 Copying the disc 14 6 Simulation 7 Other functions Track extraction 16 Copy protection...

Страница 6: ...your legal advisor Under no circumstances will TEAC Corpo ration be responsible for the consequences of any ille gal copying performed using the CD D1x4 Depending on the quality of the source CD audi...

Страница 7: ...rence between the different types of media and the methods used to read them CD R discs created on the CD D1x4 by contrast may be played satisfactorily on the majority of audio CD players Recordable m...

Страница 8: ...W disc The eject button is used to eject the master disc when no operation is in progress The indicator on this drive shows when the disc is being accessed In the Play audio mode see Audio playback on...

Страница 9: ...nd which is the slave unit when two units are connected using the CASCADE connectors A POWER switch Like many personal com puters the CD D1x4 has two power switches one at the rear of the unit and one...

Страница 10: ...ped pen as this may cause damage to the recorded side Dirty discs may be cleaned using a soft dry cloth and or a commercial CD cleaning fluid or ethyl alcohol Do not use thinner gasoline benzene or LP...

Страница 11: ...r time when pushing keys and always wait until the CD D1x4 is ready before proceed ing to the next stage of an operation Power down Before powering down the unit eject discs from all drives the eject...

Страница 12: ...target discs can be read correctly after they have been copied NOTE Note that when an audio disc is checked after copying or recording no error will be shown unless the disc is very badly damaged lar...

Страница 13: ...used in the CD copy ing and testing modes It has no effect on the com pare operations 1 Press the MODE button until the display shows 2 Press ENTER and then press MODE until the screen shows The bott...

Страница 14: ...D1x4 analyzes the source disc 4 The copying process proceeds and the screen shows As copying progresses the bargraph fills as the percentage does up The time shown is the total time to be copied NOTE...

Страница 15: ...c in every tray If you decide that you do not want to perform the simulation at this stage press the ESCAPE key to return to the mode selection menu 5 Close the trays wait for the indicators to go out...

Страница 16: ...l of 14 tracks on the source disc 7 Press ENTER to add the currently shown track to the list of tracks to be copied and move to the next track on the source disc Press MODE to skip the currently shown...

Страница 17: ...ess ENTER 3 Press ENTER to select the MASTER drive or keep pressing MODE until the display shows the number of the slave drive you want to use and then press ENTER 4 The disc tray of the selected driv...

Страница 18: ...discover the drive type and firm ware versions of the five drives installed in the unit 1 Press the MODE button until the display shows 2 Press ENTER and then press MODE until the screen shows 3 Pres...

Страница 19: ...wo power switches on each unit turned OFF use the supplied cascade cable to link the two units 2 Set the switch on the rear of one unit to MASTER and on the other to SLAVE Note that if you set both to...

Страница 20: ...ding and clean the disc if necessary VERIFIY ERROR is shown if an error occurs while verifying a recorded disc Try again with another disc DISC ERROR is shown when an unrecognizable disc for example o...

Страница 21: ...write speed 16 times CD R 10 times high speed CD RW 4 times CD RW Other speeds 8 times 4 times CD R 4 times CD RW Audio playback Through drive headphone outputs Display 2 x 16 alphanumeric backlit dis...

Страница 22: ...Watford Hertfordshire WD1 8TE U K TEAC DEUTSCHLAND GmbH Phone 0611 71580 Bahnstrasse 12 65205 Wiesbaden Erbenheim Germany TEAC FRANCE S A Phone 01 42 37 01 02 17 Rue Alexis de Tocqueville CE 005 92182...

Отзывы: