


30
4.1.4
Log into NVClient
Once you have set up the parameters in NVClient you can begin to use the software to access your
DVR. Click on the NVClient shortcut on your PC desktop to launch NVClient.
User Name:
Enter the user name you chose for NVClient in step 4.1.2.
Password:
Enter the user name you chose for NVClient in step 4.1.2.
4.2
USE A DYNAMIC DOMAIN NAME TO OPERATE THE DVR FROM A PC OVER
THE INTERNET
Now that you have mastered operation of the DVR using NVClient software and a PC on your home
network you will want to operate the DVR remotely from your office or friend's PC.
Note:
Most residential internet service uses a dynamic IP address that will change periodically,
therefore you will need to sign up for dynamic domain name hosting from a source like DYN.com
4.2.1
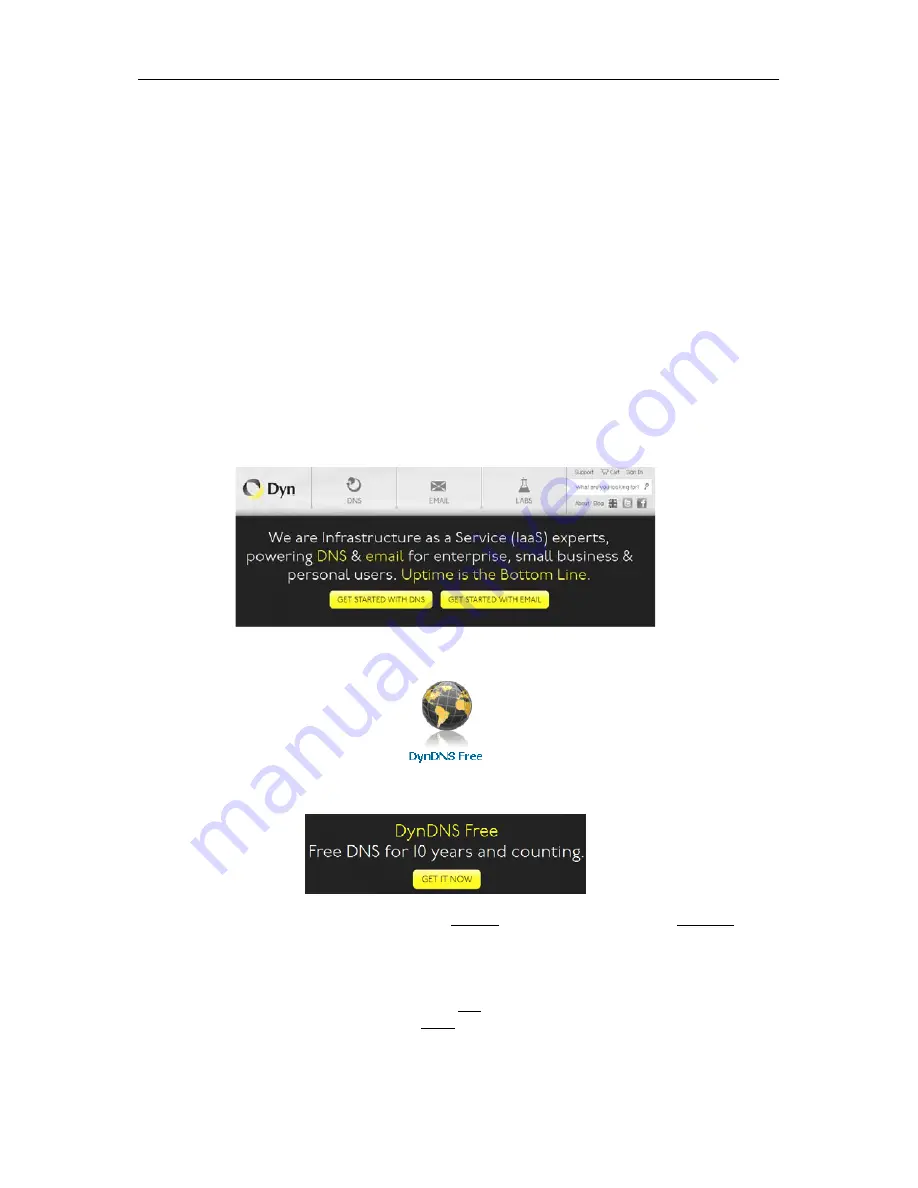
Sign up for a dynamic domain name at DYN.com
Click:
"Get Started With DNS"
Click:
"DynDNS Free" at the bottom of the screen.
Click:
"Get It Now"
Hostname:
enter a hostname of your choosing I.E.: talosdvr along with an extension I.E.: dyndns.tv
IP Address:
Enter the IP address at the location the DVR will be running. The IP address of your
current location is shown below the IP Address field. We recommended you set up your DYN account
using a PC connected to the network the DVR will be connected.
Add To Cart:
Click "Add To Cart" and then proceed to checkout. The web site will walk you through
account registration and send an e-mail to you with a link you must click before final activation. Note
that the amount shown in all cost fields will be $0.00


