Using the Diagnostic Functions
Special mode
4-26
Setting of The First Dot Position on the Left Side
Print positions often change gradually when you use the printer over long periods of time.
This adjust function allows you to adjust these positions by fine-tuning the Left Margin
origin.
1
To enter Top Adjustment Function:
a) Make sure that the tractors are loaded with continuous feed paper and that the pa-
per select lever is set forward.
b) Turn the printer off.
c) Turn the printer back on while pressing the
TEAR
key.
Do not press any keys alone or in combination, except for pressing the TEAR key alone when
turning the printer on, to avoid initiating unexpected tests not permitted for the user.
2
To set Adjustment value:
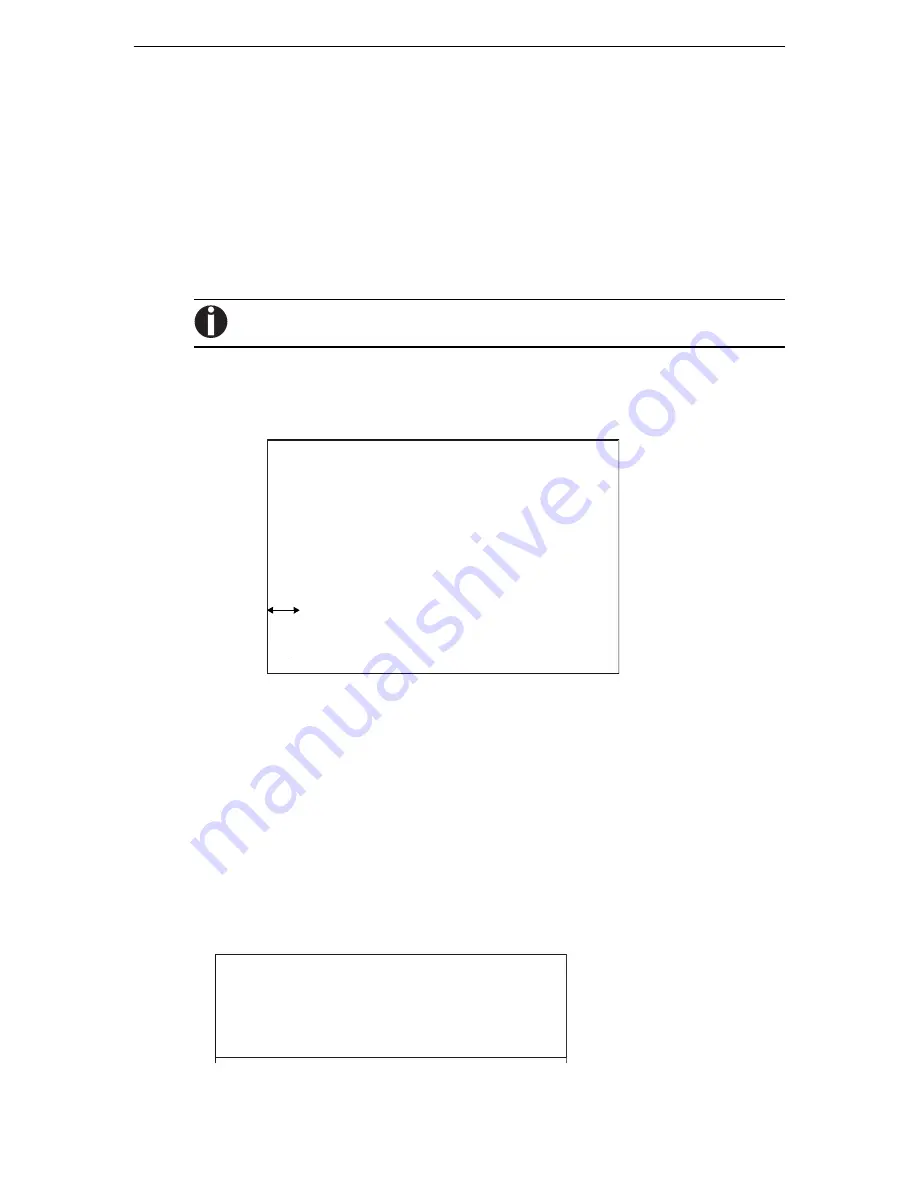
a) The format of adjustment of setting of the first dot Position on the left side is
printed as below, 15 patterns of adjustment Position are printed.
b) After the format of setting of the first dot Position on the left side is printed, the
paper is automatically advanced for viewing after the printing is complete. The mes-
sage of ”1st Print Position Pos = xx” is printed.
c) Use the
PARK
/
/
T
or the
TEAR
/
S
keys to choose the new first dot
position on the left side. The adjustment range is "01-15", and the center value is "08".
It is possible to set different values for Tractor and Manual.
3
Printing new value:
By pressing
SEL/MENU/EXIT
key, the adjustment value for the first dot position
on the left side is determined and the adjustment value is saved. The new adjustment
value of the first dot position on the left side is printed. The paper is automatically
advanced for viewing after the printing is complete. After ejecting a form, the mes-
sage” 1st Print Position = xx” is printed.
01H
02H
03H
04H
05H
06H
07H
0
8
H
09H
10H
11H
12H
13H
14H
15H
1 Print Position = xx
st
10/60
inch
1 Print Position = xx
st
Содержание 2440
Страница 1: ...User Guide 2440 2540 Matrix Printer ...
Страница 66: ...Using the Diagnostic Functions Special mode 4 20 ...
Страница 76: ......
Страница 84: ......
Страница 138: ...IBM Proprinter Emulation Character Sets D 2 IBM Proprinter Emulation IBM Set 1 and 2 IBM Set 1 IBM Set 2 ...
Страница 142: ...Restriction of fonts Character Sets D 6 ...
Страница 143: ...Character Sets Restriction of fonts D 7 24 wire printer Non scalable fonts ...
Страница 144: ...Restriction of fonts Character Sets D 8 ...


