Information
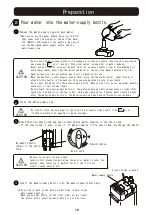
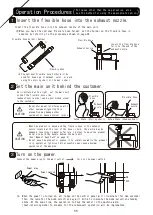
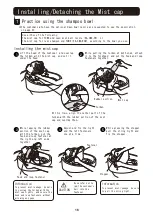
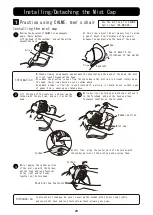
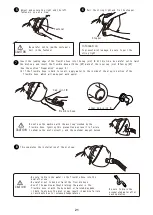
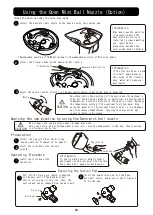
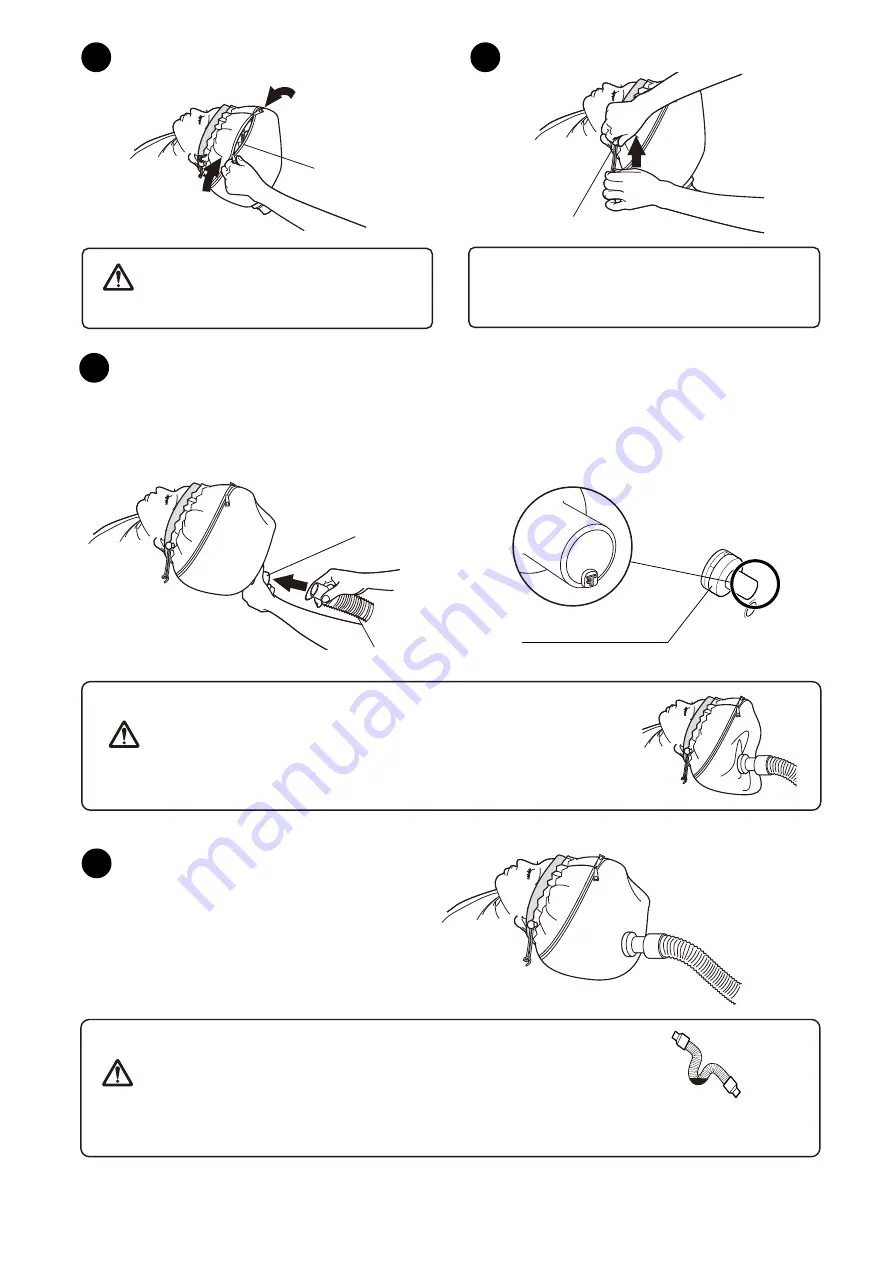
Pull the string tight and fix the stopper.
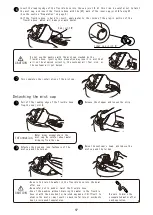
Insert the leading edge of the flexible hose into the cap joint N. At this time, be careful not to twist
the mist cap, and insert the flexible hose with the [UP] mark of the inner cap joint N facing [UP].
(See the section "Preparation" on page 9.)
※ If the flexible hose is hard to insert, apply water to the inside of the plug‑in portion of the
flexible hose, which will make your work easier.
To prevent mist leakage, be sure to pull the
string tight.
This completes the installation of the mist cap.
Inner cap joint N
Cap joint N
6
8
7
21
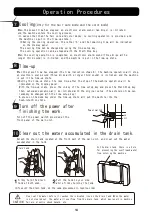
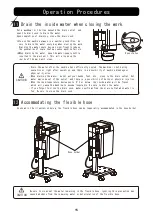
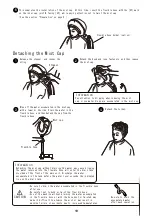
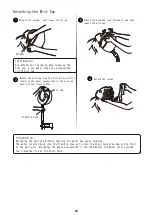
・Be sure to drain the water in the flexible hose into the
bowl after use.
・Be careful not to bend or twist the flexible hose.
・Use of the machine without draining the water in the
flexible hose or with the hose bent or twisted may make
it hard to atomize the mist or may result in machine failure
or accidents due to increased temperatures.
Be sure to drain the
accumulated water after
each operation.
CAUTION
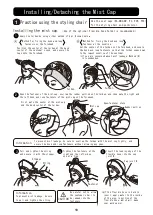
Adjust and secure the right and the left
fasteners, one at a time.
Be careful not to jam the customer's
hair in the fastener.
5
CAUTION
Stopper
Do not use the machine with the mist cap crushed by the
flexible hose. Ignoring this precaution may result in failure
to atomize the mist correctly, and the customer may get burned.
CAUTION
Fastener
Flexible hose
Содержание SPA MIST II AK-160
Страница 2: ......

