13
Preset Function
To save a favorite setting, press the "P" button.
A Preset Manager menu appears. Here you can choose
which of the 10 presets to use/overwrite. This is done by
marking and clicking the right hand icon to save the given
preset. To prevent users from accidentally overwriting
a saved preset, lock presets in the microscope general
settings.
To use a preset, simply press "P" on the control box and
press the center button to choose the preset you want to
recall. Alternatively, use key number 0-9
to choose preset
on a keyboard or numpad.
The preset values will show via On Screen Display.
491190 - Folie til XPLUS FHD - 13-06-2017
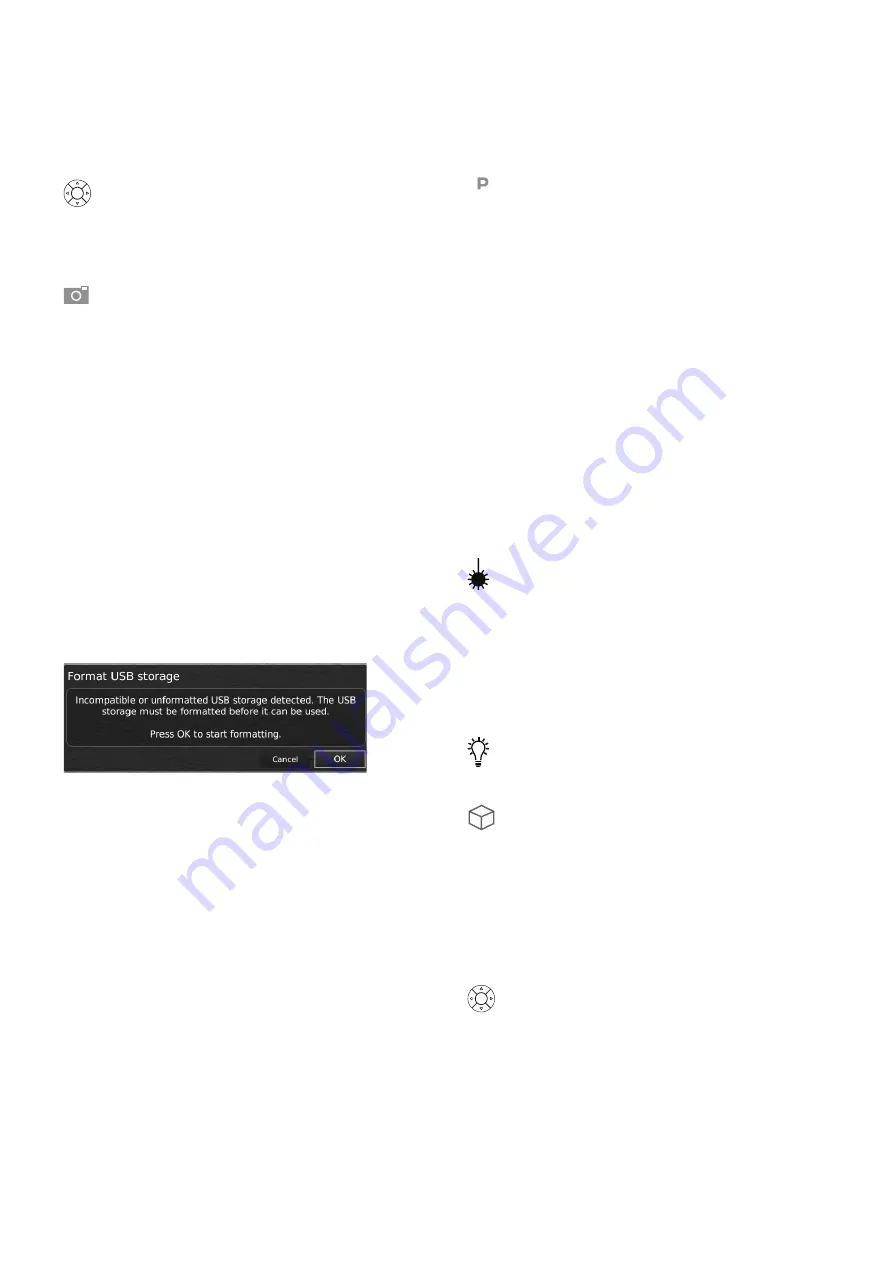
Save image on USB memory stick
The image will be saved on the inserted USB memory stick.
However, if your USB memory stick is not compatible with your
microscope, a pop-up warning will instead ask you to format your
USB memory stick (for more information, see section 4 in Setup
Menu).
When clicking OK, a second pop-up will ask you to confirm your
selection. All files on the USB memory stick will be deleted once
formatting begins. Formatting time will vary.
Press the image capture button again to take a new photo and
save it directly to your USB memory stick.
Save image on microscope
If a USB memory stick is not attached, the image is saved internally
on the microscope, provided the share file mode is turned on.
Otherwise, an error message will appear and you are not able to
save images.
To access saved files, see manual section ACCESS SAVED FILES.
Setup menu
Access the Setup menu by pressing the round center
button for 1 second. See separate section regarding
the Setup menu.
Snapshot function
To take a picture and transfer it to USB or your microscope
internal storage, press the image capture button until you
hear a beep. Long press on the same button will save an
image with graphics, causing the live image to freeze for a
few seconds. This button also turns Auto Snapshot on/off
when activated via the Setup menu.
When taking a picture, an information window will appear
for a few seconds showing the file name and storage
location.
NB: A snapshot can also be captured by using the keyboard
shortcut Ctrl + S.
To rename a preset, choose the given preset in the
Preset Manager and press F2. Complete the renaming by
pressing "Enter". Please note that presets can be renamed
regardless of whether the presets are locked or not.
Laser pointer (TAGARNO TREND only)
Press this button to turn the laser pointer on/off.
You will hear a warning when turning the laser pointer on.
NB! Never look directly into the laser pointer. The laser
pointer can only be used with 3, +4 and +5.
If you are using another TAGARNO unit than TAGARNO
TREND, a window on the screen will provide you with
information.
Light on/off (TAGARNO TREND and PRESTIGE only)
Press and hold this button to turn the light on/off.
Application shortcut
Program an individual application shortcut by long-
pressing the button and choosing a listed application.
You are now able to quickly access this application by
short-pressing the button.
Factory default directs to the Ruler application with both
horizontal og vertical ruler activated.
Multi Function Buttons
When the Setup menu is deactivated, you are able to use
the Multi Function Buttons to control the iris, gain and
exposure time.
Press the center button to switch between auto and
manual exposure mode.
OPERATION | XPLUS CONTROL BOX (3/5)


