Setup
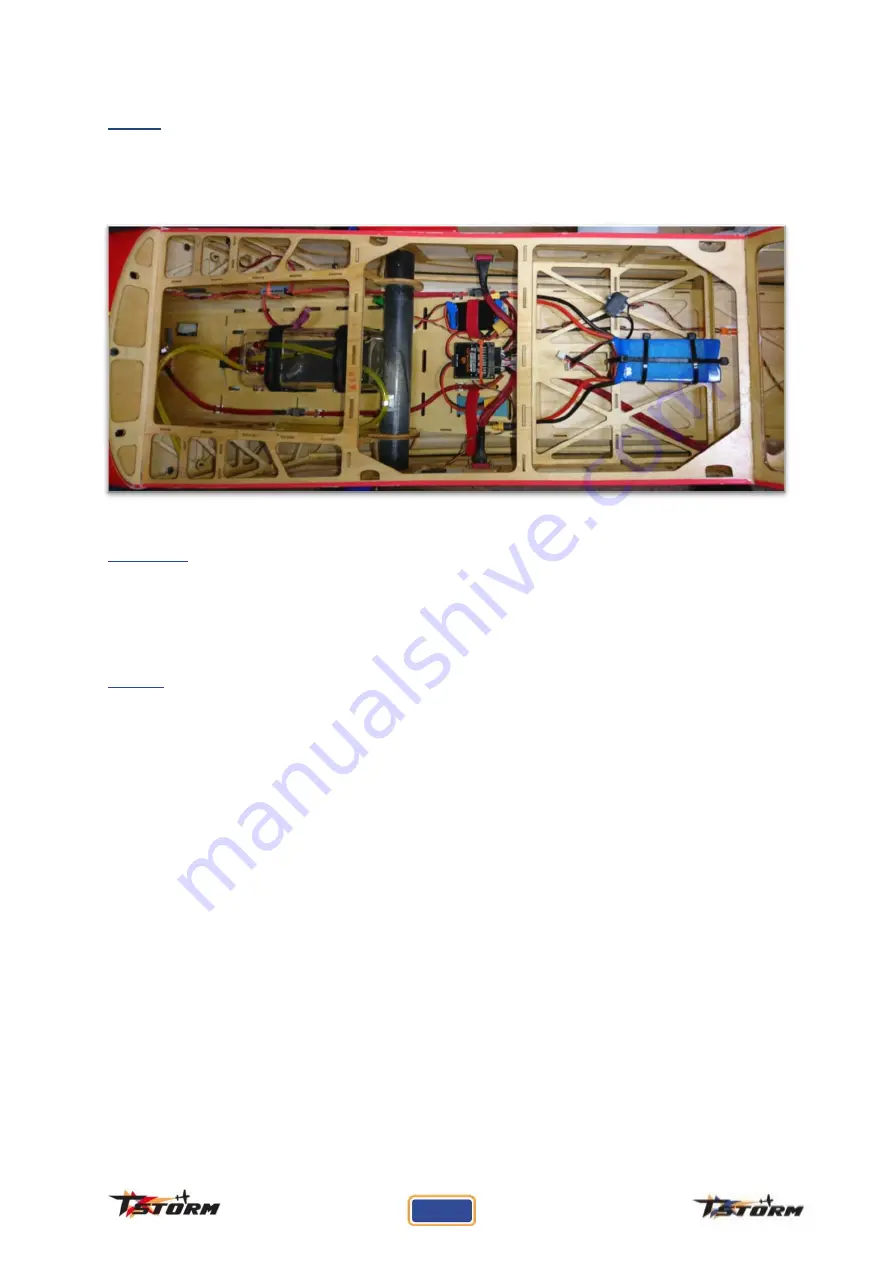
Install your radio equipment, fuel tank, vent pipe, fuel dot, ignition kill switch & batteries. The
image below is of our installation for reference
Servo setup
Create a new blank model in your transmitter and then attach the servos to your receiver. Make
sure that all trims and sub trims are set to zero before you begin.
Centre all the servos and install all your servo arms up at 90° to the servo case.
Wings: -
The key thing to consider with wing servo setup is that the in-board servos (closest to the fuselage)
are effectively the master servos whilst the out-board servos (closest to the wing tip) are the slaves
during the setup stage.
Step 1
First, we shall setup the "in-board" servo of the left wing. From here you will match all the other
wing servos and linkages to this servo.
With the servo arm set at 90° to the servo case and the servo powered up, attach the linkage to the
"outer most hole" of the horn and then to your 1.75" hole on you servo arm.
Now shorten the turnbuckle linkage with the provided spanner until the aileron is centred.
Next you must set the defection of the servo to 40°up and down using your travel adjustment on
your radio.
Note - 40° to 45° deflection is easily achievable with a 1.75" servo arm but you can get 40° using a 1.5"
arm if you wish to utilise more servo resolution.
Step 2
Now your first servo and linkage is set, measure the length of the linkage with your calliper gauge
and make the remaining 3 wing servo linkages identical in length to one you've just setup.
36
Содержание TS 120CC Slick
Страница 1: ...Instruction Manual for TS 120CC Slick Edge Extra...
Страница 5: ...3...


