PAGE 3
Section 11
•
Advanced Features
and you will see a progress bar. Once the
device has been scanned the Server will
update the data base and once finished
you will be able to browse and play the
music contained on the device as part of
the amalgamated music library.
You will find the portable device listed
in the LOOK IN… option on the MUSIC
LIBRARY menu page. From here you
can decide whether or not it should be
included in the MUSIC LIBRARY at any
time.
Adding Files from an MP3 CD
The Server is able to scan non-standard
CD music discs that contain MP3 or
WMA files. As long as there is an ID tag
embedded in the file, the Server will also
sort these files into genres, albums and
artists. When you insert the CD containing
your music files it scans the disc and
treats it like any other content location.
The files are automatically added to the
MUSIC LIBRARY as the data base gets
updated and a new source, DATA CD,
appears in the LOOK IN… menu (see
Section 11.2)
Transferring Music Files to and
from Different Locations
Up to now we have been adding music
to the library by getting the Server to
scan the device or drive either directly
or across a network and add those files
to the database. The files do not actually
move to the Server but are played from
the device on which they are contained.
If that device is subsequently removed
from the USB port, CD drive or network
the tracks will no longer be available. Also
if you have a portable storage device you
may wish to transfer files from the Server
to the player or disc to take with you. This
section details how to write files to and
from the Server hard drive.
Adding Files to a Data or Audio CD
You can make your own data or audio CDs
using the Server. The difference between
them is that an audio CD will play in a
normal CD player and uses uncompressed
music files and a data CD can only be
played in a PC or MAC and most DVD
players.
First choose the tracks you wish to add
to the CD. Use the techniques described
in the Search feature part of this guide
to arrive at a list of tracks. A good idea is
to create a playlist that contains just the
tracks that you wish to burn.
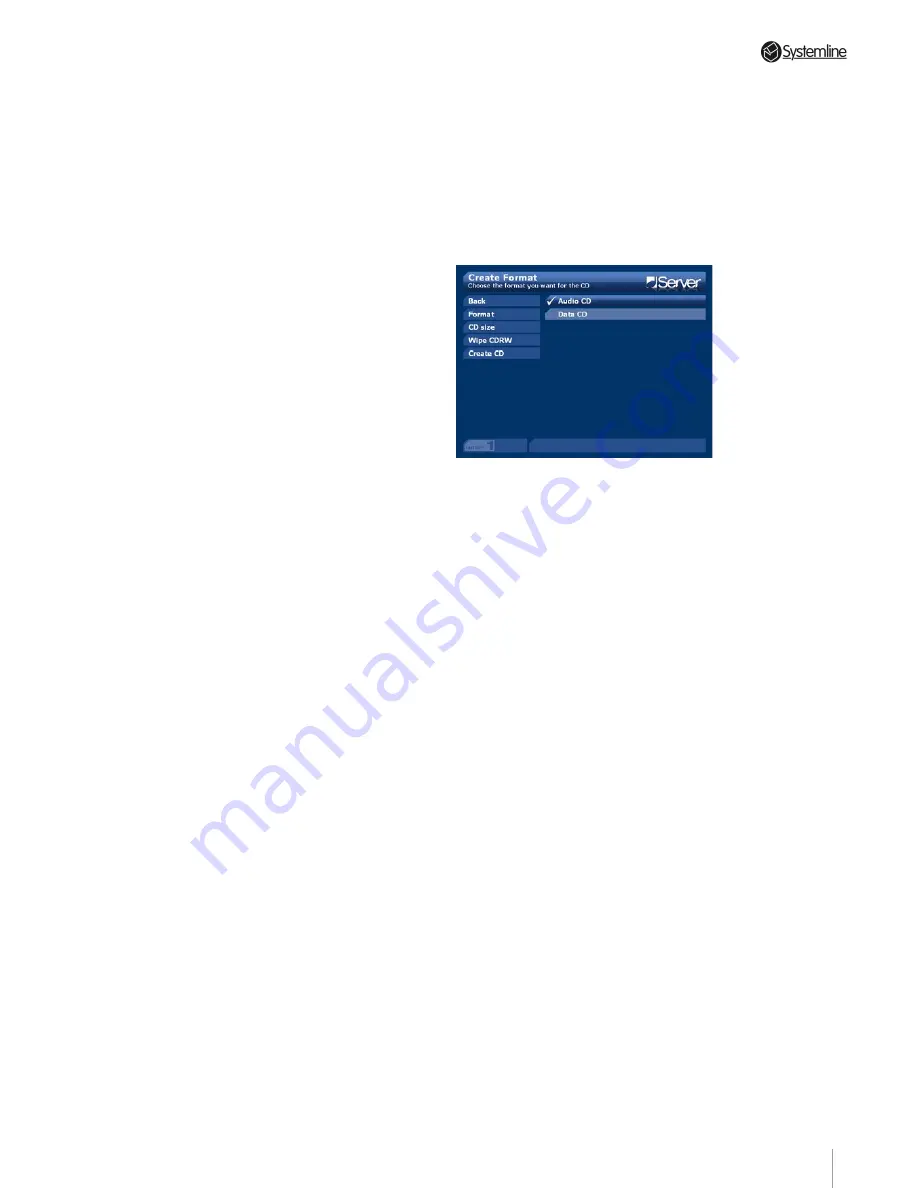
From the TRACK LIST page select the
CREATE CD option, The CREATE CD menu
page is shown
Format
– use this option to choose
whether to burn a data CD or an audio
CD (see Glossary). Make your choice
depending on the likely type of use and
capacity required, e.g use an audio CD for
CD players and a data CD for DVD and in-
car MP3 disc players )
CD Size
– use this option to tell the Server
what capacity the CD-R/CD+R you are
using will be. This is important so that it
can calculate the maximum size of your
track list.
Wipe CD-RW
– if you are using re-writable
(CD-RW/CD+RW) media to burn your
compilation you may wish to use this
option to erase data that may already
be on the disc. Insert the disc select the
option press OK and then select START.
The progress bar informs you when the
process has completed.
Create CD
– once you have set all the
above parameters to your satisfaction, use
this option to start the burning process.
Select the option go to START and press
OK. If the compilation is no larger than
the maximum capacity of the recordable
media then the burn process will begin.
The progress bar informs you when the
process has completed.
If the compilation you have chosen is
too long to fit on the CD a message will
appear in the INFO BAR telling you exactly
Содержание 3 Output Music Serve
Страница 1: ...3 Output Music Server Installation User Guide...
Страница 2: ......


