3
Set Up Your New Gateway
Hardware
STEP 1 - Antennas
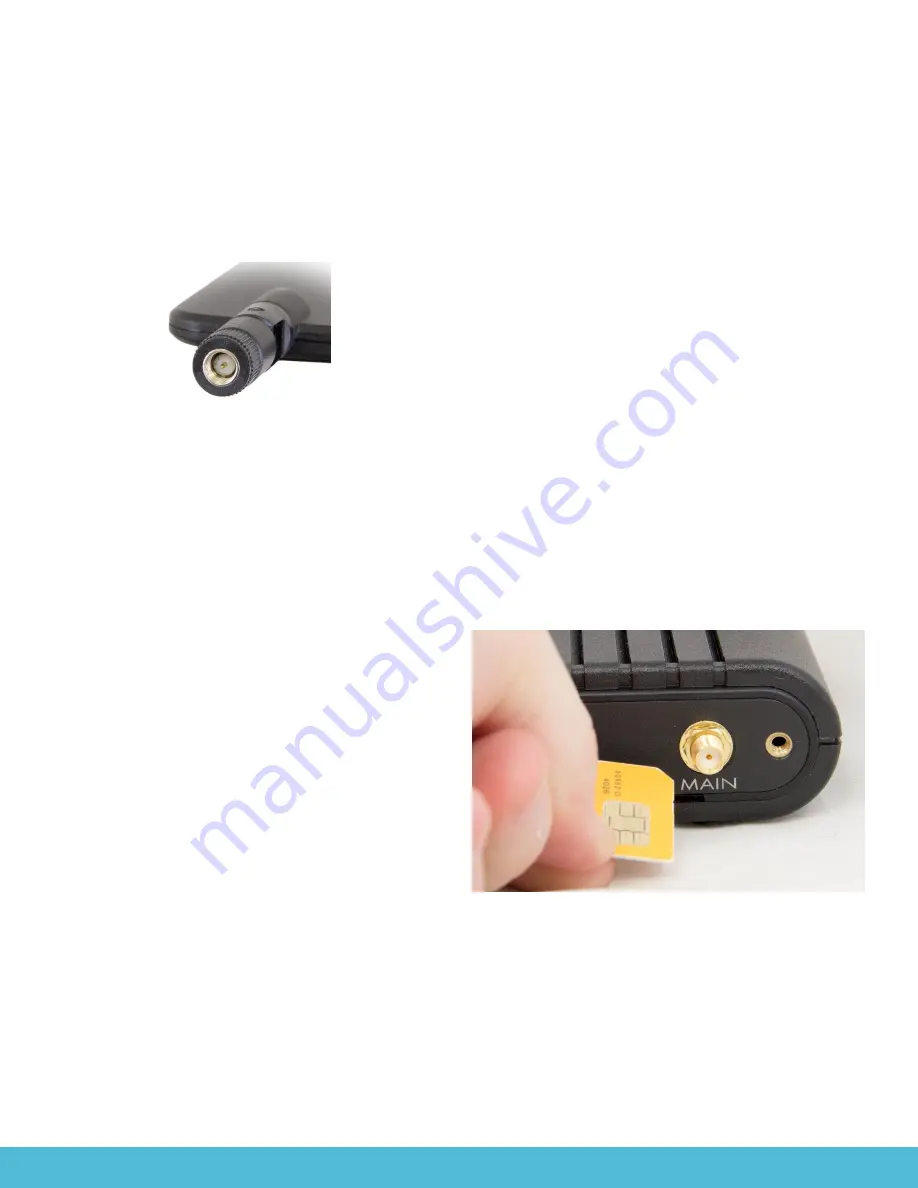
If your gateway includes cellular, please install the
included antennas. The cellular antennas must be
screwed into the terminals of the gateway labeled
“Cell Main” and “Cell Aux”. The two cellular
antennas look identical.
Cellular Antenna (with prong)
STEP 2
–
Internet Connectivity
If you are using cellular connectivity for the Internet,
then go to the SIM Installation step. Once the SIM is
installed, no other Internet Connectivity
configuration is required. Then go to the Power
Step, below.
If you are using Ethernet connectivity for the
Internet, then plug one end of the Ethernet cable
into the gateway connector labeled “WAN/LAN”. If
your network supports dynamic IP addresses, or
DHCP, then connect the other end of the Ethernet
cable to your Internet router or hub. Then go
directly to the next step.
If your network requires the use of a static IP
addresses, then
review the “Access Local
Configuration Settings” section (below), and
configure the appropriate network settings.
STEP 3 - Power
Connect the included power supply to the gateway,
and apply power.
When first powered, the Status LED will initially be
orange. Other LEDs will turn on or off during the
initialization sequence. After a few minutes, the
Status LED will blink green about once per second.
This indicates that the gateway has completed its
core initialization. Other LEDs may also be turned on
at this point.
Your gateway may include other, specialized
software or hardware. If this is the case, the
initialization process may require additional time.
For example, if you have a Z-Wave radio installed,
the Z-Wave initialization continues beyond the core
initialization, and is complete sometime after the Z-
Wave LED light turns on.
At this point, your gateway is ready for use.
If SIM installation, or special gateway configurations
are required, then continue with this guide.
Also, if you are interested in remote access or control
of the Internet of Things, then read the SysSCRIPT
section of this guide.
Cellular Installation &
Configuration
SIM card Installation
If you are using cellular connectivity, then a SIM card
may be required. No SIM is needed for most CDMA
and EVDO networks. However, HSPA+ and LTE
networks require a SIM.
SIM installation may be already been done by your
supplier. In that case, you may skip this section.
The SIM slot is located on the back of the unit, below
the antenna connectors. The enclosure does not not
need to be opened. Orient the SIM card with the
metal contacts facing up, and the angle cutout
toward the right. Insert the SIM into the slot until a
small click is heard. You may want to use the edge of
a small paper clip to allow complete insertion.


