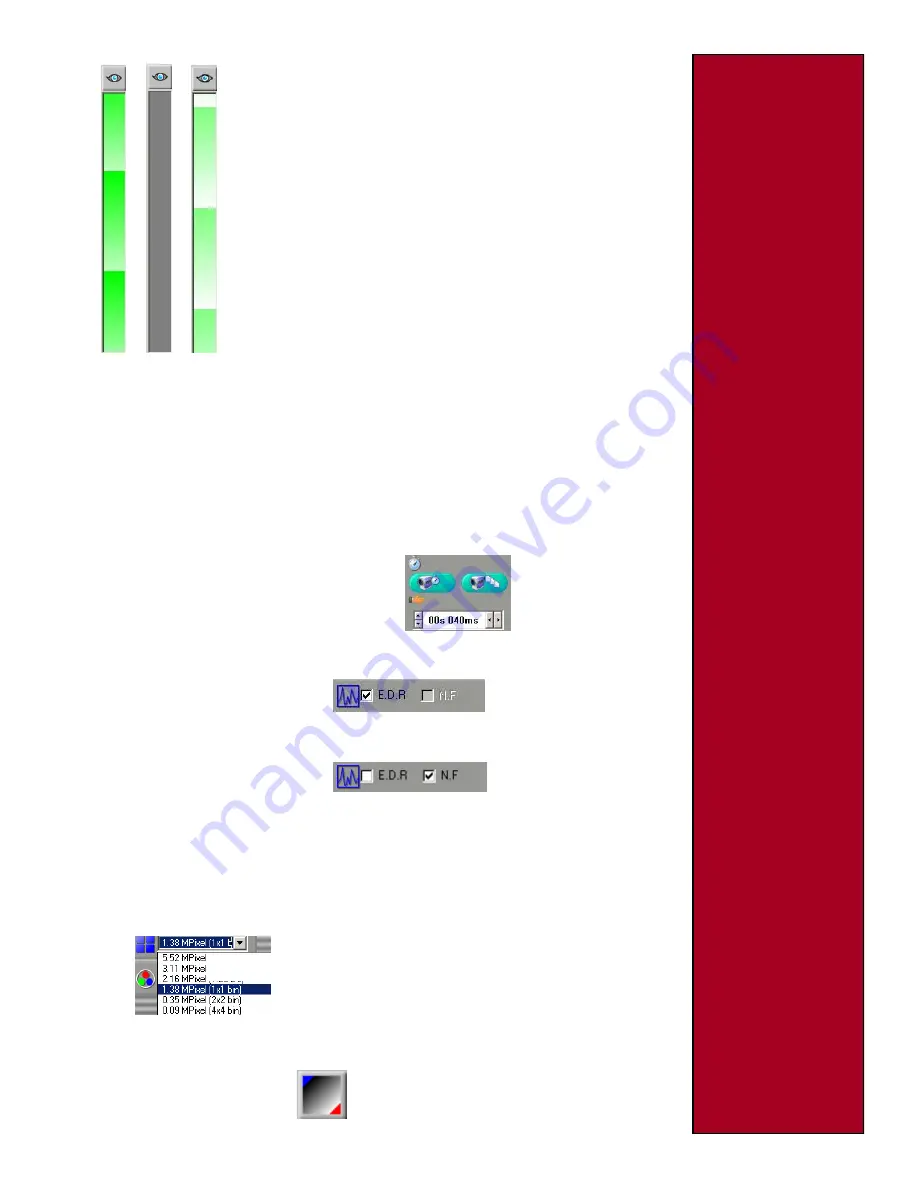
Bright Grey Pale
9) Focus indicator
10) Grabbing an image
11) Set exposure time
12) EDR
13) NF
14) Binning and Increased
Effective Pixels
15) Saturation detection
It is advisable to use the *focus indicator to achieve the best focus. The
focus indicator shows when the focus condition (amount of contrast) in
the picture is increasing or decreasing. If the contents of the picture
change suddenly, it stops indicating for a period of one second and
appears ‘grey’. If the focus condition is improving the bands in the
indicator will move upwards. Bands will move downwards if the focus
condition is getting worse. If the focus condition is the best that has
been measured, the indicator shows a ‘bright’ green colour. This ‘bright’
colour automatically appears at the beginning of focusing as the camera
has not seen a better condition so far. If the focus condition is below
the best seen the indicator shows a ‘pale’ green colour.
When the camera is live start adjusting the focus and the bands will
move upwards as the focus is improving. Once the focus has gone
through the optimum condition the bands will start to go downwards and
appear ‘pale’ green. Now turn the focus back to return to the optimum
setting and when it appears ‘bright’ green you have achieved the best
focus and the image can be grabbed. To re-set the focus click on the Re-
set icon (eye) at the top of the focus indicator.
Grabbing the image
Once you have adjusted the camera settings and are happy with the image click the RED
camera icon to "grab" the image. The camera icon will turn GREEN. To return to a live image
simply click the GREEN camera icon and it will return to RED and the camera is again showing
the current sample.
Further controls
Exposure time
- Above we "grabbed" an image in real time using the standard exposure setting of the
camera. However, in some instances you may wish to extend the exposure time to resolve fainter bands.
In this case click the arrows on the ‘Exposure time’ bar to increase (or decrease) the exposure time.
The window shows how much exposure time you have set.
Extended Dynamic Range (EDR)
This unique and patented feature enables the capture of genuine 16 bit images, without loss of
linearity, detail or dynamic range. To select this feature simply check the EDR box prior to capture.
Neutral Fielding (NF)
This allows the capture of images corrected for uneven illumination. See Neutral Fielding Quick
Guide for more details.
Binning and Increased Effective Pixels
The InGenius LHR has a high resolution with 1.4 million pixels. Binning or merging pixels will increase
the sensitivity of the camera to low light levels.
GeneSnap offers multiple levels of binning - no binnng, 2x2 and 4x4 binning. Each level of binning
will result in corresponding decrease in resolution, and this must be considered when selecting
which level to use.
*In addition, selecting effective pixels up to 5.5 million pixels is available. Each level of effective
pixels will result in an increase in image size and this must be considered when selecting which level
to use.
Saturation
- Clicking the Show Saturation icon when you have a live image will show if the camera is
over exposed.
Please note that 1x1 binning is equivalent to no binning
3


