Wise Installation Studio/Express Getting Started Guide
35
Advanced Tutorial: Using MSI Script in a Windows Installer Installation
2. Compile the installation by clicking Compile at the lower right of the main window.
3. To run the installation, click the Run button, select Run from the button menu, and
when prompted, select QuickFacts.msi.
If QuickFacts is already installed, the Application Maintenance dialog box appears.
Mark Remove and click Next to uninstall it. Then run the QuickFacts.msi again.
Note
Avoid uninstalling by selecting one of the other options from the Run button, which
either uninstalls and then reinstalls, or forces a reinstall over an installed product.
4. In the installation wizard, click Next until the installation of files begins.
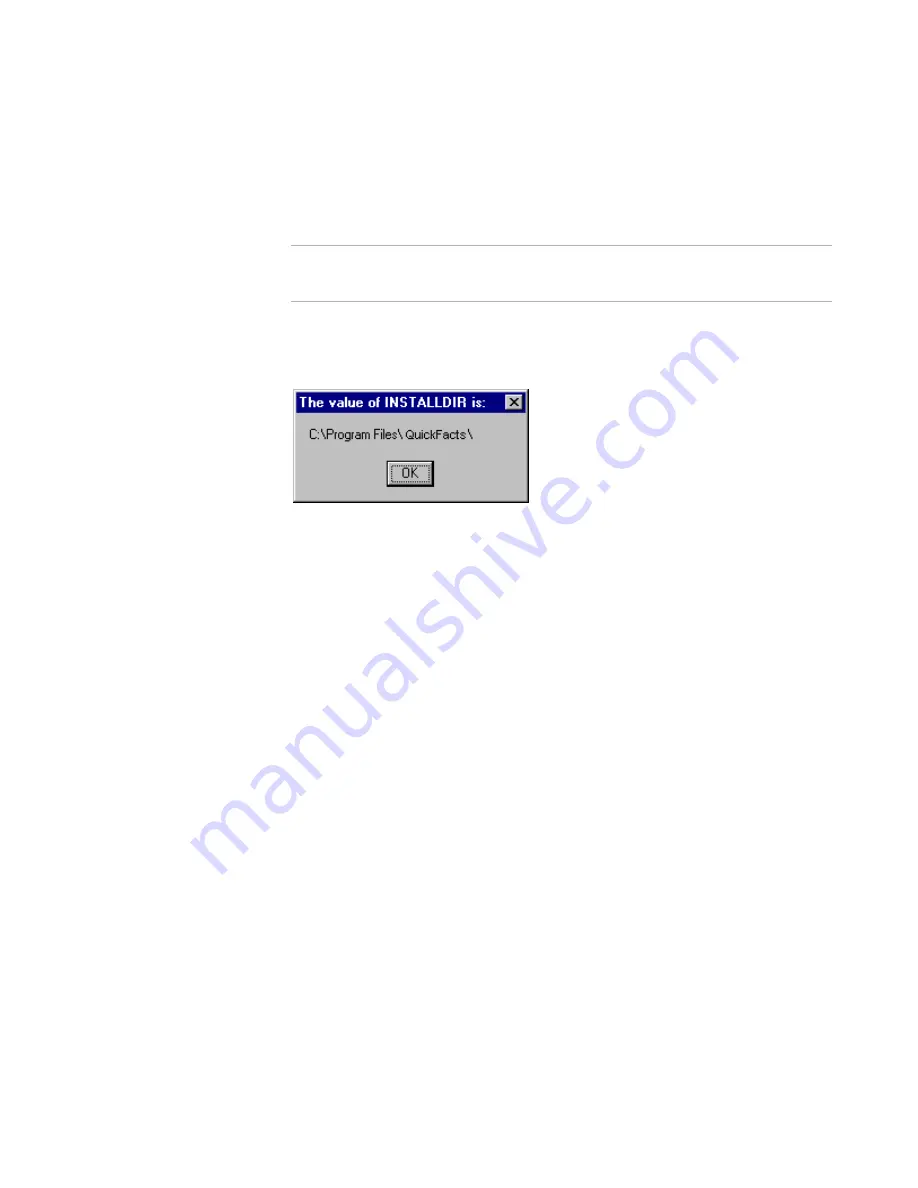
During installation of files, a small dialog box appears when Windows Installer calls
the function MessageBoxA from user32.dll.
5. Click OK to close the dialog box and then click Finish at the end of the installation.
If the dialog box does not appear as expected, verify that the parameters and
function name in the custom action match the instructions in this tutorial. Also verify
that the custom action is in the correct position in the sequence.
Set a Directory With a Custom Action
In this section, you create a custom action that changes the location of the installation
based on end user interaction with the installation wizard. To do this, you:
z
Create a check box on the Single Feature Destination dialog box.
z
Create a custom action that redefines the installation directory so that it is located
under the Common Files directory.
During installation, the end user can mark or clear the check box, thereby triggering or
skipping the custom action.
Before you perform this task, you must have created a custom action that calls a .DLL.
See
Call a .DLL With a Custom Action
on page 31.
To create a check box on the Single Feature Destination dialog box
1. Click Setup Editor at the lower left of the Windows Installer Editor window.
2. In the right pane, click the Dialogs tab, and then find and select the dialog box
named Single Feature Destination, which appears under Install Dialogs.
The dialog box, which is labeled Destination Folder, appears in the upper-right pane.


