19
Page
Version 1.1 December 2020
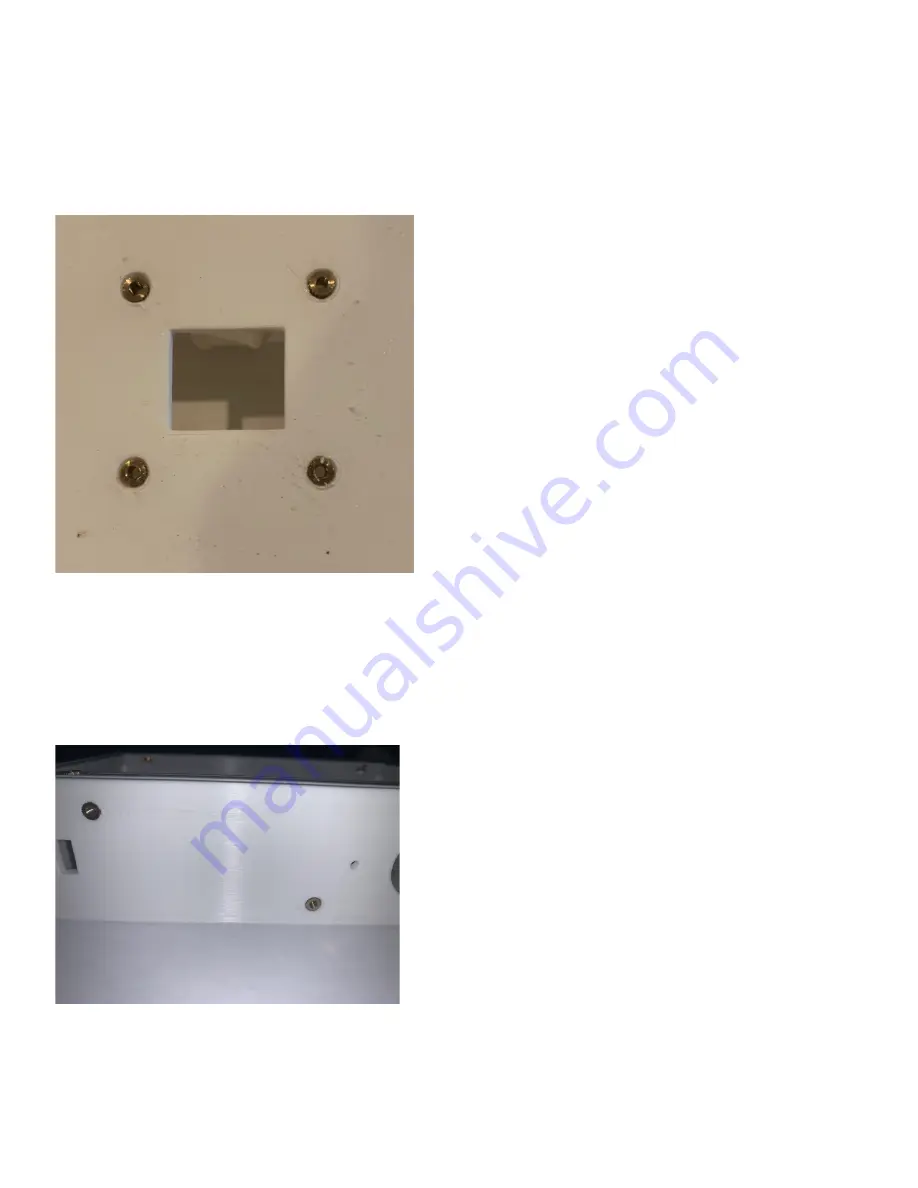
Step 8: Insert four Brass Inserts into the SkyWeather2 Top (Part C) using the M3 20mm Screw technique as in
Step 3 above.
Step 9: Return to the SkyWeather2 Base Unit (Part B) and place two Brass Inserts in the Laser AQI Mounting
Holes on the side using the fit check first and then gluing in the Inserts as above.
Содержание SkyWeather2
Страница 1: ...Version 1 1 December 2020 The SkyWeather2 WeatherProofing and Test Manual December 2020 Version 1 1 ...
Страница 3: ...5 Page Version 1 1 December 2020 Errata ...
Страница 10: ...12 Page Version 1 1 December 2020 Part I Laser Air Quality Sensor Optional Part J 20cm Grove Cable Optional ...
Страница 13: ...15 Page Version 1 1 December 2020 Note The optional USB C Spacers are not shown in the above picture ...
Страница 35: ...37 Page Version 1 1 December 2020 Congratulations Your Weatherproofing and SkyWeather Assembly is complete ...


