26
Page
Version 1.1 December 2020
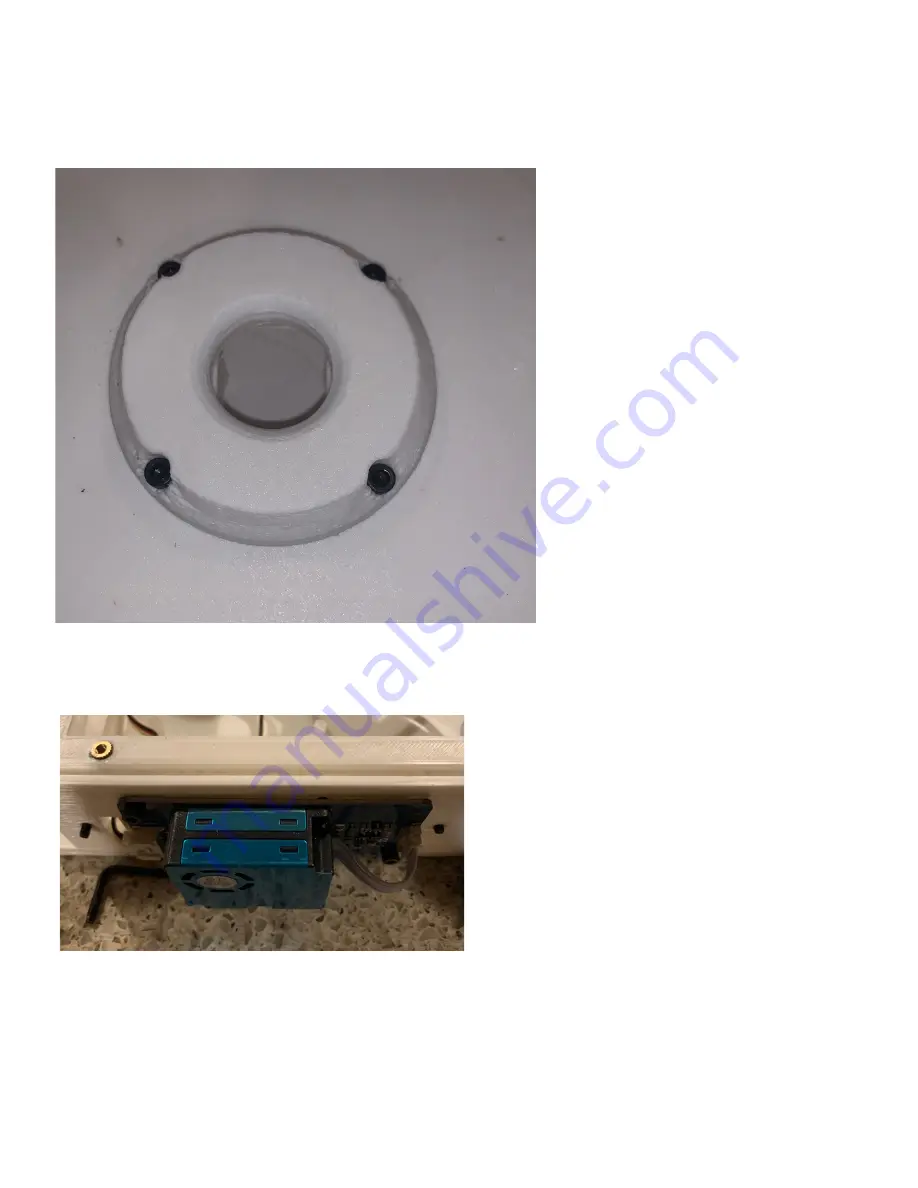
Step 19: Now secure the Camera Mount Housing Assembly (Parts D and E) with four 11mm M3 Screws. Put
all four in the housing and make sure they are all started into the threads before tightening the screws. Make
them tight, but don’t over tighten them. You don’t want to pull the Brass Inserts out of the housing.
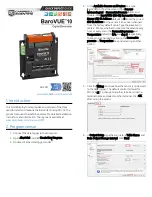
Step 20: (Optional) Mount the Laser Air Quality Sensor (Part I) on the outside oriented as shown and route the
Grove cable (Part J (plugged into the Laser Air Quality sensor) into the SkyWeather2 Base Unit (Part B) using
11mm M3 screws.
Содержание SkyWeather2
Страница 1: ...Version 1 1 December 2020 The SkyWeather2 WeatherProofing and Test Manual December 2020 Version 1 1 ...
Страница 3: ...5 Page Version 1 1 December 2020 Errata ...
Страница 10: ...12 Page Version 1 1 December 2020 Part I Laser Air Quality Sensor Optional Part J 20cm Grove Cable Optional ...
Страница 13: ...15 Page Version 1 1 December 2020 Note The optional USB C Spacers are not shown in the above picture ...
Страница 35: ...37 Page Version 1 1 December 2020 Congratulations Your Weatherproofing and SkyWeather Assembly is complete ...


