4
IV - INSTALLATION
Installation of your S
™
is a two-step process :
•
Getting your S
™
to communicate wirelessly over your local network and with the internet;
to the S View
™
interface on your smartphone or tablet, and
•
Setting up a network of Z-Wave
®
home automation devices with your S
™
as the network’s
primary controller.
IVa - INSTALLING THE WI-FI CAMERA
1. Download and install the S View
™
app onto your smartphone or tablet from the Google
Play if it uses Android or from the Apple App Store in case of an iPhone or an iPad.
2. Open S View
™
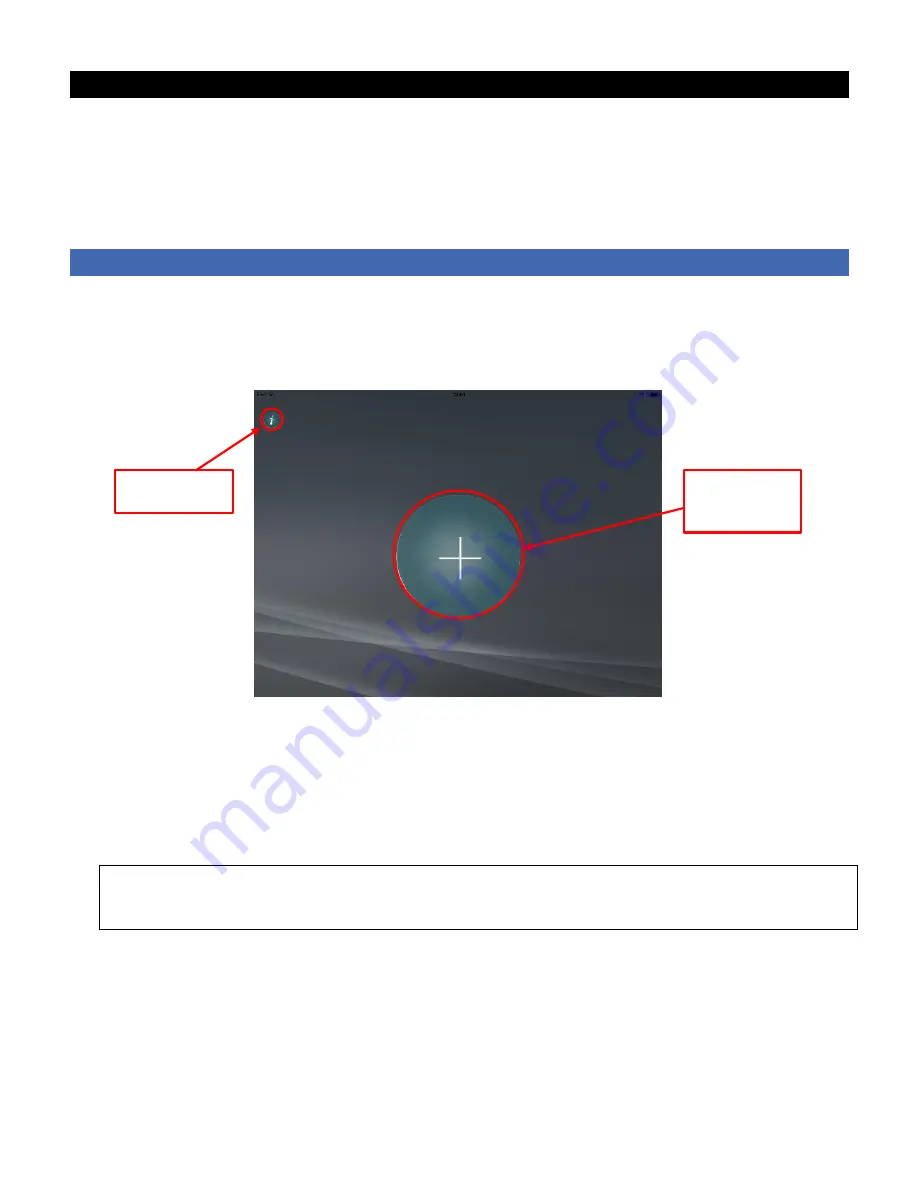
app on your smartphone or tablet : it will show you the Home Screen
illustrated below. Tap on the big circled
“
+
” to add your new S
™
Home screen
Steps thereafter are also indicated on the screen of your smartphone or tablet, namely :
3. Enter the name you want to give to the location (home) where you are setting your new
S
™
and press arrow button to continue
4.
Select “Pan/Tilt camera gateway"
5. Select
“Connect your camera to the Wi-Fi network”
Please make sure that your smartphone or tablet is connected to that specific Wi-Fi network to
which you want your S
™
to belong
.
IMPORTANT
: Make sure this is a 2.4 GHz Wi-Fi
network not a 5.0 GHz Wi-Fi network.
6. Power up S
™
by switching on the On-Off switch at the bottom of the device and the
LED on the left side of the plinth will light up
blue
(provided the battery is sufficiently charged)
7. Wait until the
red
LED at the top of the camera starts
blinking slowly
, indicating the powering
up phase has been completed
8. Enter on your smartphone or tablet the password of the Wi-Fi network to which it is connected
and press “
Submit
”
Button to get to
information screen
Tap to add a new
S™
(new "home")


