English version
8
Connecting the Sweex ADSL 2 Modem
1. Connect the power adaptor (included) to the rear of the modem and the mains socket. The LED under PWR is lit. In the event the LED is not lit,
check the connections of the power adaptor to the ADSL modem and the mains socket.
2. Connect the telephone cable (RJ11) carrying the ADSL signal to the ADSL port at the rear of the modem. The LED under ADSL will now start
to blink. After approximately 30 seconds the LED will be lit continuously. In the event the LED is not lit, check whether the splitter is properly
connected and/or whether the ADSL line is ok.
3. Switch on the computer and connect it to the rear of the modem using a network cable (UTP RJ45). You can select any of the ports 1, 2, 3 and
4. The corresponding LED at the front of the modem will be lit. In the event the LED fails to light up, check whether the network cable is properly
connected to the computer and the modem.
Configuring the computer to connect to the modem
Windows XP
Go to “Start” (Start) “Control Panel” (Control Panel). Then go to “Network and Internet Connections” (Network and Internet Connections).
Open “Network Connections” (Network Connections).
Or, if the Windows classic style is used:
“Start” (Start) Settings “Network Connections” (Network Connections).
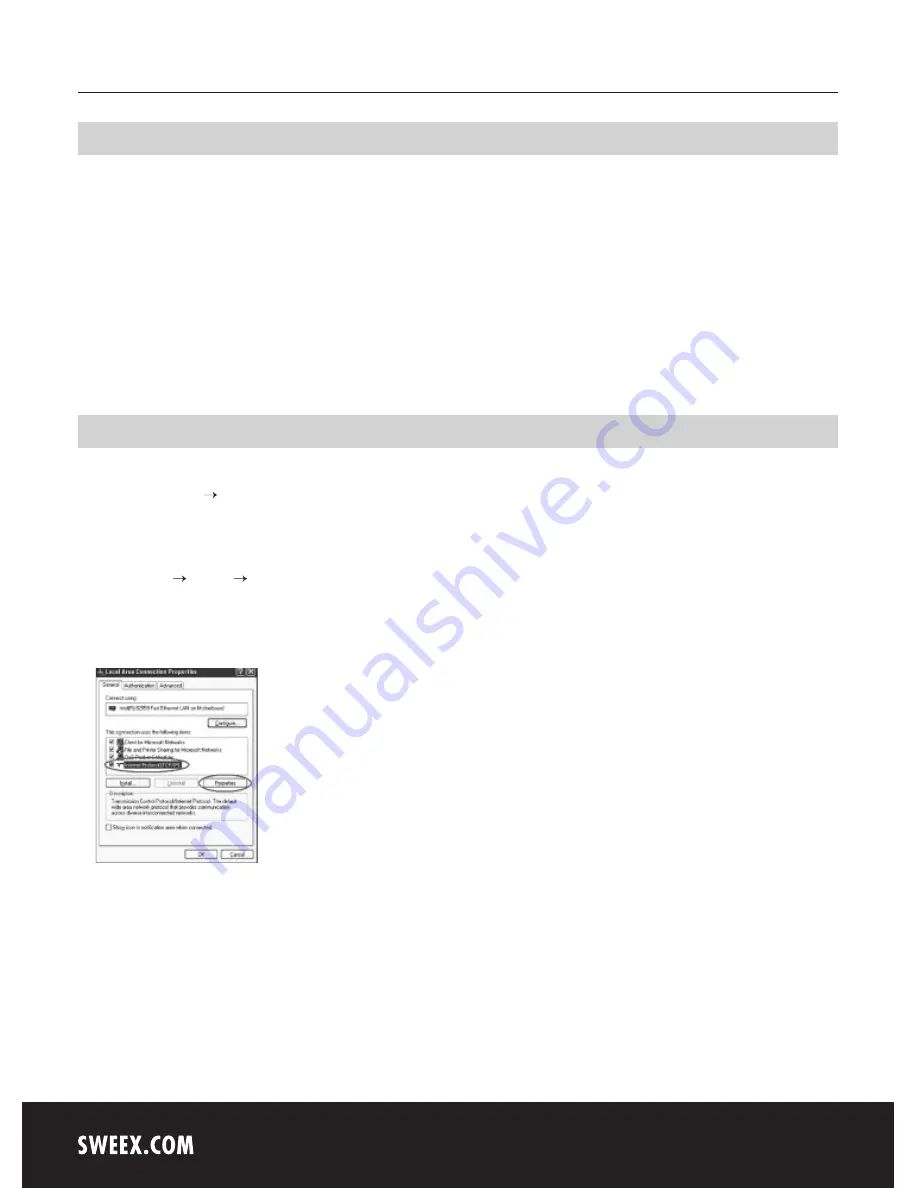
Right-click “LAN Connection” (LAN Connection) or “Wireless Network connection” (Wireless Network connection) and select “Properties”
(Properties). The following screen appears:
Under the tab “General (General) select TCP/IP and click “Properties” (Properties).


