Main Operations
Turning On And Off
The product turns on automatically when it
is connected to power. When the product
is in Stand-by mode press
POWER
on the
remote control or the On/Off button on the
control buttons. The product will turn on and will
be ready to be used.
Select Source
Press
SOURCE
on the remote
control. The source list menu will
appear. Navigate the list with
Up/Down
on the remote control to
select the source and confirm by
pressing
OK
.
Volume Control
Press
VOL+ / VOL-
on the remote control
to adjust the volume level.
Press the
MUTE
on the remote control to
mute the sound.
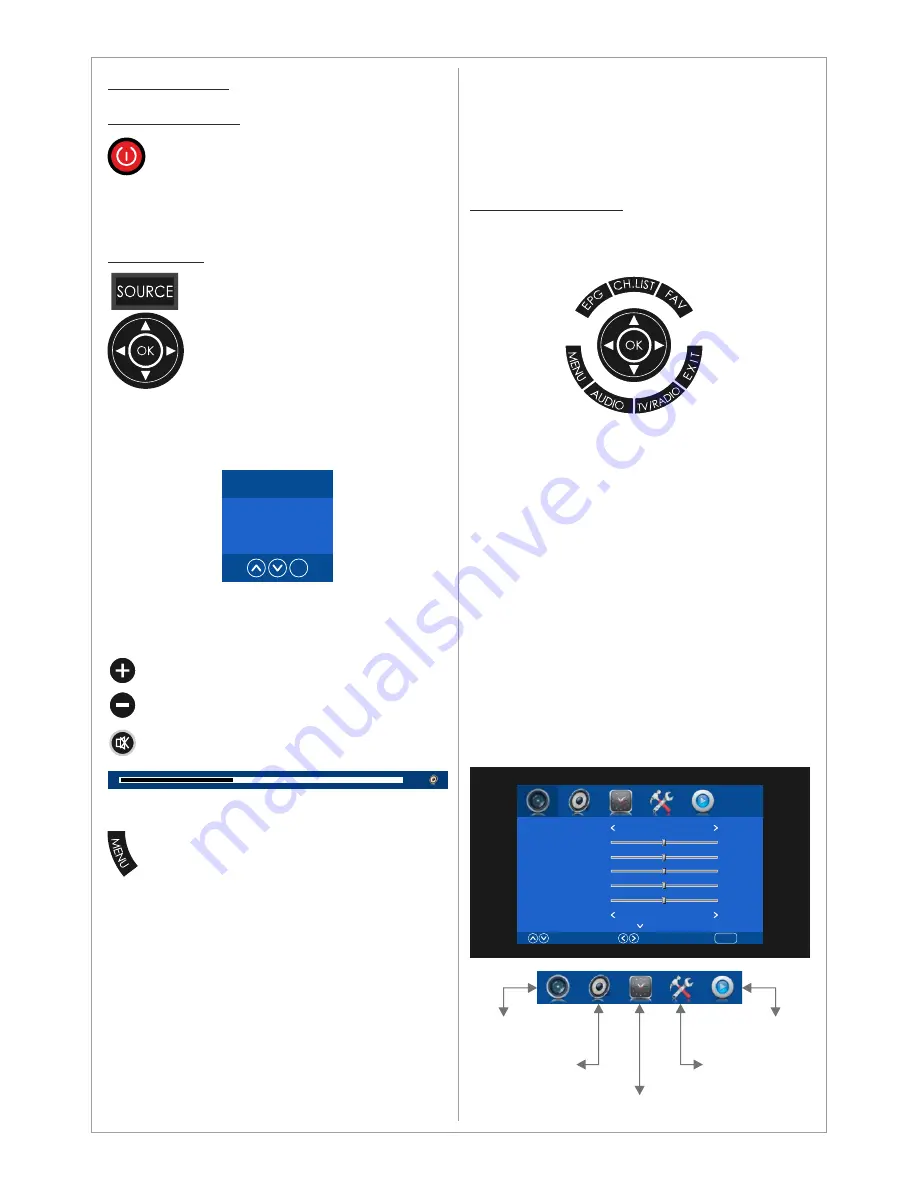
OSD Menu Structure
•
OSD (On Screen Display) allows users to
control or adjust various features and settings
in accordance with desired preferences.
•
Press the
MENU
button on the remote control
to see the main OSD menu.
OSD Menu Operation:
•
Main Menu: Press
MENU
on the remote
control to enter the main OSD menu.
First, choose Main menu item you need with
the buttons ◄ & ►.
To select a Main menu items, just press
OK
.
•
Sub Menu: Each menu item has its own sub
menu items to set.
•
Sub Menu items:
A: If there is no value to adjust it means there
is a sub menu which you can access by
pressing
OK
and modify the menu values.
B: If there is no ► part, the item has
adjustable values. Use ◄ & ► to adjust the
values.
C: If the sub-menu item is grey colored, it
means this item is not available in the
particular mode.
OSD Menu Operation
• Press
MENU
on the remote control to
access the OSD Menu. Pressing the
same button again will move you
backward in the OSD structure.
•
Press
OK
button to
confirm/select.
•
Use
LEFT
&
RIGHT
buttons to navigate or
change the parameters of the current
sub-menu.
•
Use
UP
&
DOWN
buttons to navigate in the
OSD Menu.
•
Press
EXIT
button to exit the OSD Menu.
12
Input Source
HDMI
USB
OK
10
Picture Mode
Contrast
Brightness
Color
Tint
Sharpenss
Aspect Ratio
Select
Move
Return
MENU
Standard
50
50
50
50
50
PointToPoint
Picture Menu
Audio Menu
Media Player Menu
Settings Menu
Time Menu


