background image

Remote Access via Internet Explorer

The easiest way to access your DVR remotely is via an Internet browser. These instructions will detail how 
to access the DVR via 

Microsoft Internet Explorer

®

. This section assumes that you’ve already configured 

the DVR and your network to operate properly. Remotely accessing the DVR via Internet Explorer (IE) is 
a great way to test if your network is functioning as it should.

At the time of writing, the DVR supports up to 3 users accessing the DVR remotely at a time.

Note:

 You may have to alter and configure the ActiveX controls in 

IE

 to allow unrestricted access to the 

DVR. Access might be slowed or blocked completely by 

IE

’s built-in security functions. The instructions 

on how to do this are covered on the next page.

To access the DVR remotely via Internet Explorer:

1.  Open an 

Internet Explorer

 window. If you do not have 

Internet Explorer

 you can download it from 

the Microsoft website (

www.microsoft.com

). Alternately, you can try using a different 

2.  In the address bar type “http://” followed by your 

public IP address

, a colon then your 

web 

port

. For example, if your web port is “85” and your public IP address is “210.9.10.115”, then 

you’ll need to enter:

3.  You will now see a login window. Here, enter 

your password. If no password is set, leave this 
dialog box blank.

4.  You should now have access to the DVR. 

34

 http://210.9.10.115:85

Remote Access from a Mobile Device

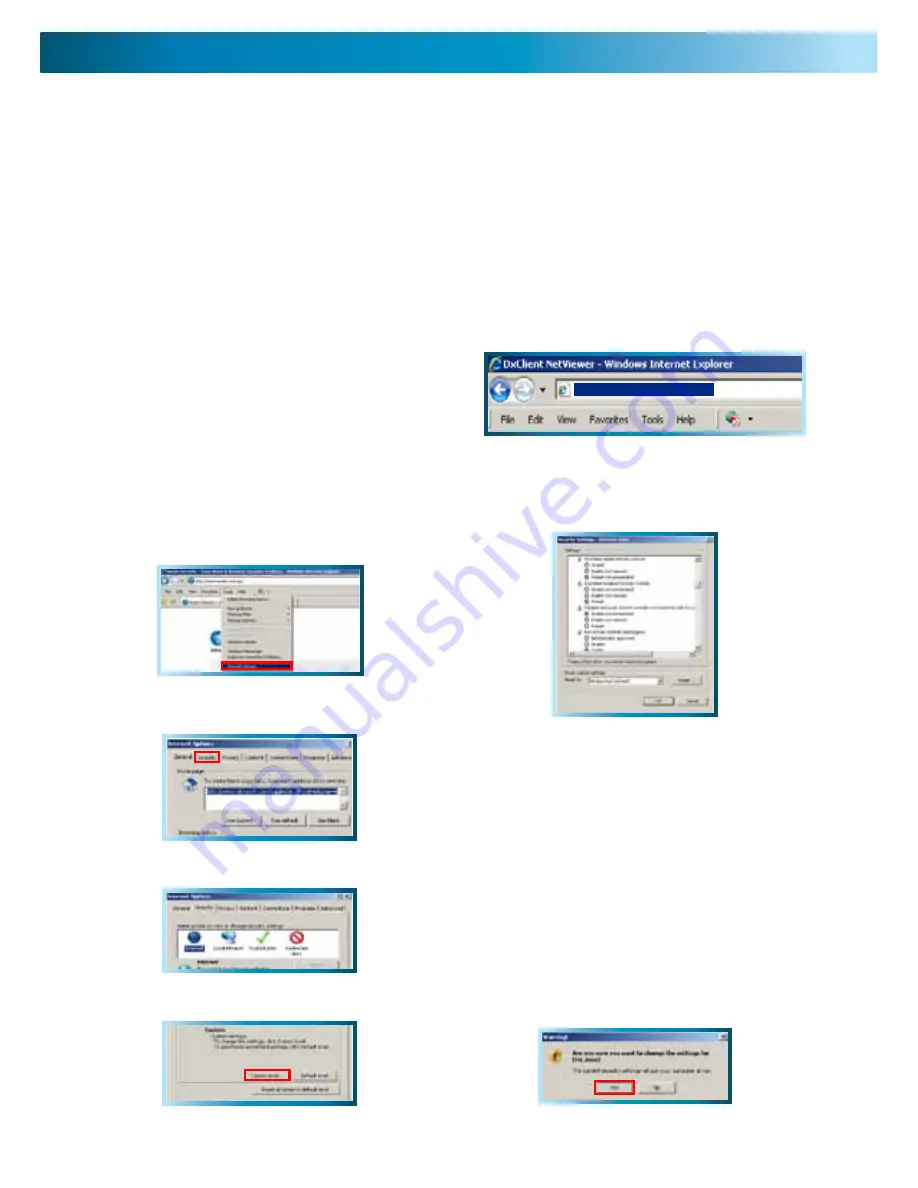
Adjusting the Security Settings in 

Internet Explorer

1.  Open 

Internet Explorer

.

2.  Click 

Tools

 --> 

Internet Options

.

3.  In 

Internet Options

 click on the 

Security

 tab at 

the top.

4.  Select the INTERNET zone option.

5.  Click on the CUSTOM LEVEL button.

6.  You will now see the list below (or similar, 

depending on the version of IE you are running).

7.  Set 

Download signed ActiveX controls

 to 

Prompt

.

8.  Set 

Download unsigned ActiveX controls

 to 

Prompt

.

9.  Set 

Initialize and script ActiveX controls not 

marked as safe for scripting

 to 

Prompt

10.  Set 

Run ActiveX controls and plug-ins

 to 

Enabled

.

11.  Set 

Script ActiveX controls marked safe for 

scripting

 to 

Enabled

.

12.  After you have made these changes, click 

Okay

13.  You will be asked to confirm your changes. Choose 

Yes

.

Содержание DVR16-2600

Страница 1: ...DVR16 2600 16 Channel H 264 Digital Video Recorder plug playsecurity Advanced security made easy www swannsecurity com MR6C250810E Operating Instructions ...

Страница 2: ...ing interference that may cause undesired operation IMPORTANT NOTE Prohibition against eavesdropping Except for the operations of law enforcement officers conducted under lawful authority no person shall use either directly or indirectly a device operated pursuant to the provisions of this Part for the purpose of overhearing or recording the private conversations of others unless such use is autho...

Страница 3: ... USB Backup 18 Backup 19 Playback 20 Playing Backed up Footage on a PC 21 Device Management HDD Menu 22 HDD Menu ctd PTZ Menu 23 The Alarm Menu 24 Auto Email Setup 25 Mobile Devices Motion Detection Menus 26 Motion Detection Configuration 27 System Setup and Date Time Menus 28 Password and Video Setup Menus 29 Language Info and Maintenance Menus 30 PTZ Controls 31 Remote Access 32 33 Remote Access...

Страница 4: ...If that isn t convenient enough the DVR also features mobile device support allowing you to connect to it from a device running Microsoft Windows Mobile Symbian S60 3rd 5th editions Android Blackberry or the increasingly popular iPhone Multiple Monitor Connections Not only does the DVR16 2600 come with multiple video out ports allowing you to connect it to two televisions at once it also comes wit...

Страница 5: ...mber that the DVR is in all likelihood going to be left on 24 hours a day 7 days a week Keep this in mind when choosing a location for installation Package Contents DVR16 2600 Unit Remote Control Operating Instructions Audio Input Adaptor Power Adapter with Cable Software CD Network cable USB Mouse RCA Video Cable Security Stickers 4 Pack If you are missing any of these components contact Swann Co...

Страница 6: ...this button will return you to the main menu 11 Rewind During playback this will reverse the footage Press multiple times to increase the speed of the reversing When navigating through menus this button will move the cursor to the left 12 Pause During playback will pause the current recording and leave a still frame on screen In live viewing mode this will activate the auto sequence mode where the...

Страница 7: ...MAIN video output but at a higher resolution 6 VGA Output For connection to a VGA monitor This will display the same image as the MAIN video output at a selectable resolution up to UXGA resolution 1600 x 1200 7 Above USB Mouse Port For connecting the included USB mouse other standard USB mice will also work This port will not accept a USB flash drive this port will work with a mouse only 7 Below U...

Страница 8: ...annels and operate PTZ devices 8 ENTER aka Select Selects an item confirms a choice or ends a process 9 MENU ESC Opens the Main Menu or goes back one step from a submenu 10 MUTE Toggles MUTE on or off While muted the DVR will record audio but not send it to the television or other audio output device 11 PIP Picture In Picture Initiates picture in picture mode Press multiple times to cycle through ...

Страница 9: ...If your camera has a microphone connect the audio out to one of the audio input channels If you have more than four microphones you ll need to use the serial adapter cable 7 Connect the DVR power supply plug into the power supply socket on the back of the DVR Ensure you use the right power supply Although most cameras also use a 12V power supply though some do not be careful they don t supply enou...

Страница 10: ... the menus In this capacity the mouse functions in a very similar manner to the mouse attached to a computer The left mouse button is used to select confirm choices and otherwise interact with the menu system The right mouse button opens the pop up menu when pressed in live viewing mode or exits a menu when pressed whilst in the menu system IMPORTANT The DVR displays the menu on only one output at...

Страница 11: ... just unpacked your DVR and are not sure where to begin setting up your system here s a quick rundown of the most important things that need to be set up Test your system Before installing cables into walls it s a great idea to plug everything in and make sure it all works This is particularly true if you re using additional cameras to any that came with the DVR this DVR is available stand alone o...

Страница 12: ...n the remote control or front panel PIP Picture In Picture Accesses a list of available PIP modes You can also access and cycle through these modes using the PIP button on the remote control Rec Search Opens the Record Search menu as detailed on page 18 Mute On Off Turns the audio on or off This performs the same function as the MUTE button on the remote control Manual Rec Instantly engages manual...

Страница 13: ...ge of networking methods and protocols Search Where you look for footage of a specific event You only need to know the date and time that the incident that you are looking for occurred You need not know exactly you can specify a range of times and or dates The DVR will list all recordings made in between the start and end points you specify Devices Here you can find the setup and configurable opti...

Страница 14: ...ng through a rainbow BRIGHT Changes how light all tones in the image appear CONTRAST Increases the difference between the blackest black and the whitest white in the image Useful if sections of the image grey out but setting the contrast too high will degrade image quality SATURATION Alters how much color is displayed in the image The higher the saturation the more bright and vivid colors will app...

Страница 15: ...e into discrete units Packs are something like the scene numbers on a DVD though the video is broken up into separate units it will still play through as one continuous movie unless interrupted by the schedule or motion detection turning the recording on or off If you don t want to worry about setting Pack Times you can leave it on the default value it will make little difference to the day to day...

Страница 16: ...nel you d like to set the schedule for If you d like to set the schedule for more than one channel at a time you have two options One option is to manually enter the same information for each channel individually The other option is to choose ALL from the CHANNEL drop down menu Selecting this will apply the settings in the schedule to all channels on the DVR If you want to set a base schedule for ...

Страница 17: ... supporting information and an online guide which covers port forwarding for various popular routers gateways Forwarding a port is something like opening up a fast lane for network traffic to get to and from your DVR it will significantly speed up the flow to and from the DVR stopping traffic jams which can prevent the DVR operating correctly via the network WEB PORT This is the port through which...

Страница 18: ... Note that the first two digits of the year 2 0 cannot be changed Highlight the SEARCH button and left click or press select Alternately to be taken straight the Playback interface bypassing the File List choose PLAYBACK instead of SEARCH Playback will start with the first recording made during the interval chosen The VIDEO SEARCH screen This is your first stop when you want to locate playback or ...

Страница 19: ... lost If you need to format the USB flash drive see the Highlight the BAK check boxes which correspond to the recordings that you wish to backup and left click or press select You can backup multiple recordings at once as long as their cumulative size will fit on the USB flash drive you have inserted into the DVR Highlight the BACKUP button and left click or press select to start the backup proces...

Страница 20: ...he video is designed to play forwards it requires considerably more processing power to decode in reverse For this reason playback in reverse will not be smooth Slow Press to slow down playback Pressing once will reduce the playback speed to speed pressing it again will slow the speed to and pressing it a third time will reduce the speed to Play Will play footage if paused Pause Will pause playbac...

Страница 21: ...lation is processed NOTE This software is compatible with Windows operating systems only XP and more recent versions Also it will only operate on 32 bit versions of Windows not 64 bit the incompatibility is due mostly to incompatible drivers The Playback Interface Assuming that you ve used the default installation paths you can access the playback software by selecting the desktop icon named Playb...

Страница 22: ... to customise and configure settings for Your Hard Drive Alarm Settings PTZ Pan Tilt Zoom Devices Access from Mobile Devices Motion Detection HDD For accessing information about your hard drive This is where you go to correct or analyze any problem with your hard drive Additionally you ll be able to see at a glance how much recording time you have left at your current quality settings as well as b...

Страница 23: ...troller for a PTZ capable camera system PTZ devices are connected via the RS485 connection on the rear of the DVR You ll need the manufacturers documentation for your PTZ system on hand to correctly set it up The DVR is not compatible with all PTZ systems in these cases you ll need a stand alone PTZ controller PROTOCOL The most important setting to configure correctly A protocol determines how the...

Страница 24: ...f you are using external sensors you should connect them directly to the input for the video channel you want to be associated with I O Status This needs to be set in accordance with any sensors you have connected to the DVR If there is no sensor attached to a channel leave this set to OFF NO stands for Normally Open select this if the sensors usually have an open circuit which closes when somethi...

Страница 25: ...der to the next Note that highlighting a field and pressing SELECT twice will make a keyboard appear onscreen allowing you to enter alphanumeric characters Step 4 Once you ve entered all the required information the information in the fields should look something like the example shown below We stress that this is an example only the information you ll need to enter will vary depending on your ema...

Страница 26: ...al Using the ALARM menu you can also set up the DVR to trigger an external alarm system send an automatic email alert or simply beep when it detects motion Enable Whether or not motion detection is enabled on a specific channel Each channel can be configured independently of one another Sensitivity There are eight levels of motion detection sensitivity 1 being the least sensitive and 8 being the m...

Страница 27: ...reted as motion As a result the DVR is able to detect when there is a change in the picture However this does not necessarily need to be something moving in the frame For example a light being turned on or off a lightning flash or even the sun coming out momentarily on a cloudy day might be enough to trigger the motion detection on the DVR However as these events last only a moment and are relativ...

Страница 28: ...e of rebooting which the DVR will follow Date The date in the format as chosen in the Date Format drop down menu Date Format The format of the date eg DD MM YYYY or MM DD YYYY and so on Time This can be edited in the same way as the Date or set to update automatically Time Format How the time will be displayed either as 12 hour AM or PM or 24 hour time NTP SETTING Network Time Protocol If you ve g...

Страница 29: ...er is on the back of this booklet However we strongly advise that you choose a password you ll remember It ll save grief later The Video Setup Menu Video System Here you can choose between PAL and NTSC PAL is used in Western Europe and Australia NTSC is used in the US Canada and Japan If the DVR s picture is black and white flickering or similar then this is probably caused by the video system bei...

Страница 30: ... a computer can become unstable if left on for an extremely long time the DVR can become unstable It is strongly suggested that the DVR be rebooted at least once per month However as this can be a hassle particularly if the DVR is stashed away somewhere inconvenient you can set the DVR up to reboot itself AUTO MAINTAIN Whilst OFF there won t be any other options available on this screen Turn this ...

Страница 31: ... adjust focus when using the ZOOM function 4 FOCUS Adjusts the focal plane of the lens If an image is blurry try adjusting the focus To best set the focus move one direction until things become clear and then blurry again Move back and forth until you find sharp focus 5 IRIS Controls how much light gets into the camera If things look too bright or white lower the IRIS value If things are too dark ...

Страница 32: ...ess of the DVR will change over time at least whenever the DVR or router are reset making the DVR more difficult to locate and access over the LAN For a STATIC configuration the DVR needs to be told what IP address to use this must be unique and the subnet mask gateway address and DNS server address these must match the other devices on your network The most common way of discovering these values ...

Страница 33: ...e ports to the DVR usually your router will have a drop down menu allowing you to select which devices on the network to forward ports to Finally to learn your networks public IP address you ll need a computer with Internet access connected via the same network as the DVR you re configuring Then open an Internet browser window In the address bar go to www whatismyip com Your public IP address will...

Страница 34: ...ately you can try using a different 2 In the address bar type http followed by your public IP address a colon then your web port For example if your web port is 85 and your public IP address is 210 9 10 115 then you ll need to enter 3 You will now see a login window Here enter your password If no password is set leave this dialog box blank 4 You should now have access to the DVR 34 http 210 9 10 1...

Страница 35: ...re maximum bandwidth for sending footage Preparing your Mobile Device Mobile technology is becoming increasingly advanced and the rate of change is increasing We re constantly updating software to keep up with the evolution of handsets and other devices available and developing new apps or applications for those who still prefer whole words for other operating systems and hardware Thus we can t te...

Страница 36: ...ews holding down the hard drive chassis Remove these screws and remove the chassis from the DVR 5 Push the metal clip on the SATA cable single red or orange cable to unplug the cable from the hard drive Unplug the power cable 2 black 1 yellow and 1 red cable from the back of the hard drive 6 Four screws secure the hard drive to the drive chassis Remove these 7 If replacing the hard drive put the n...

Страница 37: ...ive may be faulty Try connecting another working hard drive to the DVR if this still doesn t work then the DVR maybe faulty We suggest calling Swann Technical Support The contact information is on the rear cover of this booklet Problem I am not getting pictures from my cameras on any of my displays Solution Make sure the cameras are connected properly to the DVR and their power supplies usually ab...

Страница 38: ...40 PAL D1 704 x 576 HD1 704 x 288 CIF 352 x 288 Recording Frame Rate Global NTSC 120 fps D1 240fps HD1 480fps CIF PAL 100fps D1 200fps HD1 400fps CIF Recording Modes Manual Motion Schedule Alarm Multiplex Operation Triplex HDD Interface SATA x 2 Hard Drive Support Up to 2TB per HDD Network LAN Connection Yes Network Interface RJ45 Network Protocol s TCP IP DDNS Network Types Static IP DHCP PPPoE R...

Страница 39: ...ising from the use of or the inability to use this product Any costs associated with the fitting or removal of this product by a tradesman or other person or any other costs associated with its use are the responsibility of the end user This warranty applies to the original purchaser of the product only and is not transferable to any third party Unauthorized end user or third party modifications t...

Страница 40: ...nformation on time zones and the current time in Melbourne Australia compared to your local time USA toll free 1 800 627 2799 Su 2pm 10pm US PT M Th 6am 10pm US PT F 6am 2pm US PT USA Exchange Repairs 1 800 627 2799 Option 1 M F 9am 5pm US PT AUSTRALIA toll free 1300 138 324 M 9am 5pm AUS ET Tu F 1am 5pm AUS ET Sa 1am 9am AUS ET NEW ZEALAND toll free 0800 479 266 UK 0203 027 0979 ...

Отзывы: