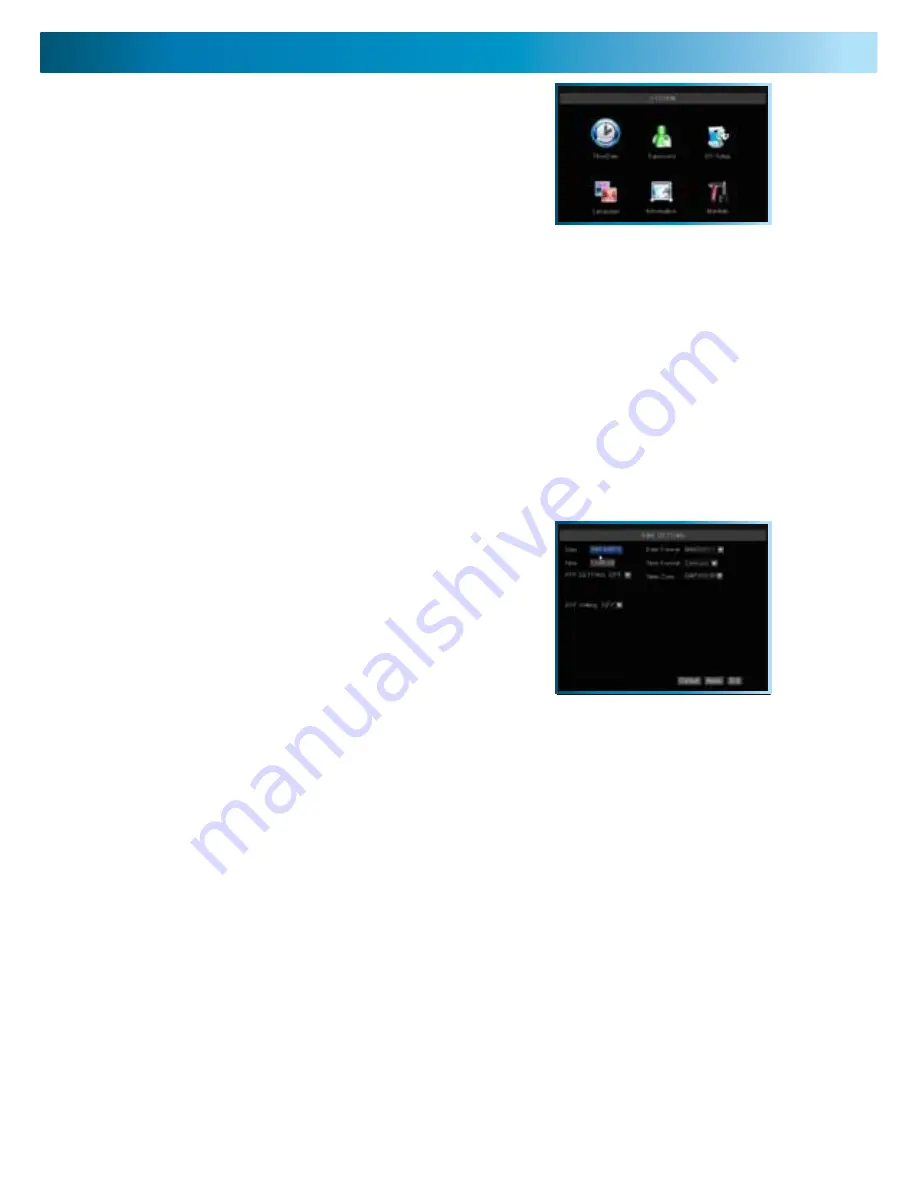
System Setup and Date & Time Menus
Remember: After making changes to the settings press/click the APPLY button.
28
The SYSTEM SETUP menu is where most of the
advanced settings for the DVR hide out. Most of the
time, there isn’t much you’ll need to change here.
However, a few settings might need tweaking from
time to time, particularly when you’re first configuring
the DVR. So here’s a quick rundown of what’s what.
DATE/TIME:
Allows you to set the date and time. The DVR will retain an accurate time even whilst
turned off - there is a small battery attached to the main circuit board. It may be the case that if the DVR
is switched off for an extended period (for example, weeks or months at a time) that this battery may
be exhausted. In this case, you will need to setup the time and date settings again.
PASSWORD:
For enabling/disabling password control to access the DVR, and choosing what this
password is. This password will not necessarily be the same as the one you use for remote access (see
the section on
Remote Access
, pages 32 - 35, for more details).
A/V SETUP:
For changing your video standard (PAL or NTSC), configuring the VGA and HDMI outputs,
selecting where the menu is displayed, and selecting how the DVR processes and outputs audio.
LANGUAGE:
For changing the language of the on screen display.
INFO:
Displays information about the DVR: specifically, it shows the current version of the software and
hardware that the DVR is running, as well as the media access control (MAC) address.
MAINTAIN:
Define and implement an automatic maintenance schedule for the DVR. It is important
that the DVR be rebooted on occasion to prevent errors - this function lets you program an automatic
schedule of rebooting which the DVR will follow.
Date:
The date, in the format as chosen in the Date Format drop-down menu.
Date Format:
The format of the date (eg. DD/MM/YYYY or MM/DD/YYYY and so on).
Time:
This can be edited in the same way as the Date, or set to update automatically.
Time Format:
How the time will be displayed, either as 12-hour (AM or PM) or 24-hour time.
NTP SETTING:
Network Time Protocol. If you’ve got the DVR connected to the Internet, you can have
it automatically sync time with an online server.
Time Zone:
Particularly important if you’ve enabled NTP - set this to the time zone wherever you
happen to be. For example, people on in eastern Australia (Canberra, Sydney and Melbourne) choose
GMT+10:00, whilst the Eastern Time zone in the USA and Canada is GMT-05:00. (GMT stands for
Greenwich Mean Time - it’s the baseline that keeps all the different time zones in sync.)
IMPORTANT:
If you change your Time Zone setting, click APPLY
before
you click UPDATE.
Configuring Custom DST MODE
As the standards for daylight savings differ from country to country, and often state to state, you might
need to manually tell the DVR exactly when it commences and ends in your locality. First, turn DST on.
Then, select the appropriate week from the drop-down menu which lists the 1ST WEEK, 2ND WEEK
(and so on) that DST commences in your region. Then, select the appropriate month from the drop-
down menu listing months. Repeat these steps for the week and month that daylight savings ends.
Once configured, your DVR will automatically adjust the time settings when daylight savings begins and
ends without you having to change anything.
Setting the Date and Time
It is very important if you’re planning on using the video
search function that the date and time are correctly set.
This is also the case if you want to be able to use the
footage from your DVR in a court of law or similar legal
proceeding.


