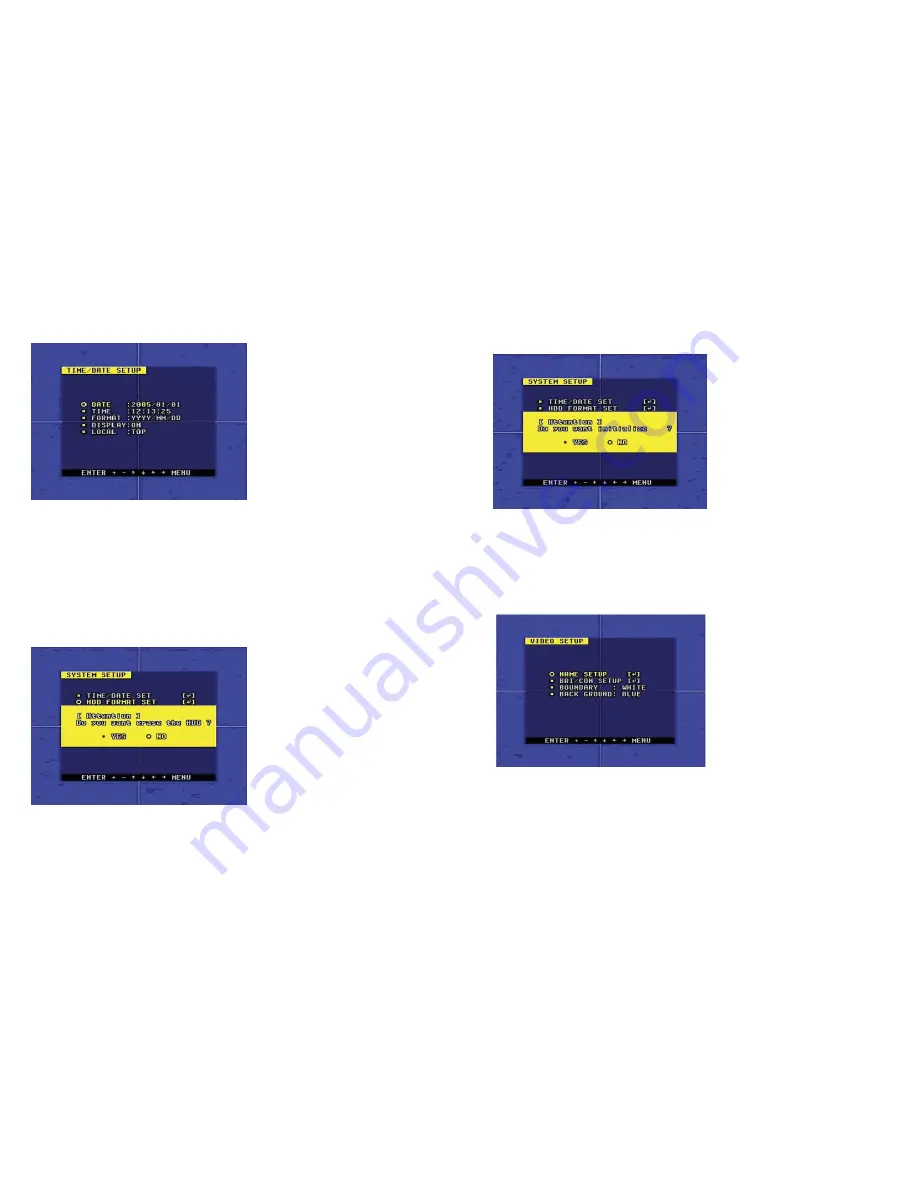
4. Time/Date Set
When the cursor is moved to Time/Date Set, push the
Enter
button and the TIME/DATE SET
window which is illustrated below will appear.
Please push up, down, left, and right buttons to move the cursor, push
+
and
-
buttons to
modify the value.
FORMAT:
the date display format, which can be different for USA, EURO and Australian
users.
DISPLAY:
if set to “
OFF
”, time will not display on the screen.
LOCAL:
time display position on the screen.
5. HDD Format Set
When the cursor moves to HDD FORMAT SET, please push
ENTER
button, the System
Setup confirmation window will appear, which is illustrated below.
If you select “
YES
” and push the enter button, all video on the HDD will be deleted, if you do
not want delete all recordings, please select “
NO
”.
6. Factory Reset
When the cursor moves to Factory Reset, please push enter button, the confirmation window
will appear, which is illustrated as below.
If you select “
YES
” and push the enter button, all of the DVR settings will reset to default, if
you do not want to reset to the default settings, please select “
NO
”.
7. Video Setup
When the cursor moves to Video Setup, please push enter button, the Video Setup window
will appear, which is illustrated as below.
BOUNDARY:
boundary line color
BACK GROUND:
back ground color.


