background image

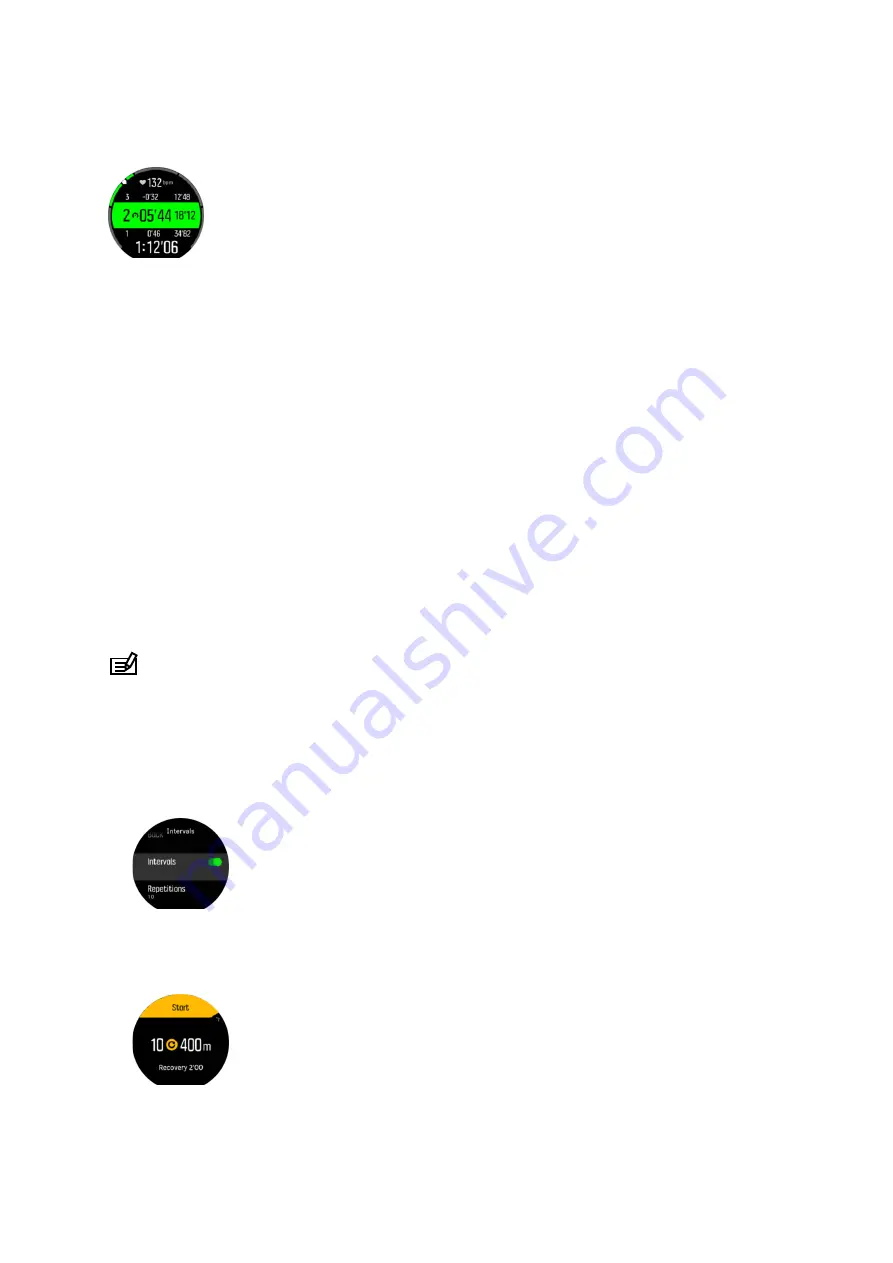
that zone, and how far away you are in pace to the next zones up or down. The middle bar
also lights up, indicating that you are training in the correct pace zone.

In the exercise summary, you get a breakdown of how much time you have spent in each
zone.

3.19. Interval training

Interval workouts are a common form of training consisting of repetitive sets of high and low
intensity efforts. With Suunto 9, you can define in the watch your own interval training for each
sport mode.

When defining your intervals, you have four items to set:

Intervals: on/off toggle that enables interval training. When you toggle this on, an interval
training display is added to your sport mode.

Repetitions: the number of in recovery sets you want to do.

Interval: the length of your high intensity interval, based on distance or duration.

Recovery: the length of your rest period between intervals, based on distance or duration.

Keep in mind that if you use distance to define your intervals, you need to be in a sport mode
that measures distance. The measurement can be based on GPS, or from a foot or bike POD,
for example.

 NOTE: If you are using intervals, you cannot activate navigation.

To train with intervals:

1. Before you start an exercise recording, swipe up or press the lower button to open the

sport mode options.

2. Scroll down to Intervals and tap the setting or press the middle button.
3. Toggle intervals on and adjust the settings described above.

4. Scroll back up to the start view and start your exercise as normal.
5. Swipe left or press the middle button until you reach the intervals display and press the

upper button when you are ready to start your interval training.

6. If you want to stop the interval training before you have completed all your repetitions,

keep the middle button pressed to open the sport mode options and toggle off Intervals.

Suunto 9

28

Содержание 9 2.0

Страница 1: ...SUUNTO 9 2 0 USER GUIDE 2019 11 12...

Страница 2: ...Button and screen lock 18 3 8 Chest heart rate sensor 18 3 9 Compass 18 3 9 1 Calibrating compass 19 3 9 2 Setting declination 19 3 10 Device info 20 3 11 Display theme 20 3 12 Do Not Disturb mode 20...

Страница 3: ...40 3 32 Sport modes 42 3 33 Swimming 42 3 34 Stress and recovery 42 3 35 Sunrise and sunset alarms 43 3 36 Timers 44 3 37 Time and date 45 3 37 1 Alarm clock 45 3 38 Tones and vibration 46 3 39 Train...

Страница 4: ...6 2 4 NOM 121 SCT1 2009 54 6 2 5 NCC 54 6 3 Trademark 54 6 4 Patent notice 54 6 5 International Limited Warranty 54 6 6 Copyright 56 Suunto 9 4...

Страница 5: ...with magnetically stored data WARNING Allergic reactions or skin irritations may occur when the product is in contact with skin even though our products comply with industry standards In such event st...

Страница 6: ...ata our products and services collect is perfectly reliable nor are the metrics they generate absolutely precise Calories heart rate location movement detection shot recognition physical stress indica...

Страница 7: ...date your watch software 1 Plug your watch into the computer with the supplied USB cable 2 Start SuuntoLink if it is not already running 3 Click the update button in SuuntoLink 2 2 Suunto app With the...

Страница 8: ...options menu double tap to return to time display from other displays Upper button press to move up in views and menus Middle button press to select an item press to press to change displays keep pres...

Страница 9: ...mmend using a compatible chest heart rate sensor such as Suunto Smart Sensor WARNING The optical heart rate feature may not be accurate for every user during every activity Optical heart rate may also...

Страница 10: ...for barometer version only Distance Duration EPOC Estimated VO2 Exercise Failure Flat time GPS acquired Heading navigation Heart rate Wrist HR signal acquired Chest HR signal acquired Incoming call Lo...

Страница 11: ...ture Storm alarm valid for barometer version only Barometer valid for barometer version only 2 6 Adjusting settings You can adjust all watch settings directly in the watch To adjust a setting 1 Swipe...

Страница 12: ...settings with a value range change the value by swiping up or down or by pressing the upper or lower button 5 For settings with just two values such as on or off change the value by tapping the setti...

Страница 13: ...es 24 7 also while recording training sessions and other activities However with some specific sports such as swimming and cycling steps are not counted In addition to steps you can tap on the display...

Страница 14: ...s according to how many active calories you burn during the day compared to your goal 3 1 1 Instant HR The instant heart rate HR display provides a quick snapshot of your heart rate From the watch fac...

Страница 15: ...s slightly increases battery power consumption Once activated your watch needs 24 minutes before it can start display daily HR information To view daily HR 1 From the watch face view swipe up or press...

Страница 16: ...klight is the quicker the battery drains Standby backlight When you are not actively using the watch by touching the screen or pressing buttons the watch goes into a standby mode after one minute The...

Страница 17: ...ng it possible to create a custom battery mode for every sport mode NOTE If while exercising you start navigating or use navigation data like estimated time of arrival ETA the GPS goes to Best regardl...

Страница 18: ...n use a Bluetooth Smart compatible heart rate sensor such as the Suunto Smart Sensor with your Suunto 9 to get accurate information about your exercise intensity If you use the Suunto Smart Sensor you...

Страница 19: ...gation Calibrate compass 3 9 2 Setting declination To ensure correct compass readings set an accurate declination value Paper maps point to true north Compasses however point to magnetic north a regio...

Страница 20: ...4 Scroll back up to exit the sport mode options and start or exit the sport mode 3 12 Do Not Disturb mode The Do Not Disturb mode is a setting that mutes all sounds and vibrations and dims the screen...

Страница 21: ...r exercise With Find back Suunto 9 can guide you directly back to your starting point To start Find back 1 Start an exercise with GPS 2 Swipe left or press the middle button until you have reached the...

Страница 22: ...o the fitness level display NOTE If the watch hasn t estimated your fitness level yet the fitness level display will instruct you further Historical data from recorded running and walking workouts pla...

Страница 23: ...ntinue showing accurate speed readings with the help of the GPS calibrated accelerometer TIP To get the most accurate readings with FusedSpeed only glance shortly at the watch when needed Holding the...

Страница 24: ...with a long duration can have a very high training effect The majority of cardiovascular conditioning training should be performed within this zone Improving basic fitness builds a foundation for oth...

Страница 25: ...the HR zones view swipe right or keep the middle button pressed NOTE You can also set your maximum HR from the settings under General Personal Set default HR zones Set your default HR zones from the s...

Страница 26: ...des that support HR The gauge indicates in which HR zone you are currently training by lighting up the corresponding section The small arrow in the gauge indicates where you are within the zone range...

Страница 27: ...utton to select the new pace zone value 6 Swipe right or press and hold the middle button to exit the pace zones view 3 18 2 1 Using pace zones when exercising When you record an exercise see Recordin...

Страница 28: ...y the length of your rest period between intervals based on distance or duration Keep in mind that if you use distance to define your intervals you need to be in a sport mode that measures distance Th...

Страница 29: ...ing the upper button until you see the logbook icon Tap on the log entry you want to view and scroll through the log by swiping up or down or by pressing the upper right or lower right buttons NOTE Th...

Страница 30: ...notification history The notification history is cleared when you check the messages on your mobile device 3 24 Pairing PODs and sensors Pair your watch with Bluetooth Smart PODs and sensors to colle...

Страница 31: ...ot POD When you pair a foot POD your watch automatically calibrates the POD using GPS We recommend using the automatic calibration but you can disable it if needed from the POD settings under Connecti...

Страница 32: ...t for the watch to activate GPS and find your location 5 When the watch displays your latitude and longitude press the upper button to save your location as a POI and select the POI type 6 By default...

Страница 33: ...n views TIP While in the POI view tap on the screen to see additional information in the lower row such as altitude difference between current position and POI and estimated time of arrival ETA or en...

Страница 34: ...parking Cave Cliff hill mountain valley Coast lake river water Crossroad Emergency End end of a route or trail Fish fishing spot Forest Geogache Hostel hotel lodging Info Meadow Peak Prints animal tr...

Страница 35: ...available include UTM Universal Transverse Mercator gives a two dimensional horizontal position presentation MGRS Military Grid Reference System is an extension of UTM and consists of a grid zone desi...

Страница 36: ...one you want to use Alternatively scroll with the upper and lower buttons and select with the middle button 5 Above the start indicator a set of icons appear depending on what you are using with the s...

Страница 37: ...owse through with the touch screen or buttons If you made a recording you don t want to keep you can delete the log entry by scrolling to the bottom of the summary and tapping the delete button You ca...

Страница 38: ...ode that uses GPS and then swipe up or press the lower button to open the options Alternatively start your recording first and then keep the middle button pressed to open the sport mode options 3 Scro...

Страница 39: ...ery Because recovery time is an estimation only the accumulated hours count down steadily regardless of your fitness level or other individual factors If you are very fit you may recover faster than e...

Страница 40: ...oute Once you reach a waypoint of POI on the route you get an informative popup showing you the distance and estimated time en route ETE to the next waypoint or POI NOTE If you navigating a route that...

Страница 41: ...ement In addition to the sleep summary you can follow your overall sleep trend with the sleep insight From the watch face press the lower right button until you see the SLEEP display The first view sh...

Страница 42: ...e the watch relies on the pool length to determine distance You can change the pool length as needed under the sport mode options before you start swimming Openwater swimming relies on GPS to calculat...

Страница 43: ...ave been in that state In this screenshot for example you have been recovering for the last four hours Press the middle button to see a bar chart of your resources over the last 16 hours The green bar...

Страница 44: ...icon Tap the icon or press the middle button to open the timer display When you first enter the display it shows the stopwatch After that it remembers whatever you used last stopwatch or countdown tim...

Страница 45: ...zone by selecting a location Once you have paired with Suunto app your watch gets updated time date time zone and daylight saving time from mobile devices Under General Time date tap Auto time update...

Страница 46: ...he following options All on all events trigger an alert All off no events trigger alerts Buttons off all events other than pushing buttons trigger alerts Under Alarms you can select from the following...

Страница 47: ...tyles To change the watch face 1 From your current watch face view keep the middle button pressed to open the shortcuts menu 2 Scroll to Watch face and tap or press the middle button to enter 2 Swipe...

Страница 48: ...ometric sensor 4 3 Altitude navigation If you are navigating a route that has altitude information you can also navigate based on ascent and descent using the altitude profile display While in the mai...

Страница 49: ...er changes often you should reset the altitude reference value regularly preferably before starting your next journey TIP While in the altimeter or barometer graph view keep the middle button pressed...

Страница 50: ...ays a storm symbol when the pressure drops 4 hPa 0 12 inHg or more during a 3 hour period To activate the storm alarm 1 Press the middle button to open the shortcut menu 2 Scroll down to ALARMS and en...

Страница 51: ...al the capacity of rechargeable batteries decreases over time NOTE In case of abnormal capacity decrease due to defective battery Suunto covers battery replacement for one year or maximum 300 charging...

Страница 52: ...urs with GPS depending on conditions and settings Optical sensor Optical heart rate by Valencell Radio transceiver Bluetooth Smart compatible Communication frequency 2402 2480 MHz Maximum transmission...

Страница 53: ...n against harmful interference in a residential installation This equipment generates uses and can radiate radio frequency energy and if not installed and used in accordance with the instructions may...

Страница 54: ...cations and their corresponding national rights For further information please visit valencell com patents 6 5 International Limited Warranty Suunto warrants that during the Warranty Period Suunto or...

Страница 55: ...by unauthorized Service Center 3 serial number has been removed altered or made illegible in any way as determined at the sole discretion of Suunto or 4 has been exposed to chemicals including but no...

Страница 56: ...ding the operation of Suunto products Its contents shall not be used or distributed for any other purpose and or otherwise communicated disclosed or reproduced without the prior written consent of Suu...

Страница 57: ...Suunto 9 57...

Страница 58: ...ANCE 33 48 168 0926 GERMANY 49 893 803 8778 ITALY 39 029 475 1965 JAPAN 81 34 520 9417 NETHERLANDS 31 10 713 7269 NEW ZEALAND 24 7 64 988 75 223 POLAND 48 1288 10196 PORTUGAL EN ES 35 1308806903 RUSSI...

Отзывы: