5
sound volume is 85 dB at 30 cm (11.8 in.) distance.
Press
Set
; the light is still on to remind user the unit is
operating. 5 warning sounds are available for selecting,
press
Up
or
Down
to change warning sound.
After desired sound is selected, if you wish to skip other
settings keep pressing
Set
until LCD returns back to
standby mode which implies setting is completed.
Note:
Under warning sound mode, if no action is taken
within 12 seconds, the LCD returns back to the standby
mode and the light turns off. The setting is not saved.
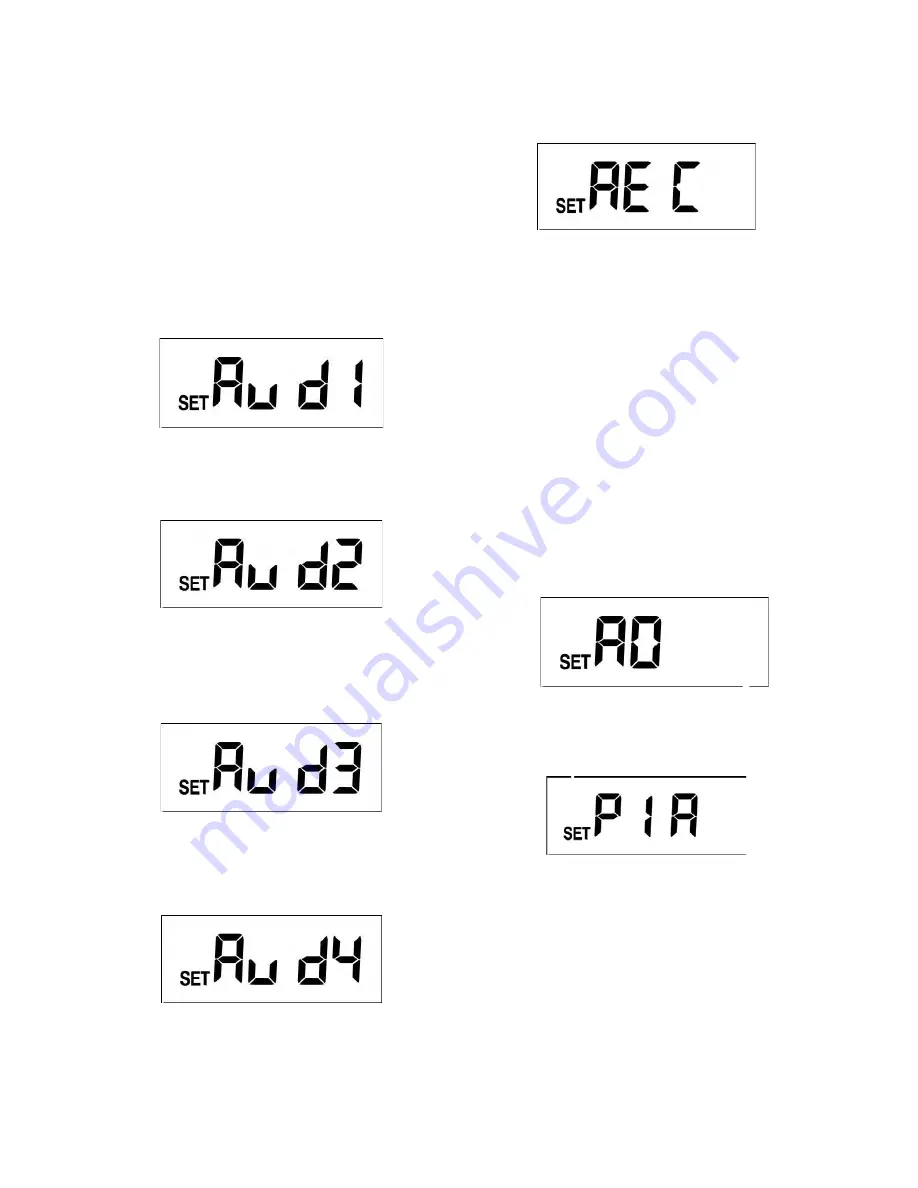
There are 5 warning sounds:
2.1 Warning Sound 1
Pre-set alarm sound (this cannot be changed)
FIGURE 20
2.2 Warning Sound 2
Dog barking sound (this cannot be changed)
FIGURE 21
2.3 Warning Sound 3
Open for user recording; you can record your own
audio warning.
FIGURE 22
2.4 Warning Sound 4
Open for user recording; you can record your own
audio warning.
FIGURE 23
Built-in microphone is used for video recording and for
creating your unique warning sounds.
To create your unique sounds (warning sound 3 & 4):
a. Select warning sound # 3 or 4
b. Press
Set
for 3 seconds. The light flashes once to
imply the unit is ready for recording
c. Wait for 5 seconds. The LCD shows ‘REC’ and the
recording can begin (FIGURE 24).
FIGURE 24
d. Record time is 10-seconds
e. After recording, the LCD returns back to warning
sound 3 or 4 (FIGURE 22 or 23).
f.
The unit will replay the recorded sound for
verification
g. After sound is played, the LCD returns back to
standby mode (FIGURE 3). Sound recording and
warning sound selection is completed. Note: PIR
stops detecting function for one minute
h. If warning sound 1, 2 or 5 is selected, press
Set
for
3 seconds so you will not execute recording
function. Ten seconds after LCD returns back to
standby mode, the setting of warning sound is
completed.
Note:
If you wish to execute sound recording while the
unit is performing video recording, the sound recording
will not be executed until video recording is completed.
2.5 Warning Sound 5 (Mute Mode)
Mute mode (this cannot be changed)
FIGURE 25
3. PIR SENSITIVITY
Under warning sound mode, press
Set
to enter PIR
sensitivity selection.
FIGURE 26
Press
Set
. The light is still on to remind user the unit is
operating. 4 PIR sensitivities are available for selecting.
Press
Up
or
Down
to change sensitivity. PIR sensitivity
#1 is the highest sensitivity and the preset value.
After desired sensitivity is selected, if you wish to skip
the other settings, keep pressing
Set
until LCD returns
back to standby mode which implies setting is
completed.
The PIR sensor can be swiveled in different directions
to adjust detection coverage.
Note:
When in PIR sensitivity settings, if no action is
taken within 12 seconds, the LCD returns back to


