4
combination of the unit’s functions. In standby mode
(FIGURE 3), press
Set
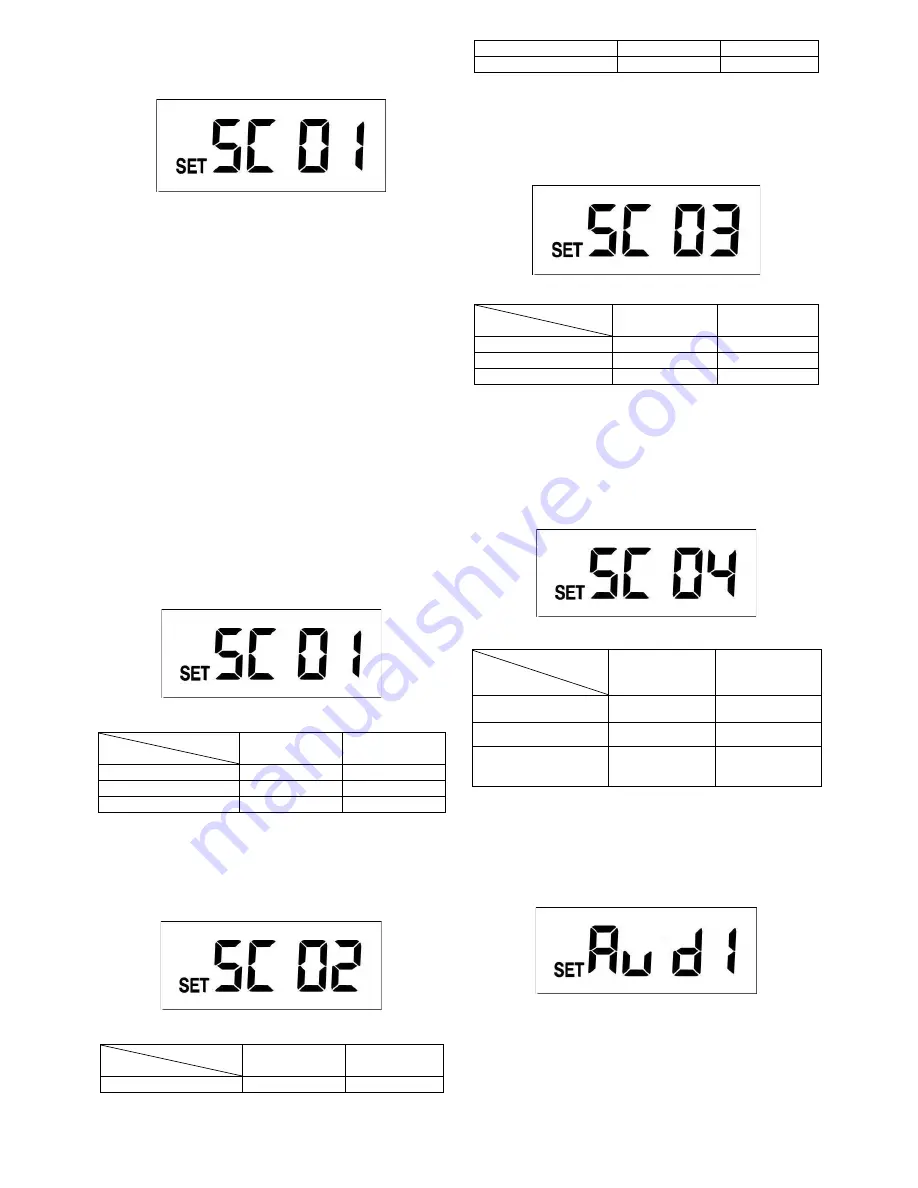
to enter scene mode. The LCD
shows as below:
FIGURE 14
Scene one is the preset mode. Press
Set
and the light
turns on to remind user that the unit is operating. Four
scenes are available for selecting. Press
Up
or
Down
to change the scene.
After desired scene is selected the light flashes once
and then turns on steadily for 10 seconds. This implies
the scene change is in progress. Once the light turns off,
if you wish to save the setting or skip other settings,
keep pressing
Set
until LCD returns back to standby
mode.
Note:
Under scene mode, if no action is taken within 12
seconds, LCD returns back to standby mode and the
light turns off; the setting isn’t saved.
There are 4 scene modes:
1.1 Scene 1
All armed mode
(FIGURE 15). Once the PIR detects
motion, the camera and light turn on and the
microphone starts recording. Warning sound plays for
10 seconds.
FIGURE 15
Ambient Light
Function
Day
Night
Camera & MIC
On
On
Warning Speaker
On
On
Light
On
On
1.2 Scene 2
Once PIR detects motion, the camera and microphone
start recording. Depending on the ambient light (day or
night) the speaker and light turn on.
FIGURE 16
Ambient Light
Function
Day
Night
Camera & MIC
On
On
Warning Speaker
On
Off
Light
Off
On
1.3 Scene 3
Once PIR detects motion, the camera and microphone
start recording. Depending on the ambient light (day or
night) speaker and light turn on.
FIGURE 17
Ambient Light
Function
Day
Night
Camera & MIC
On
On
Warning Speaker
Off
On
Light
Off
On
1.4 Scene 4
The camera and warning speaker are off. This is
energy saving mode. Once PIR detects motion,
depending on the ambient light (day or night) the light
turns on/off. The light can also be turned on/off via a
remote control.
FIGURE 18
Ambient Light
Function
Day
Night
Camera & MIC
Off
Off
Warning Speaker
Off
Off
Light
Off
(Remote Control
ON/OFF)
On
(Remote Control
ON/OFF)
Note:
In Scene 4, local time setting is not available
2. WARNING SOUNDS
In scene mode, press
Set
to enter warning sound
settings. The LCD shows as below:
FIGURE 19
Warning sound 1 is the preset sound.
5 warning
sounds are available for selecting
. Warning sounds
3 and 4 are open for your voice/sound recording. The
playtime for each warning sound is 10 seconds, and the


