Features:
·
Custom crafted for use as single or twin transportation.
·
Sleek, modern design for ease of use.
·
Carefully placed oval arm holes provide comfort for babies of all sizes.
·
Padded shoulder straps to evenly distribute weight for maximum comfort.
·
Clicking locks to ensure proper use.
·
Reinforced seat and leg holes to comfortably support child.
·
External pockets for convenient storage.
Safety Notes:
·
This product is for use with children up to approximately 12 months or 25 lbs. It is recommended that
all children face inward and ride in the front until they can fully support their own heads.
·
It is recommended that parent should be comfortable with wearing, adjusting, and removing carrier
prior to carrying children. Take frequent breaks from walking whenever necessary.
·
Always check straps, make fitting adjustments, and confirm that latches are closed and locked in place
prior to placing children in carrier.
·
Always keep leg openings to smallest possible diameter for use with each child.
·
Never use carrier as a means of vehicle transportation. Always use a car seat.
·
Never leave children unattended while inside carrier, partially or otherwise. If you are loading carrier
from the car, leave children fastened in car seat until each child is ready to be put in the carrier.
·
Remember to bend at the knees while wearing the carrier with children inside. If you are loading
children into a car, remember to bend at the knees while removing them from the carrier-do not bend
forward. Also, make sure first child is secured in car seat before removing second baby from carrier.
Instructions for use:
Putting on the Carrier-Twin Inward position
1.
Pick up one carrier and lift to one side of chest, with the TwinTrexx2 ® logo facing out and the
TwinTrexx 2® logo that is upside down facing your body.
2.
Place both unfastened arm straps over the same shoulder toward the opposite hip.
3.
Take the second carrier and bring to the other side of the chest next to the first piece (with logo
side facing out as well). The straps from the second piece will both reach over the opposite
shoulder.
4.
Take the straps from one carrier and reach them across your back to the opposite side. Connect the
buckles at the ends of the straps to the bottom of the other carrier. Repeat the process with the
straps on the second carrier.
5.
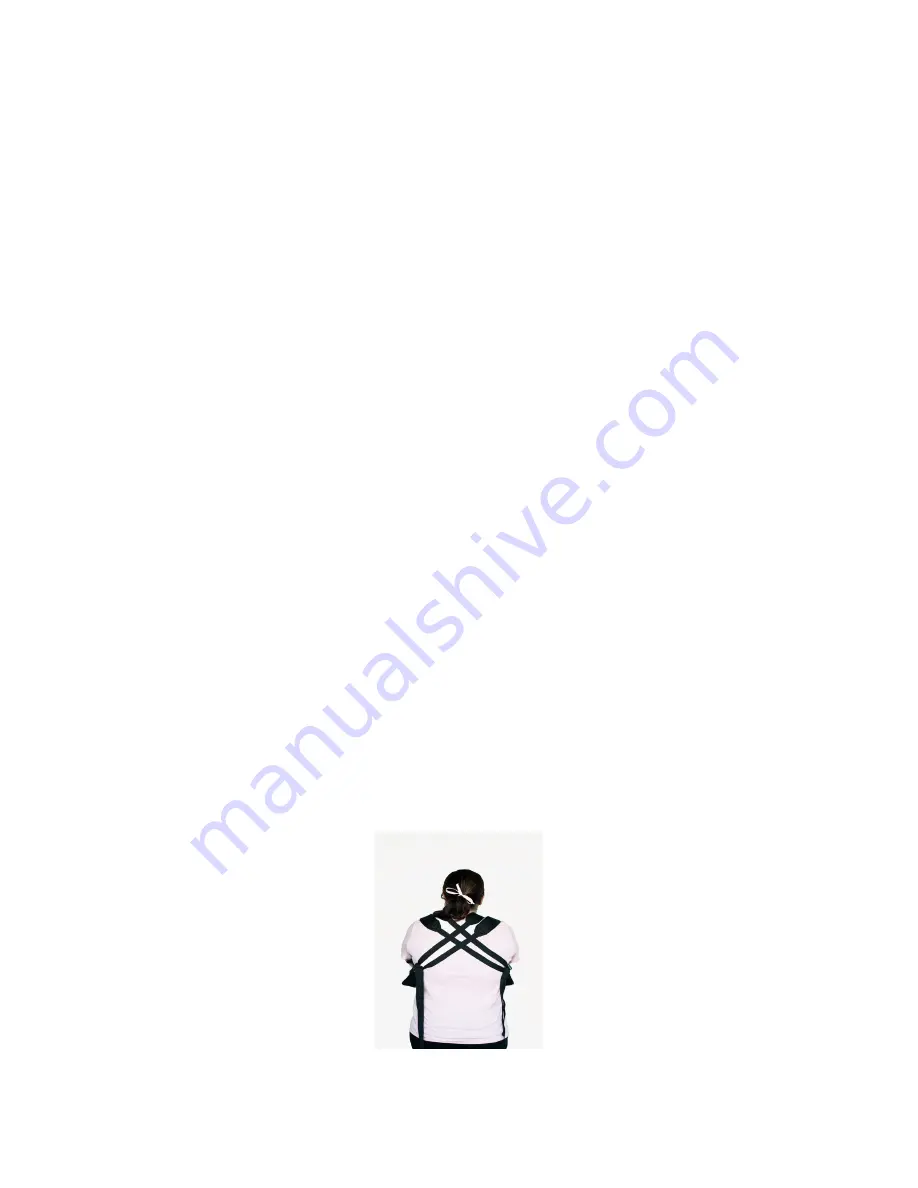
Straps should make an ‘X” across the back, each reaching across to the opposite carrier. Both
straps from one carrier will cross over the straps from the other. (See Figure 1)
Figure 1


