


15
14
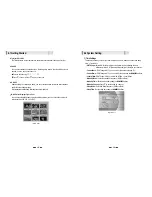
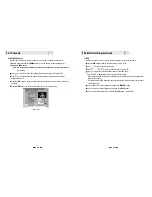
Manual Scan <Figure 6-6>
Select a transponder.
To change a transponder’s information (Frequency, Symbol Rate), use the
NUMERIC
buttons.
To add a new transponder, press the
GREEN
button.
To delete a transponder, press the
YELLOW
button with the cursor next to the Frequency
parameter.
To search a transponder, set its different parameters and press
.
6.1 Getting Started
6.1 Getting Started
Package Identifier (PID) Scan <Figure 6-7>
Select a transponder.
To change a transponder’s information (Frequency, Symbol Rate), use the
NUMERIC
buttons.
To add a new transponder, press the
GREEN
button.
To delete a transponder, press the
YELLOW
button with the cursor next to the Frequency
parameter.
To search a transponder, set its different parameters and press
/
. You can search
a specific channel of the transponder by setting its PID data (Video, Audio and PCR).
CH
CH
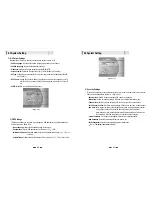
Press
under ‘SCAN’ to scan the selected satellites. <Figure 6-5>
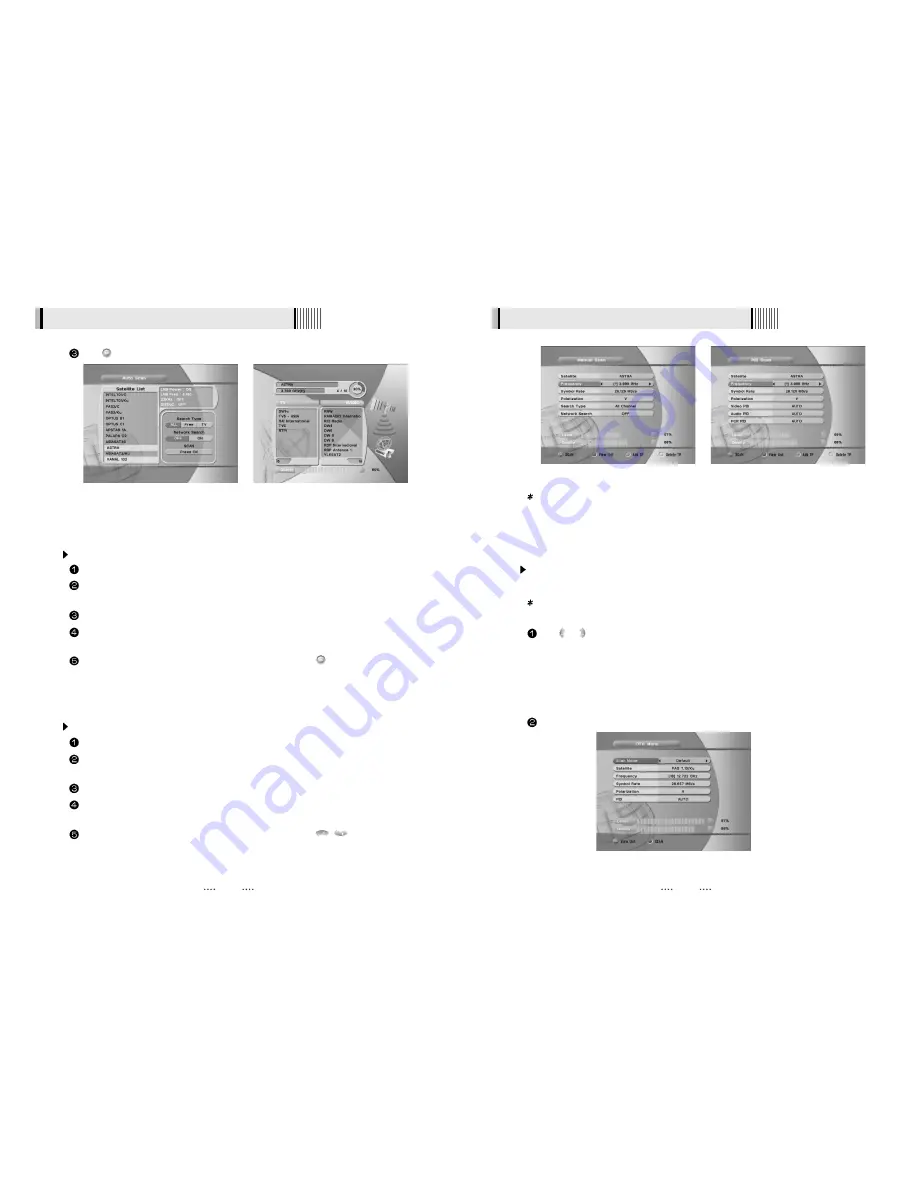
OTA Menu <Figure 6-8>
You can download the latest software via satellite system in the OTA (Over The Air) Menu.
Note : OTA information is subject to change by the manufacturer with or without
notice.
Press or to select the Scan Mode.
- Default :
You can simply proceed OTA by using the default Satellite, Transponder
information.
- User :
The satellite/Transponder can be added or changed by this option.
You can use this option if you are failed to proceed OTA by the Default.
You can contact your local provider or dealer to get more information.
Press
RED
button to start OTA.
VOL
VOL
Note : If you cannot access programs after correctly completing a scan procedure,
please contact your seller or your installer.
<Figure 6-6>
<Figure 6-7>
<Figure 6-4>
<Figure 6-5>
<Figure 6-8>


