39
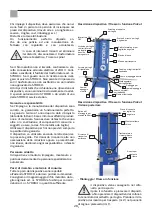
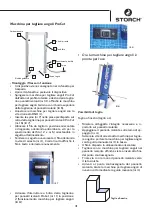
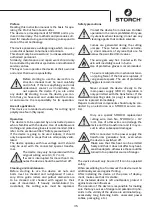
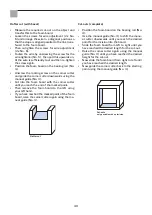
ProCut corner cutter
Manual guide
Locking screw
Wire tightener
Wire adjustment
Wire guiding roller
Cutting wire
Connector
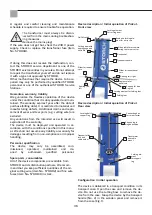
Configuration / initial operation
The device is delivered in a transport condition in
•
its transport case:
Open the case and remove the device.
•
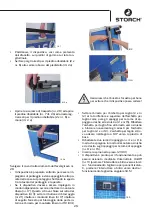
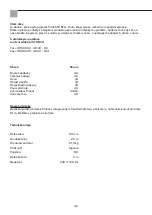
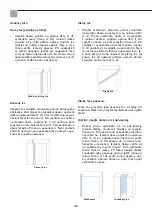
Slide the Pro Cut corner cutter from above into
•
the right side profile (No.14) of the ProCut foam
board cutter until the corner cutter is flush with
the upper edge of the foam board cutter (Fig. 6).
Secure the corner cutter in place using the locking
•
screw (No. 4).
Insert the connector (No. 7) into the correspon-
•
ding connection socket at the rear of the Pro Cut
foam board cutter (No. 16) (Fig. 7).
Arrange the cutting wire in a horizontal or diago-
•
nal position by loosening the two wire adjusting
screws (2 x No. 6) and then secure the wire in
place by re-tightening the screws.
Then tauten the wire by unscrewing the locking
•
screw (No. 4), pull it upwards until the wire be-
comes taut and then re-tighten the screw.
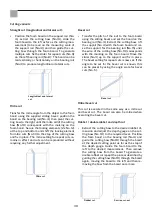
Confirm that the rocker switch of the ProCut foam
•
board cutter (No.11) is in position 2 (corner cutting
operation (Fig.8).
Fig.7
Fig.6
Fig..8
The corner cutter is now ready for use.
•
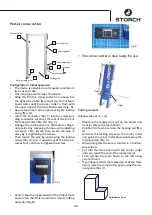
Cutting variants
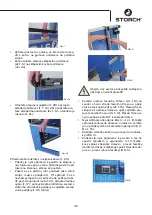
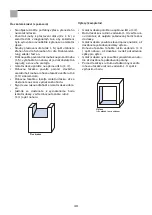
Window cut-out (L- cut)
Measure the required cut-out on the object and
•
transfer this to the foam board.
Position the foam board on the bearing rail (No.
•
4).
Unscrew the locking screw on the corner cutter
•
and guide the corner cutter downwards using the
manual guide (No. 3).
When doing this the wire is located in a horizon-
•
tal position.
Cut into the foam board with the corner cutter
•
until you reach the end of the marked point.
Then remove the foam board to the left using
•
your left hand.
If you have reached the marked point of the foam
•
board, raise the corner cutter again using the ma-
nual guide (No. 3).
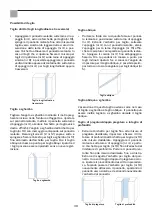
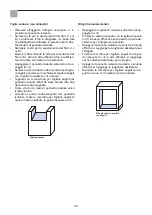
Window cut-out
3
7
5
6
2
2
1
4
6

