2
Welcome
The wireless remote board removes the need for lengthy control cable and eliminates concerns of
lightning damage to your controller. It accomplishes this by replacing the Cat 5 cable with Green
Heron Everywhere radio links. The controller can sit next to the radio while the remote driver is
located at the base of the tower.
If you purchased a new controller with the wireless remote board, your controller and remote
board are paired and ready for setup. Skip to page 13 and proceed with setup and installation.
If you purchased the wireless remote board as an upgrade to an existing controller or
controller/tethered remote board pair, then there are some additional steps that you will need to
go through to modify your controller.
GHE Radio Setup
Your wireless link boards will arrive programmed to the same channel. However, if you plan on
using more than one controller with a radio link they will need to be on different channels. Also, if
you are using XBee radios for other controls they must be on different channels. The following
instructions walk you through the setup process for the XBee radios.
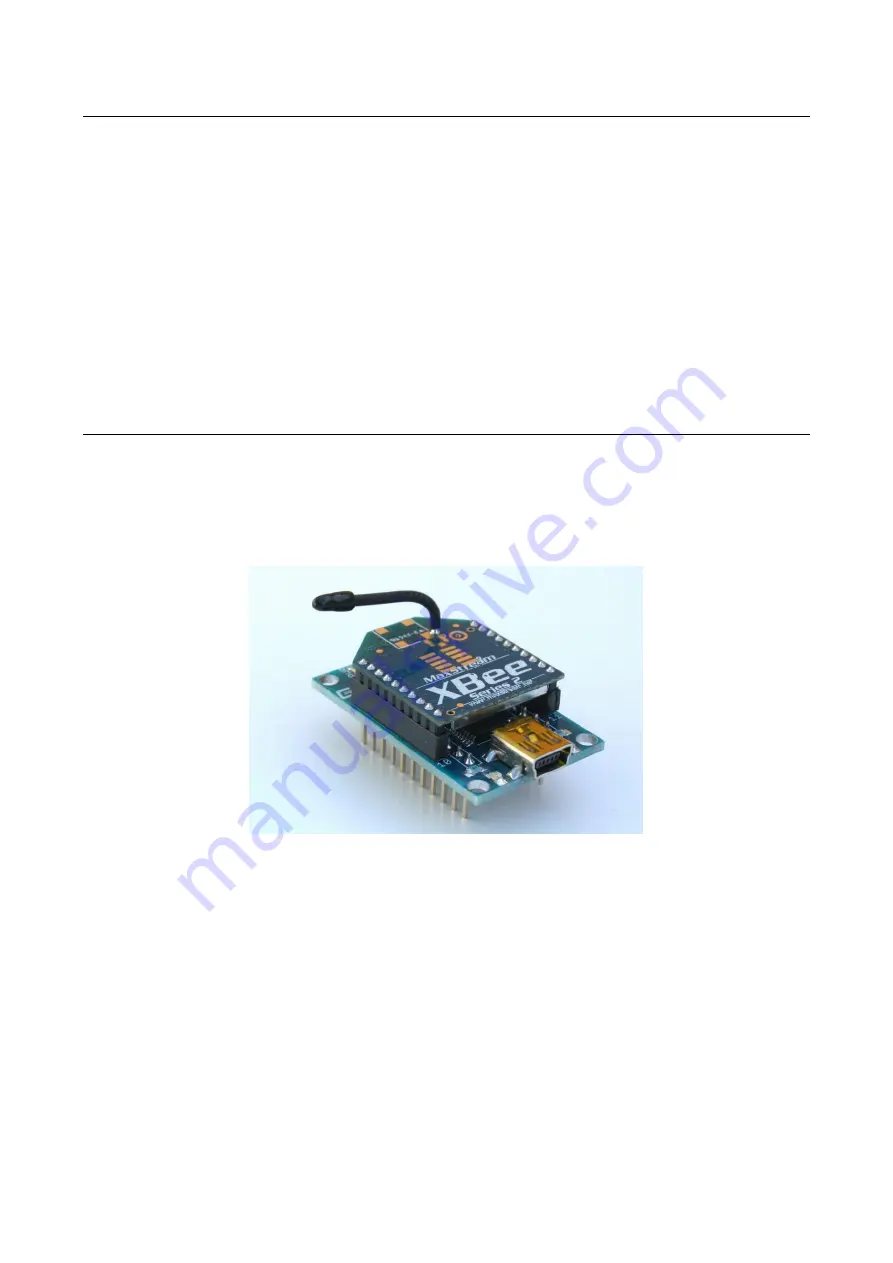
Fig. 1
XBee radio and USB adapter
You will need 2 XBee radios, the USB adapter and XCTU configuration software.
Step 1:
Plug a radio into the USB adapter and connect the mini USB.
Step 2:
Start XCTU software.
Step 3:
Select the Discover Radio Modules icon.
Step 4:
Select the com port the radio is connected to and select Next.
Step 5:
Leave the default settings and select Finish.
Step 6:
Wait for the program to find the radio and then select Add Selected Device.
Step 7:
Set the Channel using the configuration tab.
Step 8:
Press Write and disconnect the USB.
Step 9:
Repeat steps 4 through 9 with the second radio.
Step 10:
Install the one radio in the SDA controller.
Step 11:
Install the other radio on the remote driver board.


