


Instruction Manual
15
12. Move the slider beneath Drive 0 all the way to the right to allocate the remaining
capacity on the two drives to the
FAST
volume. If you wish, you can allocate less than
the total remaining capacity to the new volume. However, doing so makes the
unallocated capacity unavailable and unused.
13. Click
Update Volume
.
14. Click the
Create a New Volume
toolbar button.
15. Select the
BIG
radio button in the
Storage Policy
section.
16. Select the
Use
check box beneath Drive 2, Drive 3, and Drive 4 to allocate all of the
remaining system capacity to the
BIG
volume.
17. Click
Update Volume
.
Please note:
Only the last Volume listed (in the above example, Volume 2) can be
edited. In order to edit Volume 1, Volume 2 must be deleted. In order to
edit Volume 0, all Volumes must be deleted and the end-user will need to
start with a New Volume.
18. Click the
Write Configuration for System to a File
toolbar button to save the
configuration.
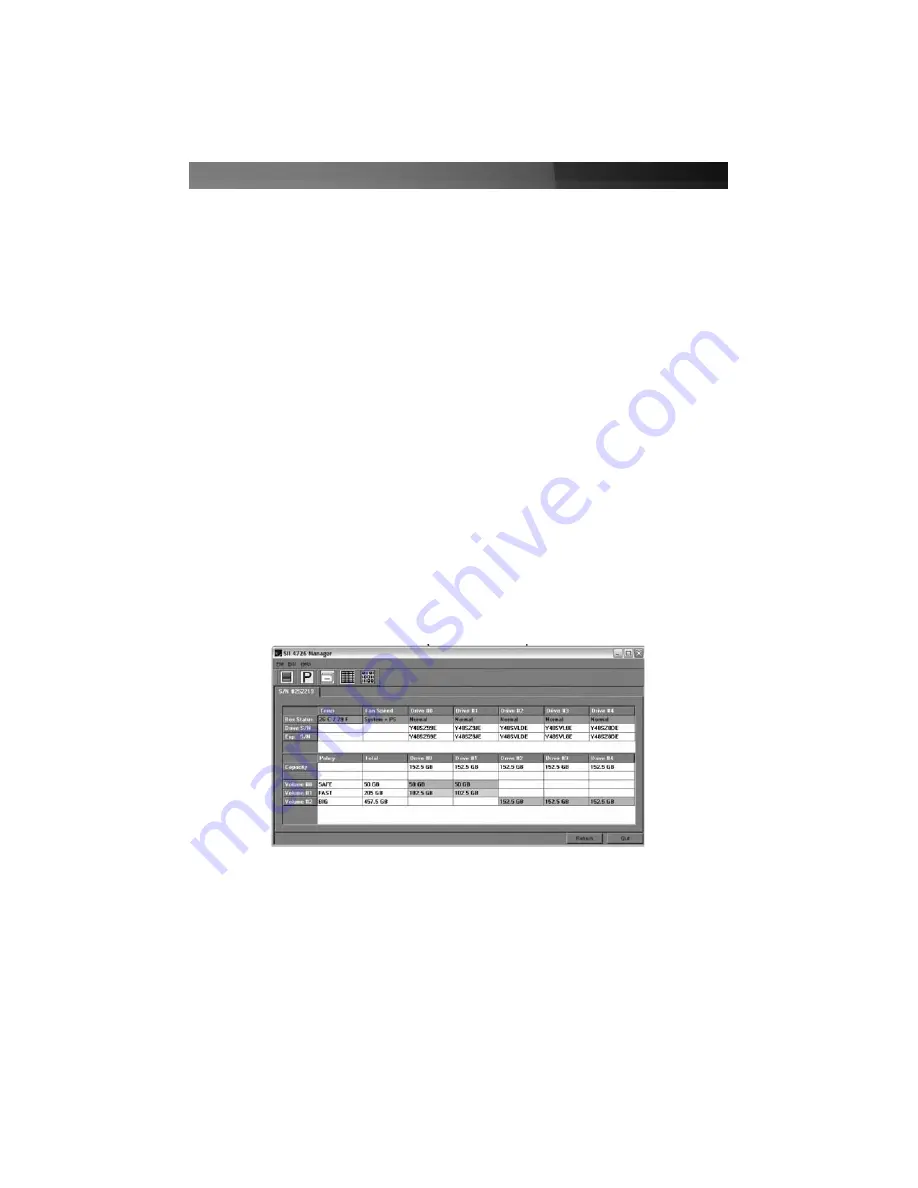
19. Click
Update Volume
to create the multi-volume configuration, close the Wizard, and
will display the volumes in the Status window (within a minute or so):
11. Partition the configured volumes to complete the implementation. See the section
entitled
Partitioning Configured Volumes
for details.


