background image

Instruction Manual

3

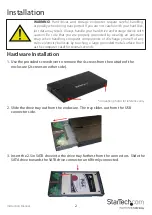
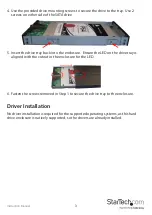
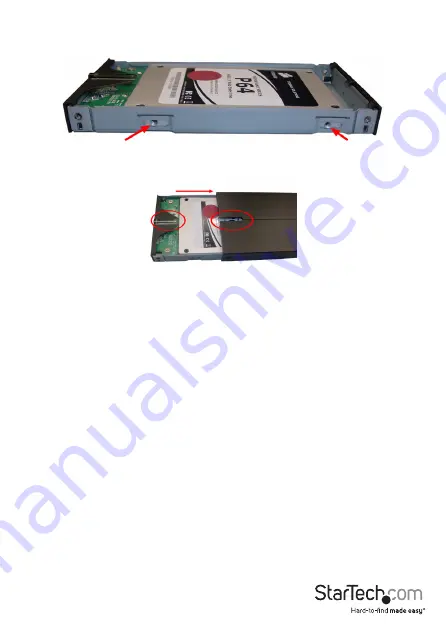
4.  Use the provided drive mounting screws to secure the drive to the tray.  Use 2 

screws on either side of the SATA drive.

5.  Insert the drive tray back into the enclosure.  Ensure the LED on the drive tray is 

aligned with the cutout in the enclosure for the LED.

6.  Fasten the screws removed in Step 1 to secure the drive tray to the enclosure.

Driver Installation

No driver installation is required for the supported operating systems, as this hard 

drive enclosure is natively supported, so the drivers are already installed.

Содержание SAT2510B12U3

Страница 1: ...sanleitung de startech com FR Guide de l utilisateur fr startech com ES Gu a del usuario es startech com IT Guida per l uso it startech com NL Gebruiksaanwijzing nl startech com PT Guia do usu rio pt...

Страница 2: ...ceiving antenna Increase the separation between the equipment and receiver Connect the equipment into an outlet on a circuit different from that to which the receiver is connected Consult the dealer o...

Страница 3: ...able of Contents Introduction 1 Packaging Contents 1 System Requirements 1 Installation 2 Hardware Installation 2 Driver Installation 3 Using the Storage Device 4 Specifications 6 Technical Support 7...

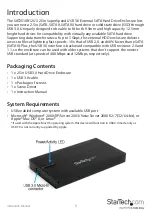
Страница 4: ...2 0 and 60 faster than eSATA SATA II Plus the USB 3 0 interface is backward compatible with USB revisions 2 0 and 1 1 so the enclosure can be used with older systems that don t support the newest USB...

Страница 5: ...r discharge yourself of any static electricity build up by touching a large grounded metal surface such as the computer case for several seconds Hardware Installation 1 Use the provided screw driver t...

Страница 6: ...into the enclosure Ensure the LED on the drive tray is aligned with the cutout in the enclosure for the LED 6 Fasten the screws removed in Step 1 to secure the drive tray to the enclosure Driver Inst...

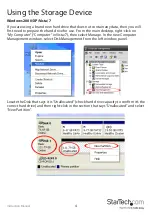
Страница 7: ...d drive for use From the main desktop right click on My Computer Computer in Vista 7 then select Manage In the new Computer Management window select Disk Management from the left window panel Locate t...

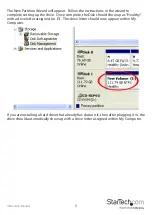
Страница 8: ...drive Once complete the Disk should show up as Healthy with a drive letter assigned i e E This drive letter should now appear within My Computer If you are installing a hard drive that already has da...

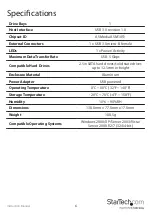
Страница 9: ...er Rate USB 5 Gbps Compatible Hard Drives 2 5in SATA hard drives solid state drives up to 12 5mm in height Enclosure Material Aluminum Power Adapter USB powered Operating Temperature 0 C 60 C 32 F 140...

Страница 10: ...returned for repair or replacement with equivalent products at our discretion The warranty covers parts and labor costs only StarTech com does not warrant its products from defects or damages arising...

Страница 11: ...ts and we quickly deliver them wherever they need to go Just talk to one of our tech advisors or visit our website You ll be connected to the products you need in no time Visit www startech com for co...

Отзывы: