12
3. Basic
Operation
3.1 Preparations
-
Plug CamBall into USB port of your computer using USB Cable(SG99) or into the wall socket using
USB Cable(SG99) and USB Adapter(SG95), and leave it for at least two and half hours to fully
charge CamBall’s battery
-
Insert the external memory card (Micro SD) into the external memory slot. (Refer to 6.1.6 Memory
Settings of this manual)
-
Refer to
5. Initial Configurations
of this manual and before start, change the configurations.
3.2 Basic Operation and Status Check
y
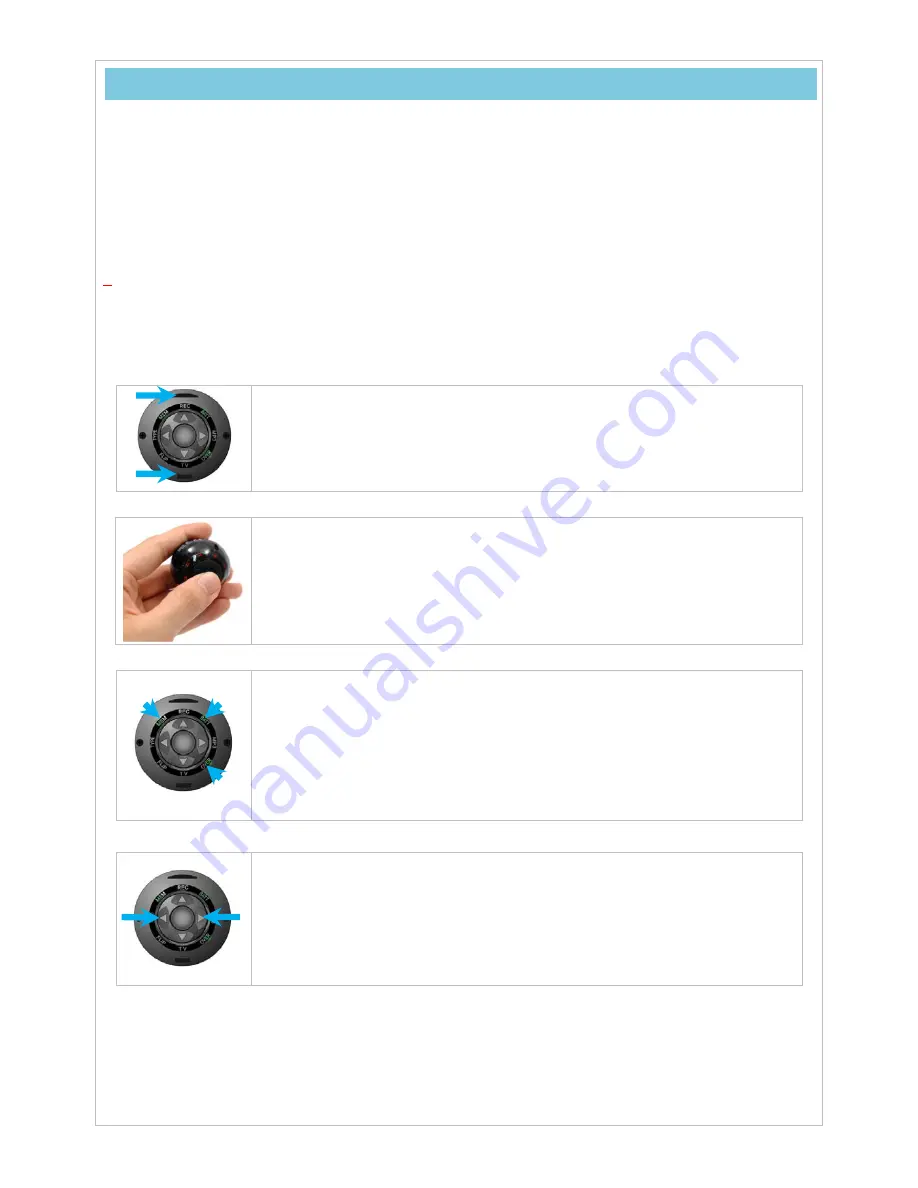
CamBall Buttons
The external memory slot is positioned at the top and the USB port at the
bottom of CamBall.
y
Powering On/Off
Press and hold the
Center
button over two seconds to power CamBall on. All
the indication lamps will blink three times as the CamBall powers up.
Press and hold the
Center
button over two seconds to power CamBall off.
The indication lamps will blink in rotation three times as the CamBall powers
down.
y
Status Check
When you power on CamBall, it is operating normally if three indication lamps
(BATT, MEM, and OVER) turn on. These indication lamps indicate CamBall’s
status (battery reserve, memory status, and overwrite setting). Note that
CamBall can be configured so that these lamps automatically turn off in five
seconds (pressing the [
▼
]
button under this configuration displays CamBall
status for five seconds).
y
Lock
All buttons can be locked by pressing and holding the [
◀
] and [
▶
]
buttons
simultaneously for two seconds. All the indication lamps will blink once before
they are locked. Unlock the in the same manner. The indication lamps blink
twice before they are unlocked. Pressing any of the buttons while they are
locked will cause all lamps blinking in
Red
+
Green
once but no operation of
CamBall at all.


