background image

7

OPERATION

NOTICE: NEVER run pump dry. Running pump dry may damage seals, caus-
ing leakage and flooding. Fill pump with water before starting motor.

Before removing trap cover:

1. STOP PUMP before proceeding.
2. CLOSE GATE VALVES in suction and discharge pipes.
3. RELEASE ALL PRESSURE from pump and piping system.
4. NEVER tighten or loosen clamp while pump is operating.

If pump is being pressure tested, release all pressure before removing

trap cover.

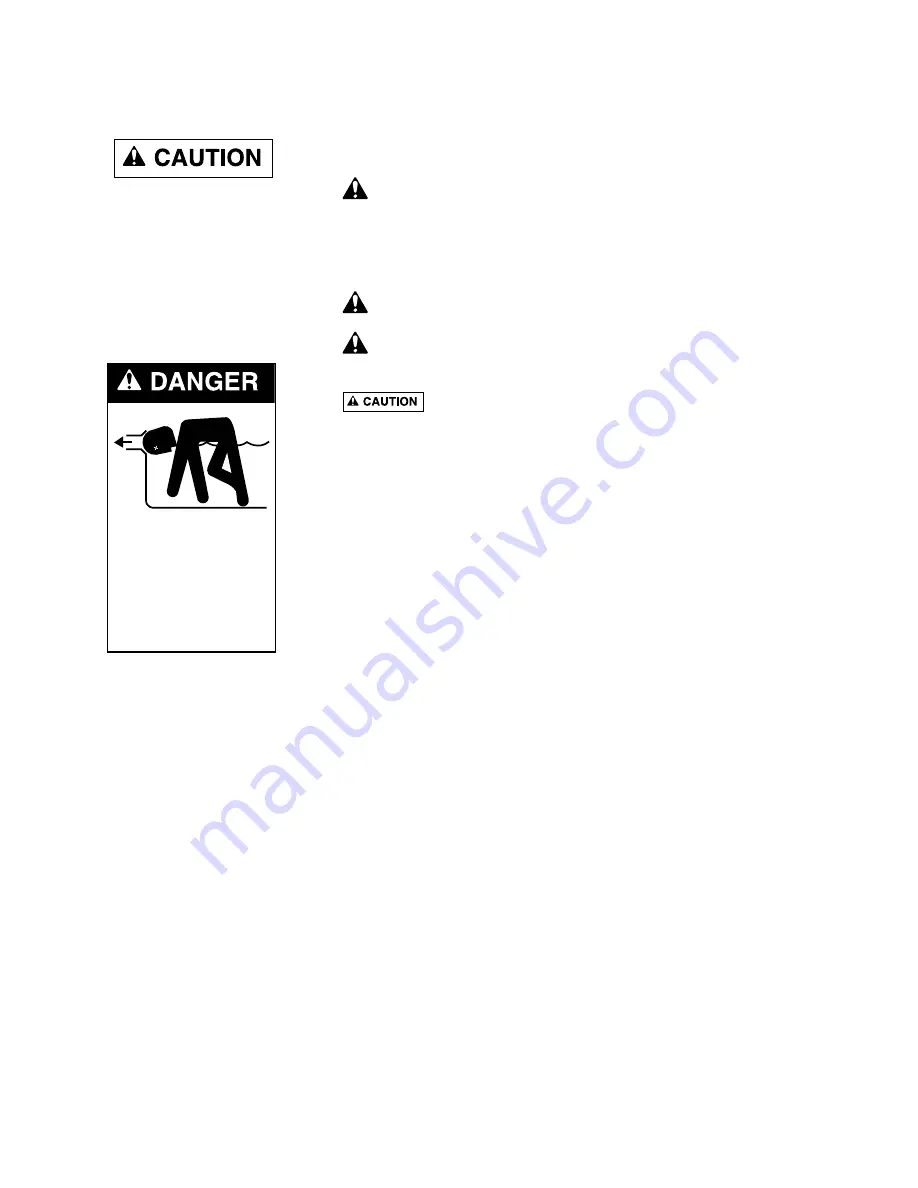
Do not block pump suction. To do so with body may cause severe or

fatal injury. Small children using pool must ALWAYS have close adult
supervision.

Motor normally operates at high temperature and will be too hot

to touch. It is protected from heat damage during operation by an automatic in-
ternal cutoff switch. Before handling pump or motor, stop motor and allow it to
cool for 20 minutes.

Priming Pump

Release all air from filter and piping system: see filter owner’s manual.
In a flooded suction system (water source higher than pump), pump will prime
itself when suction and discharge valves are opened.
If pump is not in a flooded suction system, unscrew and remove trap cover;
fill trap and pump with water.
Lubricate trap cover “O” Ring with petroleum jelly each time it is removed.
Clean and inspect “O” Ring; reinstall on trap cover.
Replace trap cover on trap; turn clockwise to tighten cover.
NOTICE: Tighten trap cover by hand only (no wrenches)! Use a wrench only
if necessary to remove lid!
Pump should prime now. Priming time will depend on vertical length of suc-
tion lift and horizontal length of suction piping.
If pump does not prime, make sure that all valves are open, suction pipe end
is under water, pump suction is below water level, and that there are no leaks
in suction pipe. See Troubleshooting Guide, Page 11.

Routine Maintenance

The only routine maintenance needed is inspection/cleaning of trap basket.
Debris or trash that collects in basket will choke off water flow through the
pump. Follow instructions below to clean trap:
1. Stop pump, close gate valves in suction and discharge, and release all pres-

sure from system before proceeding.

2. Unscrew trap lid (turn counterclockwise). If necessary, use a lever such as a

board or long screwdriver between lugs on trap cover.

3. Remove strainer basket and clean. Be sure all holes in basket are clear,

flush basket with water and replace in trap.

4. Clean and inspect “O” Ring; reinstall on trap cover.
5. Clean “O” Ring groove on trap body and replace lid. To help keep lid from

sticking, tighten hand tight only (no wrenches!).

6. Prime pump (see priming instructions, above).

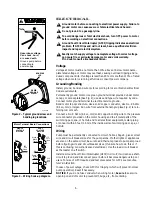
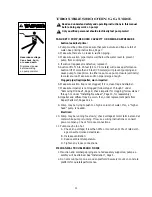
Hazardous suction.
Can trap hair or
body parts, causing
severe injury
or death.

Do not block
suction.

Содержание MAX-E-GLAS PE Series

Страница 1: ...2G 122 3 PE6H 139L PE62H 139 3 PE6H 139LC PE6H3 139 Sta Rite Pool Spa Group 600 S Jefferson Street Waterford WI 53185 North America 800 752 0183 FAX 800 582 2217 International 414 728 5551 FAX 414 728...

Страница 2: ...he Sta Rite PE Series Self priming Centrifugal pump Is designed for use with swimming pools or as a centrifugal pump Is an excellent performer durable reliable Table of Contents Safety Instructions 3...

Страница 3: ...BE SURE all air is out of system before operating or testing equipment Before pressure testing make the following safety checks Check all clamps bolts lids and system accessories before testing Releas...

Страница 4: ...CE Use Teflon tape or Plasto Joint Stik1 for making all threaded connections to the pump Do not use pipe dope pipe dope will cause stress cracking in the pump NOTICE Pump suction and discharge connect...

Страница 5: ...ical Officials IAPMO standards Use only non entrapping suction fitting or double suction TABLE I RECOMMENDED FUSING AND WIRING DATA Serv to Motor Dist in Ft M Motor Branch Fuse Max Load Voltage 0 100...

Страница 6: ...mm solid copper bonding wire to the pressure wire connector provided on the motor housing and to all metal parts of the swimming pool spa or hot tub and to all electrical equipment metal piping or con...

Страница 7: ...Clean and inspect O Ring reinstall on trap cover Replace trap cover on trap turn clockwise to tighten cover NOTICE Tighten trap cover by hand only no wrenches Use a wrench only if necessary to remove...

Страница 8: ...tem Propylene glycol is non toxic and will not damage plastic system components other anti freezes are highly toxic and may also damage plastic components in the system Drain all water from pump and p...

Страница 9: ...e 3 Remove clamp holding pump halves together 4 Remove pump base mounting bolts if used Motor and seal plate assem bly can now be pulled away from pump body 5 Remove five screws and washers holding di...

Страница 10: ...unterclockwise 8 Mount diffuser on seal plate tighten screws to 10 14 inch lbs 11 5 16 1 cent kg torque 9 Assemble motor and seal plate to volute be sure clamp is properly seated NOTICE Clamp knob can...

Страница 11: ...er 7 Make sure impeller is not clogged follow steps 1 through 7 under Removing Old Seal Page 9 check impeller for clogging follow steps 7 through 11 under Installing New Seal Page 10 for reassembly 8...

Страница 12: ...Clamp Knob 1 WC36 22 10 Impeller 1 Chart at Right 11 Diffuser 1 C1 200PA 12 Screw 8 32x7 8 5 U30 542SS 13 Washer 8 Lock 5 U43 21SS 14 Diffuser O Ring 1 U9 226 15 Tank Body 1 C176 47P1 16 1 4 NPT Drai...

Страница 13: ...w 8 32x7 8 5 U30 542SS 13 Washer 8 Lock 5 U43 21SS 14 Diffuser O Ring 1 U9 226 15 Tank Body 1 C176 47P1 16 1 4 NPT Drain Plug 1 U178 920P 17 Base w Motor Pad 1 C104 42P 18 Motor Pad 1 C35 11 19 Washer...

Страница 14: ...C30 12 11 Diffuser 1 C1 259P 12 Screw 8 32x7 8 5 U30 542SS 13 Washer 8 Lock 5 U43 21SS 14 Diffuser O Ring 1 U9 226 15 Tank Body 1 C176 47P1 16 1 4 NPT Drain Plug 1 U178 920P 17 Base w Motor Pad 1 C104...

Страница 15: ...Capscrew 5 16 18x1 1 4 U30 64SS 4 U30 64SS 4 8 Washer Lock 5 16 U43 11SS 4 U43 11SS 4 9 Washer Flat 5 16 U43 41SS 4 U43 41SS 4 Quantity one unless otherwise indicated Overhaul Kits H P Parts Pak Numbe...

Страница 16: ...ence misapplication im proper installation or maintenance or other circumstances which are not in Sta Rite s direct control Full warranty coverage is in effect for one year after instal lation The pro...

Отзывы: