


DocID017768 Rev 4
9/39
UM0979
eMotion board installation
39
2
eMotion board installation
The software package can be downloaded from the st.com website and includes the
following directory structure:
DRIVER: it contains the installation package for the USB drivers needed to connect the
eMotion board to the PC. No driver is needed on Linux and Mac OS platforms, so this
directory is included in the Windows installation package only.
DFU: it contains the .dfu files and the installation package for the software needed to
upgrade the firmware of the eMotion board.
FIRMWARE: it contains the source code of the firmware of the eMotion board together
with the corresponding binary file that can be flashed to the board using the DFU
software.
The section below describes the procedure to install the driver for the eMotion board
(needed on Windows platforms only) and the DFU software.
2.1
Hardware installation (Windows platforms)
No driver installation is needed on Linux and Mac OS platforms.
To install the STM32 virtual COM port driver on Windows platforms, launch the
“VCPDriver_V1.1_Setup.exe” included in the Windows installation package under the
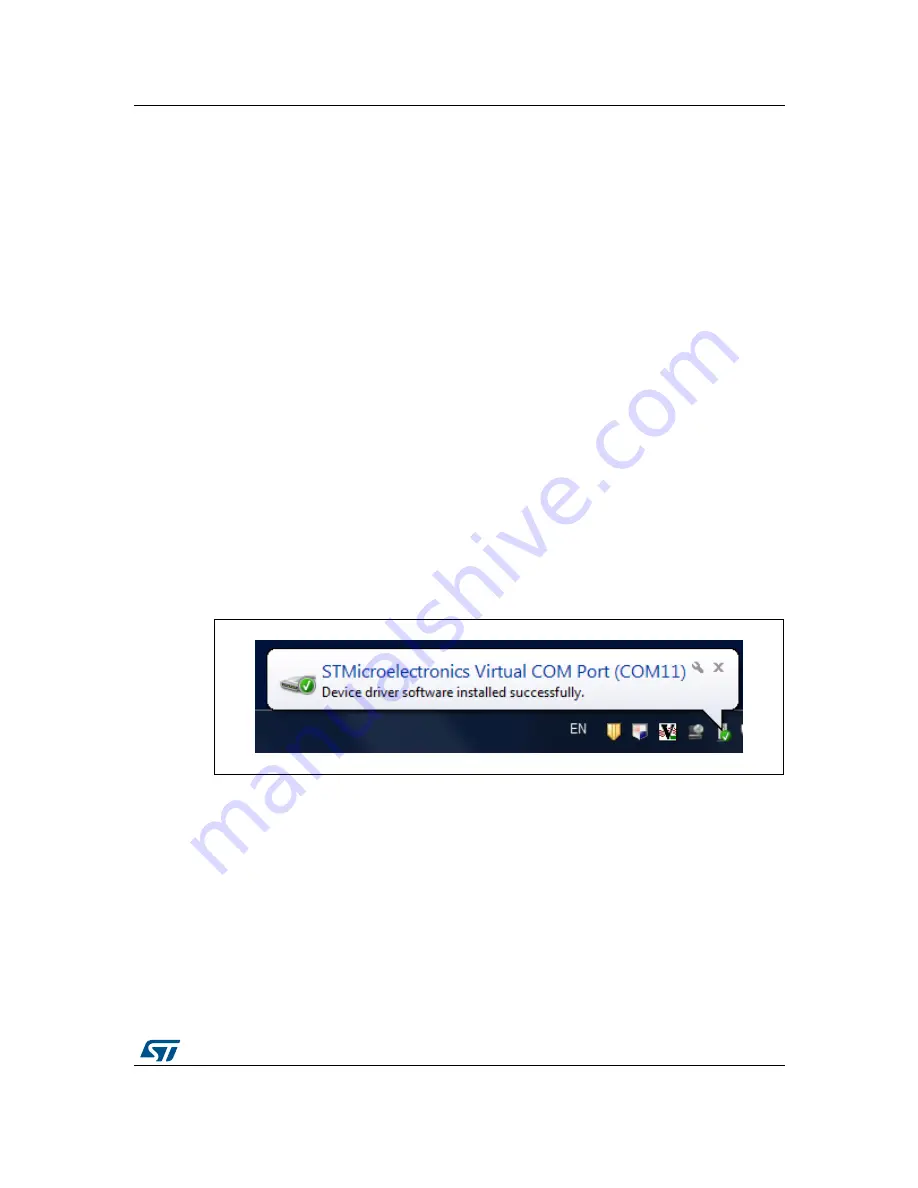
“DRIVER” folder and follow the instructions on the screen. Once the driver is installed, insert
the demonstration kit board into a free USB port. A notification message should appear, as
in
Figure 4
.
Figure 4. Notification message
Now the eMotion should be recognized by the PC as a virtual COM. In order to confirm
which COM port has been assigned to the board, right click on “My Computer” and select
“Manage”, select “Device Manager” and scroll through the list until “Ports (COM & LPT)”. In
the following example (
Figure 5
) the COM11 has been assigned to the board.


