ST A
UDIO
DSP24 ADAT
- 7 -
IV. Hardware installation
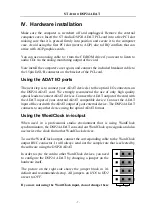
Make sure the computer is switched off and unplugged. Remove the external
computer cover. Insert the ST Audio DSP24 ADAT PCI-card into a free PCI slot
making sure that it is pressed firmly into position and secure it to the computer
case. Avoid using the first PCI slot (next to AGP) due to IRQ conflicts that can
arrise with AGP graphics cards.
You can use an analog cable to / from the CD-ROM drive if you want to listen to
audio CDs via the analog monitoring output of the card.
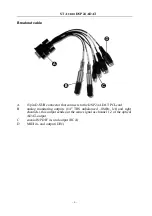
Now install the computer cover again, and connect the included breakout cable to
the 15pin D-SUB connector on the bracket of the PCI-card.
Using the ADAT I/O ports
The next step is to connect your ADAT device(s) to the optical I/O connectors on
the DSP24 ADAT card. We strongly recommend the use of only high quality
optical leads to connect ADAT devices. Connect the ADAT output of the card with
the ADAT input of your external ADAT compatible device. Connect the ADAT
input of the card with the ADAT output of your external device. The DSP24 ADAT
connects to any other device using the optical ADAT format.
Using the WordClock in-/output
When used in a professional studio envrionment that is using WordClock
synchronisation, the DSP24 ADAT can send out WordClock sync signals and also
use/recieve the clock from other WordClock devices.
To use the WordClock output, connect the corresponding cable to the WordClock
output BNC connector. It will always send out the sample rate that is selected by
the software using the DSP24 ADAT.
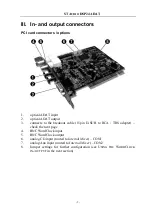
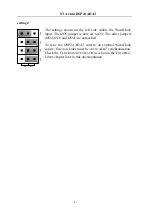
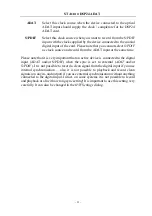
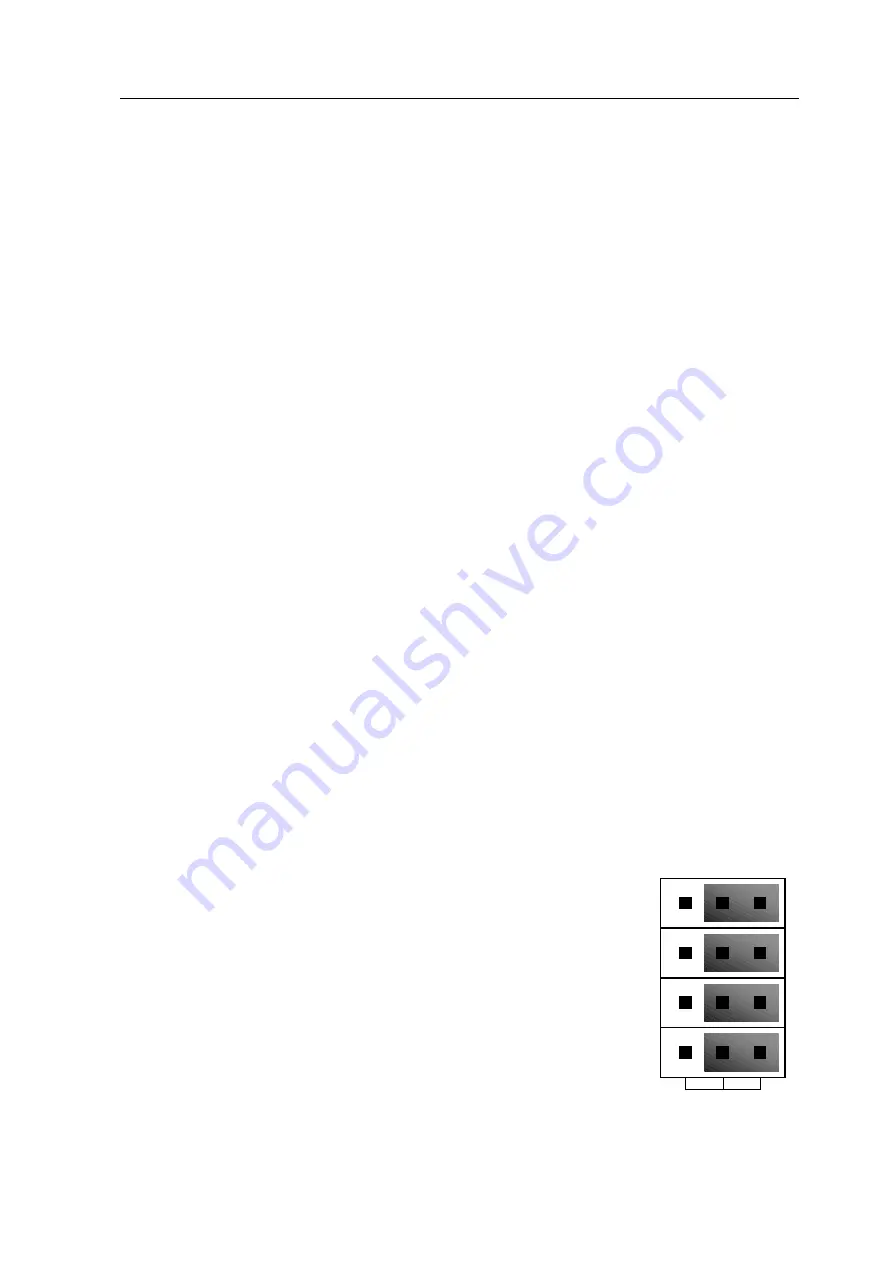
In order to sync the card to other WordClock devices, you need
to configure the DSP24 ADAT by changing a jumper on the
hardware itself.
The picture on the right side shows the jumper block in it's
default and recommended setup. All jumpers on
HD5
to
HD2
are set to
OFF
.
If you are not using the WordClock input, do not change these
ON OFF
HD
2
HD
3
HD4
HD
5


