99
If you use a different web browser
to the Mozilla Firefox, display errors
can occur.
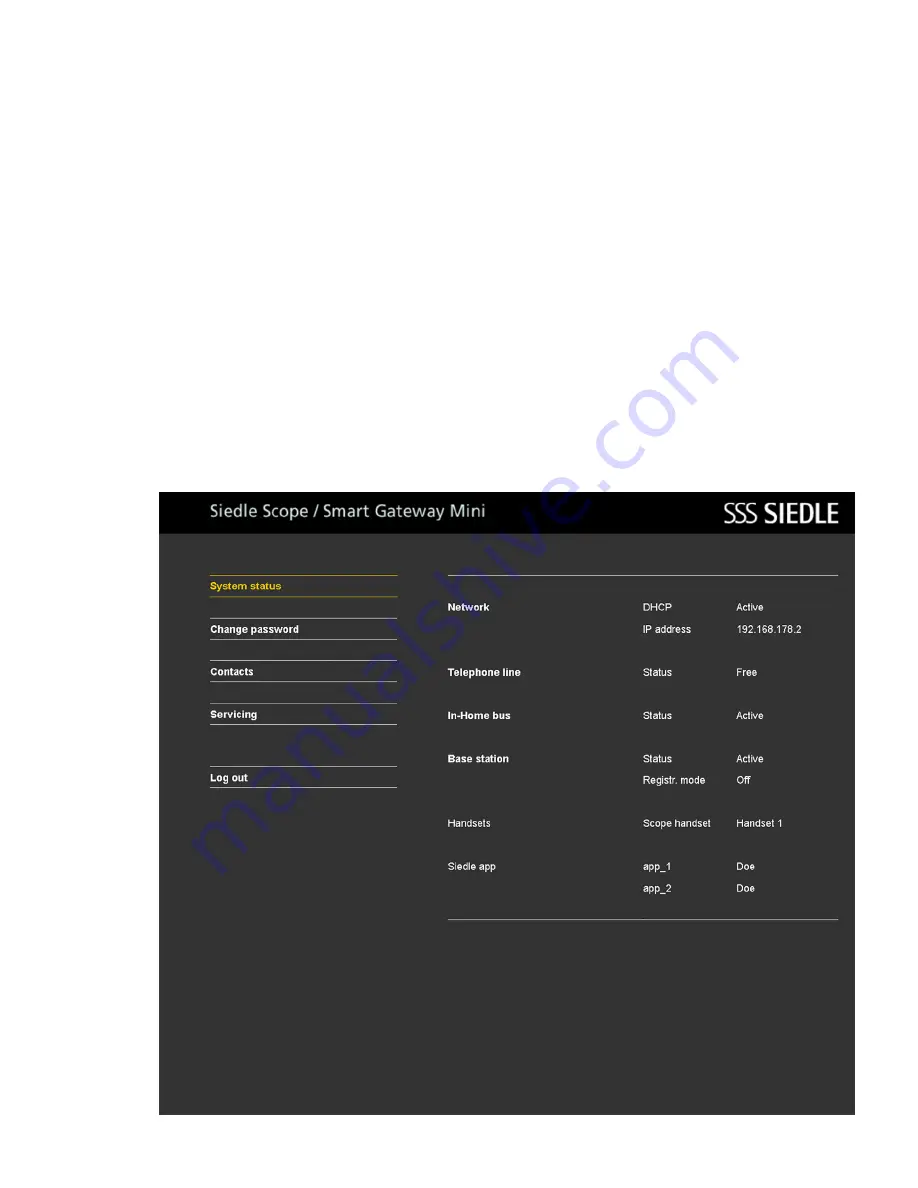
As a
user
, the following
functions
are available to you on the user
interface:
• System status
• Change the password
• Contacts
• Service
Before the next system configura
-
tion steps, you must have logged in
again as administrator:
1 Log in
at the base station
again
as
Administrator
.
2
Enter
the
user name admin
.
3
Enter
the relevant
password
(standard: admin).
4
If applicable,
select
a different
language.
5 Click
on
Log in
.