background image

9

5 Installing the Software onto a Computer

• Installing the software

For Windows® Users: 

PC

  IMPORTANT!


•  Please backup all the necessary data before any driver/software installation.


•  Our CD-Rom is tested and recommended to use under English Window OS.

  IMPORTANT!


•   MAKE SURE YOU INSTALL ALL THE SOFTWARE FROM THE CD SUPPLIED BEFORE YOU CONNECT YOUR CAMERA TO A 

COMPUTER.


•   If the computer request you to insert the Windows set-up CD during the software installation, place the windows CD into 

the computer CD-Rom drive. The computer will install the necessary files from the CD automatically. After the installation 

is complete, remove the Windows set up CD and store safely.

Open & Close

1. Before you begin, close all other software applications open on your computer.

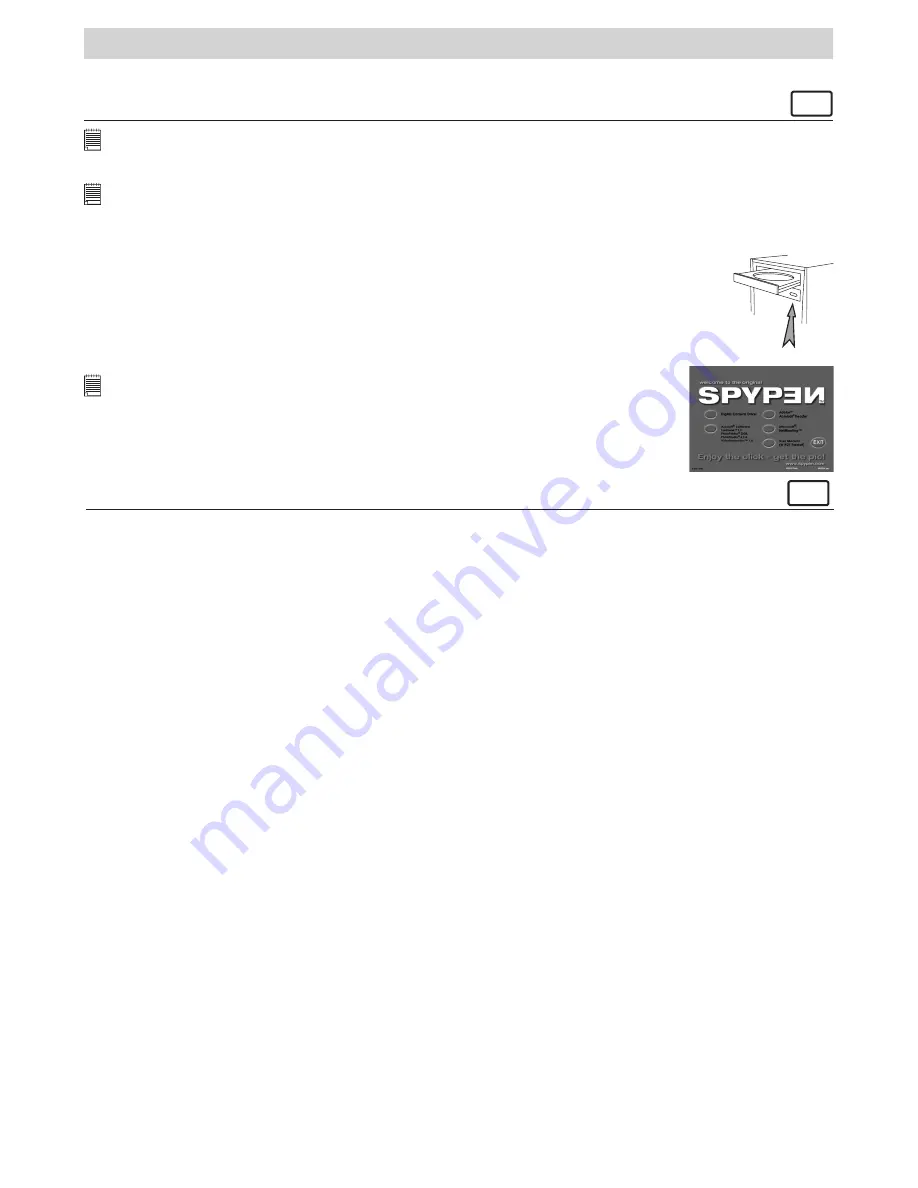
2. Insert the CD supplied into the computer CD-Rom Drive.

3. The CD User Interface Screen will automatically launch.

4. Click  on  each  software  interface  button  in  turn  and  follow  the  on  screen 

instructions.


NOTE:


If the setup screen doesn’t appear after loading the CD, then you can manually start it by double-

clicking the “My Computer” Icon on your desktop, then double-clicking the icon for the CD-Rom 
drive.  When the CD-Rom window opens, double-click the “INSTALL-E.EXE” icon.

For Macintosh® Users: 

MAC

1. Before you begin, close all other software applications opened on your computer.

2. Insert the CD supplied into the computer CD-Rom Drive.

3. Double click the CD-Rom icon “qx.o”.

4. Install the software included.

• Software Included with Your Camera

The Spypen qx.o software CD contains the following software:

qx.o by Spypen Digital Camera Driver 

Plug &Play removable disk

Easy to use, just plug your camera to your computer and use it as a removable drive which will show up as an 

additional drive letter.

PhotoStudio®4.0 

Picture Editing Software

PhotoStudio® 4.0 is a full-featured, easy-to-use digital image-editing program that provides a complete 

set  of  picture  editing  and  retouching  tools,  plus  a  wide  selection  of  special  effects  and  enhancements.  

Its powerful features include a wide variety of input and output options, layers, multiple undo and redo 

functions, image management tools, editable text, multiple file format support and a lot more.

For further help on how to use PhotoStudio® 4.0, go to “Help” to access the Help Topics. 

Visit http://www.arcsoft.com for all your FAQ’s, tips and technical support.  

ArcSoft Funhouse™ 1.0 

Picture Editing Software

ArcSoft Funhouse™ is an image entertainment application that enables users to create “picture fantasies” 

by combining their personal pictures with a wide variety of fantasy backgrounds.  Users can get their own 

images from digital cameras, scanners, disk drives and Picture CDs, and seamlessly combine them with 

just a few clicks of the mouse.  The fantasy backgrounds include fictional characters, classic works of art, 

Olympic heroes, 50’s funnies, bathing beauties, muscle men and a lot more.

For further help on how to use ArcSoft Funhouse™ 1.0, go to “Help” to access the Help Topics.

Visit http://www.arcsoft.com for all your FAQ’s, tips and technical support. 

ArcSoft PhotoPrinter® 2000 

Picture Printing Software

ArcSoft PhotoPrinter® is an easy-to-use printing utility that enables the user to layout and print multiple 

images in different sizes quickly and easily on a single sheet of paper.  The program offers a large selection 

of  printing  templates,  including  Kodak  Digital  Science  Inkjet  Picture  Paper  Templates  and  Avery-brand 

paper products.  It also includes commonly used image-editing tools and a wide selection of templates for 

frames, edges and backgrounds for enhancing images.

For further help on how to use ArcSoft PhotoPrinter™ 2000, click the “?” on the top right hand corner to 

access the Help Topics.

Visit http://www.arcsoft.com for all your FAQ’s, tips and technical support.   

Содержание QX-O

Страница 1: ...User s Manual qx o ...

Страница 2: ... Shutter button 2 Status LED 3 Lens 4 Reset button 5 Viewfinder 6 Cover Front View 1 2 3 6 5 4 1 Viewfinder 2 LCD display 3 Mode button 1 2 3 Rear View 1 USB port 1 Bottom View 1 USB cable Docking Station with USB Cable 1 ...

Страница 3: ...deo Clips 8 5 Installing the Software onto a Computer 9 Installing the software 9 Software Included with Your Camera 9 Computer System Requirements 10 6 Transferring Pictures and Video Clips to a Computer 11 Before Transferring Pictures 11 Connecting to Your Computer 11 Setting the Camera to Mass storage mode or PC mode 11 Transferring the Pictures and Video clips to PC 11 Transferring the Picture...

Страница 4: ...er the Internet to family and friends What can I do with my Video clips Playback Playback video clips on a computer using your system default video application Save Save video clips to the computer memory by Mass Storage interface Communicate Send the video clips over the Internet to family and friends Camera Package Contents qx o The CD Rom includes Digital Camera Driver PC Arcsoft Software Suite...

Страница 5: ...LED turns green until the charging is completed It takes approximately eight hours to fully charge the internal battery the first time after purchase and then approximately 2 to 3 hours for subsequent recharging depending on use The battery should last for thousands of uses but should it ever need to be replaced please visit us at http www spypen com for information on replacement Turning the Came...

Страница 6: ...e High Resolution Picture Quality Camera Status Low Resolution Frequency Other Features Video mode Reset Feature The camera will lock up in the rare situation usually in a very low power situation We have incorporated a Reset button on the front of the camera that allows the camera processor to be reset without loosing any images To use the Reset button simply press and hold the Reset button gentl...

Страница 7: ...Higher resolution and less compression make better quality which occupies more memory space Smaller size pictures with normal quality are easier to email while larger size with fine quality are better for printing To set the picture resolution 1 Open the camera cover then turn on the camera 2 Press the Mode button repeatedly until the icon displays on the LCD display 3 Press the Shutter button to ...

Страница 8: ...de button repeatedly until the icon displays on the LCD display 3 Press the Shutter button to activate this feature and the icon will blink on the LCD display 4 Press the Shutter button again to confirm deleting all pictures 5 The camera will return to Still image mode after deleting all pictures 4 Recording Video Clips Use the Video mode to record video clips You can record video clips without au...

Страница 9: ...tware PhotoStudio 4 0 is a full featured easy to use digital image editing program that provides a complete set of picture editing and retouching tools plus a wide selection of special effects and enhancements Its powerful features include a wide variety of input and output options layers multiple undo and redo functions image management tools editable text multiple file format support and a lot m...

Страница 10: ...ions with friends and family around the world Adobe Acrobat Reader PDF File Reading Software Adobe Acrobat Reader lets you view and print Adobe Portable Document format PDF files on all major computer platforms as well as fill in and submit Adobe PDF forms online Computer System Requirements For acceptable picture transferring and editing we recommend the following minimum requirements For Windows...

Страница 11: ...he camera 2 Set the camera to Mass storage mode 3 Connect the camera to a computer via the USB cable on the Docking station 4 Double click on My Computer icon on your desktop and then you can see a Removable Disk drive 5 Double click Removable Disk double click DCIM double click 100MEDIA 6 All the pictures and video clips are in the 100MEDIA folder Highlight the pictures or video clips and drag th...

Страница 12: ... audio card s external microphone connector Start NetMeeting Note For Windows XP 2000 users who use NetMeeting for the first time Go to Start Run type in conf click OK and then follow the on screen setup instruction to set up NetMeeting 1 Double click the NetMeeting icon on the desktop or select the NetMeeting icon from the Windows Start Menu 2 If you need further help on how to use Microsoft NetM...

Страница 13: ...auto installation file is switched to off or The CD ROM is disconnected Go to the computer desktop Right click on My Computer Click Properties Select Device Manager Double click on CD Rom double click on CD R normally the manufacturer s name Click on Settings Ensure Auto insert notification is ticked and the disconnect is ticked If you change the settings the computer will ask you to restart your ...

Страница 14: ...270 E mail support arcsoft com For China For Japan ArcSoft China Support Center Beijing ArcSoft Japan Support Center Tokyo Tel 8610 6849 1368 Tel 81 03 3834 5256 Fax 8610 6849 1367 Fax 81 03 5816 4730 E mail china arcsoft com Web http www mds2000 co jp arcsoft E mail japan arcsoft com and support mds2000 com For Oceania For Europe Middle East ArcSoft Australian Support Center Africa Rest of the Wo...

Страница 15: ...nnector USB Status Display 3 digits status LCD display Input Output Terminal USB standard Mini B type V1 1 Power Supply USB Port Built in Rechargeable Battery non replaceable Operating System For Windows Users Microsoft Windows 98SE ME 2000 or XP For Macintosh Users Mac OS Version 9 2 X Tips Your Safety Maintenance Your Camera should only be operated within the following environmental conditions 4...

Страница 16: ...and if not installed and used in accordance with the instructions may cause harmful interference to radio communications However there is no guarantee that interference will not occur in a particular installation If this equipment does cause harmful interference to radio or television reception which can be determined by turning the equipment off and on the user is encouraged to try to correct the...

Отзывы: