7
3 Taking and Managing the Pictures
• Taking a Picture
Capture subjects this close to the lens: 4.3 feet to infinity (1.3 m to infinity).
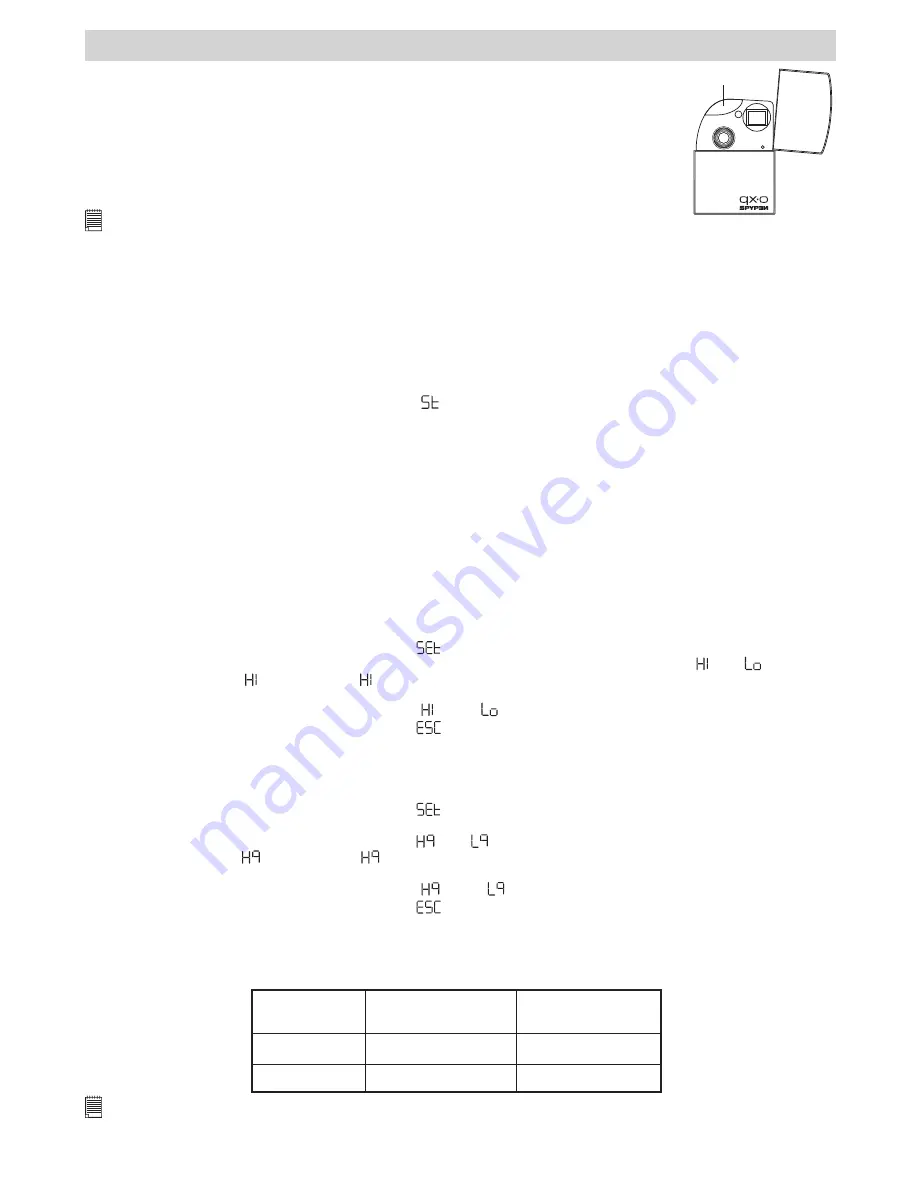
1. Open the camera cover, then turn on the camera.
2. Frame your subject using the camera viewfinder.
3. Press the shutter button to take a picture. A beep will be heard when the
picture has been taken.
Shutter button
NOTE:
• Indoor pictures : Take pictures in a brightly lit room that has a mixture of both sunlight and lamp light. For best results,
take a picture near a large window.
• Outdoor pictures : Take pictures in sunlight or in bright shade. Avoid intense sunlight that may cause sun spots in
pictures. Always make sure that the sun or other light source is behind the person taking the picture.
• Setting Self-timer
Your camera is designed with a self timer function which will allow you to take pictures or self-portraits
with the 10 second built-in timer. For self timer operation, we recommend that you put the camera into the
Docking station and then place on a flat surface.
1. Open the camera cover, then turn on the camera.
2. Press the Mode button repeatedly until the “
” icon displays on the LCD display.
3. Press the Shutter button to take a picture. The camera starts to countdown. The Status LED (on the front
of the camera) and beep sound are synchronized together. The Status LED will blink in red 10 times,
and the beep will sound slowly for 5 seconds, then quickly for 3 seconds and more quickly for 2 seconds
before the picture is taken.
4. The camera will return to Still image mode after taking a picture.
• Setting Picture Resolution and Quality
Picture resolution refers to the number of pixels in a digital picture. Picture quality depends on the JPEG
file compression that the camera applies when the picture is taken. Higher resolution and less compression
make better quality which occupies more memory space. Smaller size pictures with normal quality are
easier to email while larger size with fine quality are better for printing.
To set the picture resolution:
1. Open the camera cover, then turn on the camera.
2. Press the Mode button repeatedly until the “
” icon displays on the LCD display.
3. Press the Shutter button to enter into Set-up mode, and the LCD display will show “ ” or “ ”.
If the camera is in “ ” setting, the “ ” icon will appear on the LCD display when you scroll through the
setting options; and vice versa.
4. Press the Shutter button to switch between “ ” and “ ”.
5. Press the Mode button repeatedly until the “
” icon displays on the LCD display.
6. Press the Shutter to exit to Still image mode.
To set the picture quality:
1. Open the camera cover, then turn on the camera.
2. Press the Mode button repeatedly until the “
” icon displays on the LCD display.
3. Press the Shutter button to enter into Set-up mode.
4. Press the Mode button repeatedly until the “
” or “ ” icon displays on the LCD display.
If the camera is in “
” setting, the “
” icon will appear on the LCD display when you scroll through the
setting options; and vice versa.
5. Press the Shutter button to switch between “
” and “ ”.
6. Press the Mode button repeatedly until the “
” icon displays on the LCD display.
7. Press the Shutter to exit to Still image mode.
Here is the approximate number of pictures you can expect the camera to hold at each setting based on
the 16MB internal memory.
Resolution
High quality pictures
can be taken
Low quality pictures
can be taken
40
140
60
200
High resolution
Low resolution
NOTE:
Scene complexity affects a picture’s file size. For example, the file size of a picture with trees in autumn is larger than
that of the blue sky at the same resolution and quality setting. Therefore, the number of pictures you can store in the
camera internal memory may vary. The number of pictures on the LCD display is for reference only.
Содержание QX-O
Страница 1: ...User s Manual qx o ...


