Sports Art Industrial Co., Ltd. TUV-CERT ISO 9001/9002/14000 Certified Quality Products 2013.08.12
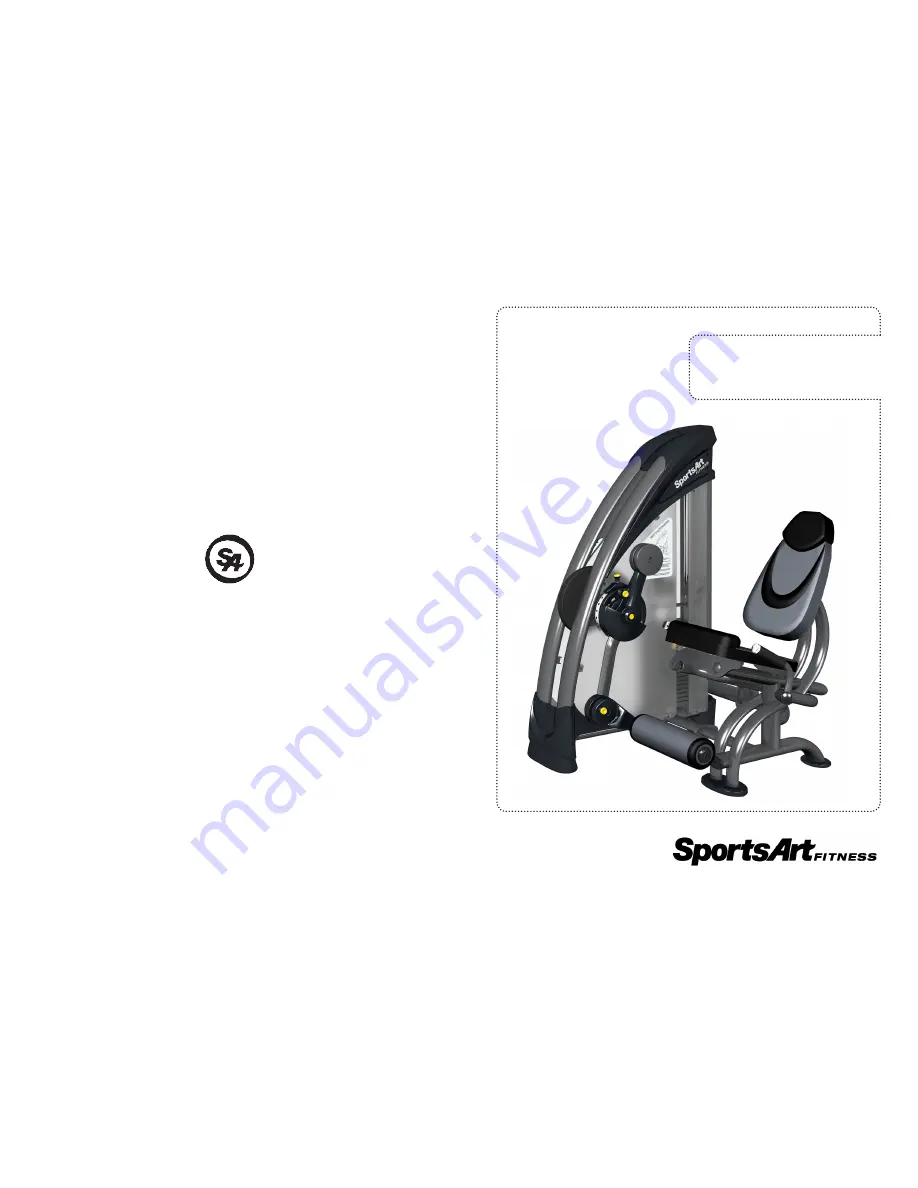
S957 Leg Extension
Owner’s Manual
Страница 1: ...Sports Art Industrial Co Ltd TUV CERT ISO 9001 9002 14000 Certified Quality Products 2013 08 12 S957 Leg Extension Owner s Manual...
Страница 2: ...the Weight Stack Covers 8 STEP 4 Install the Storage Tray Holder 9 STEP 5 Belt Tension Adjustment Instructions 10 STEP 6 Minor Weight Stack Instructions 11 5 OPERATE THE PRODUCT 12 OPERATION Operate t...
Страница 3: ...als and designed for years of reliable performance this product was made for full commercial use Before this product is assembled or operated we recommend that you familiarize yourself with this manua...
Страница 4: ...ay If it is not working properly or has been dropped or damaged contact a service technician for repairs Do not use accessories that are not specifically recommended by the manufacturer Such parts mig...
Страница 5: ...ty A1 Weight Stack Frame 1 A6 Dual 80 Oval Foot Cover A 1 A2 Leg Cushion 1 A7 Dual 80 Oval Foot Cover B 1 A3 Seat Frame 1 A8 118 Oval Foot Cover A 1 A4 Weight Stack Front Cover 1 A9 118 Oval Foot Cove...
Страница 6: ...L shaped Allen wrench 1 M6 Double open end wrench 1 8 17 Double open end wrench 1 17 23 Components on the Product No Name Specification Notes 20 Hex head screws M10 P1 5 L30 Spring washer M10 Washer...
Страница 7: ...correspond to the left and right sides of a person in position to exercise on this product Also for brevity the word screws or nuts is used where washers and other hardware may be involved STEP 1 Ins...
Страница 8: ...connect the rotational connector of the leg cushion A2 to the weight stack frame A1 Use screws 21 to secure the assembly and then cover it with cork cover 10 Note When installing the back cushion mak...
Страница 9: ...inside hanger is hooked to the frame before securing it to the weight stack frame b Attach the oval foot covers A6 A7 A8 A9 onto the weight stack frame A1 legs Align the ends before use push revits 11...
Страница 10: ...rough b to install the storage tray a Locate the position where the storage tray A10 attaches to the weight stack frame A1 then remove the screws 22 from the weight stack frame b Attach the storage tr...
Страница 11: ...ng adjust downward if the belt length is too short adjust upward Adjust the belt to the proper position then tighten nut A to secure the belt length Note After adjusting the belt the gap between nut A...
Страница 12: ...or Weight Stack Instructions To adjust the minor weight stack insert the upper pin to add 3 5Lbs 1 5kgs or the lower pin to add 6 5Lbs 3kgs When the minor weights are not in use pull the pin to releas...
Страница 13: ...adjusting the rotator to the proper initial position for the user Shown in area A b The plate adjusting pin is used for user to adjust the plate to the proper position Shown in area B Make sure the fo...
Страница 14: ...13 OPERATION Operate the Product c To adjust the user s movement range please adjust the rotation positioning pin in area C...
Страница 15: ...ance 1 Please clean and lubricate the guide rod once a week a Use a clean lint free towel to apply the lubricant onto the guide rods b Test the weight stack on the guide rod and make sure the operatio...
Страница 16: ...e belt 2 Belt safety check after a year in use check belt weekly Depend on the use conditions increase the frequency of inspections As shown A a belt B the belt extension During inspection if found cr...
Страница 17: ...tes 1 Exterior Clean 2 Screws Inspect for looseness and secure if necessary 3 Testing To confirm that the machine is working properly 4 Cushions Wipe with a damp cloth 5 Belt Check for damage or wear...
Страница 18: ...ior 2 Inspect all screws Secure if necessary 3 Make sure the machine is working properly 4 Wipe cushions clean with a damp cloth Weekly tasks 1 Check the belt for damage or tear 2 Clean and lubricate...
Страница 19: ...ter 2 Quarter 3 Quarter 4 Completed Yearly Tasks Year 1 Completed Notes __________________________________________________________ ________________________________________________________________ ____...
Страница 20: ...sez ce product uniquement pour l usage pr vu dans ce manuel La limite de poids de l utilisateur pour le produit est de 227 kg 500 lb Ce produit n est pas destin tre utilis par des personnes y compris...
Страница 21: ...20...