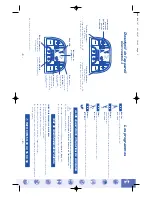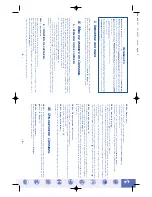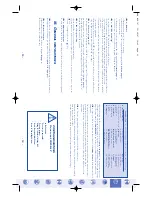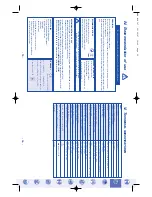
- 13
-
- 14
-
STEP 2 -
Batteries
•
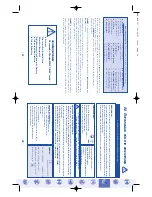
If the batteries are “good”, there is no blinking
.
•
If the batteries are “weak”, two segments (the 6th segment) blink
(scheme page 3)
.
Your device still works
.
•
If the batteries are “used”, two segments (the 10th segment) blink
(scheme page 3)
.
Your device stops, even in the course of a program. Change the batteries
.
STEP 3 -
ON / OFF Switch “
“
•
A shor
t press on the
“”
key puts the device under or off power
.
•
Ever
y time under power
, the device makes an auto-test on 11 essential parameters at the level of the safe-
ty of its operation. During the auto-test segments and pictograms are lit during 0,5 second.
•
If an inter
nal defect in the device is detected, all the pictograms flash. Send back the device to the After
Sale Ser
vice.
•
The auto-test does not take into consideration the used batteries. When the batteries are used the auto-
test cannot be per
for
med.
•
One long press (over 3 sec) on the
“”
key
stirs up the auto-test. In this case, stop the device by pres-
sing the
“”
key and then press shor
tly the
“”
key again
.
STEP 4 -
Choice of a program “P
”
It is enough to make one or several presses on the
“
P
”
key
,
the programs ravel.
The programs are
announ-
ced by pictograms. As soon as a program is selected, corresponding pictogram lights
(see page 3)
.
Once the program is chosen, you can star
t it by increasing the power on the only of power keys
“
+
”.
During the program the key
“
P
” is inactive.
STEP 5 -
End of program - Stop
•
At the end of the session the device stops automatically
.
•
To
stop the device in the course of program, you just have to tur
n 2 power keys to zero or to press the
“”
key
.
•
In case of emergency
, press the
“”
key
.
STEP 6 -
A
djustment the power
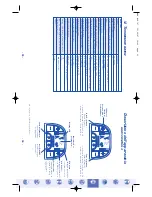
You have 30 levels from 0 to 30 to adjust the power (there are three power levels between two segments)
.
III. G
ENERAL
INSTRUCTIONS
STEP 1 :
Ta
ke the electrodes and remove carefully their protection, dampen them one by one with water on
your finger
tips on the adhesive gel, and wait for 2 minutes
(photo
I - B
/ C page 1)
.
STEP 2 - Electrodes function
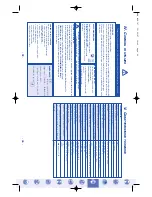
Fit the electrodes on your body as shown in diagram
III page 2
:
Positions are shown for infor
mation only
.
Plug the electrodes into the connectors of the device
(photo I - D page 1)
.
The Body Control 4 consists
of 2 outputs of two 90cm long wires ending in 2 groups of 2 connecting plugs (2 yellow and 2 orange
plugs). Y
ou may attach your
SPORT
-ELEC
®
to the inside of your clothes or under
wear with its clip
.
STEP 3 :
Star
t your device by following the procedure in
“Starting the unit
”
detailed previously in
paragraph II.
The contractions must be firm but never painful. If you feel an unpleasant sensation around electrodes
:
decrease the power to minimum, move the electrodes and gradually increase the power
.
The adjustments being optimized in this way
, let your device work during the full duration of the
programme
.
STEP 4 :
Once the programme has ended, unplug the electrodes of connectors.
Gently remove the electrodes, moisten them slightly with a few drops of water and put them carefully
back to their protection holder
.
Store the electrodes in a plastic bag in a cool place (vegetable compar
tment of a fridge)
.
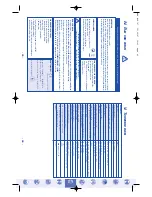
Examples of use :
A = connector channel A (yellow), C = connector channel C (orange)
A -
P
ectoral muscles
1 - Major pectoral
a -
Do not place electrodes in the
hear
t region
b - Hear
t
A -
Shoulders
2 - Middle deltoid
3 - Front
4 - Back
B -
T
rapeziI
5 - Upper trapezius
6 - Middle trapezius
C - Biceps
7 - Biceps longitudinal
8 - Biceps transversal
D/E -
Back and buttocks
9 - Main back muscles
10 - Main gluteal muscles
F/G -
Abdominal muscles
11 - Major oblique
12 - Major longitudinal
H/I -
Legs
13 - Crural biceps
14 - Half tendinous
15 - Outer gemelius
16 - Inner gemelius
J -
Thighs
17 - Major adducents
18 - V
astus inter
nus
19 - Rear longitudinal
20 - V
astus exter
nus
CONTRA-INDICA
TIONS
Do not use
SPORT
-ELEC
®
:
* on the heart area
*
If you carr
y a pacemaker
* If you are pregnant
* during first 6 weeks after baby birth
* In case of neuromuscular diseases
* In case of hemorrhagic diseases
MDE BC4 707 19/09/07 10:42 Page 13


