


27
XR 50
V3.1 | May 02, 2016
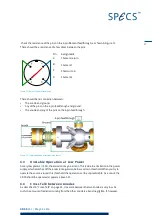
If the new anode has different excitation surfaces to the old anode, note which cor-
responds to anode 1 and anode 2.
A 180° rotation of the anode will still allow operation; however, you need to remember
that Anode 1 and Anode 2 in the UXC 1000 have swapped their properties (this will
also affect your presets).
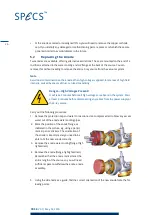
6. Reassemble the source in the reverse order, observing the following points:
Use a new DN40CF copper gasket for the anode flange.
A new copper water sealing ring is supplied for the water seal between the anode and
water flanges. This seal only needs to be water-tight, not a vacuum seal. However, a
water leak will create a short-circuit to ground, causing the power supply to trip.
Tighten the screws until you can no longer see the gap between the flanges.
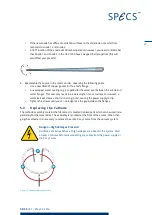
5.3
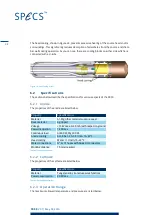
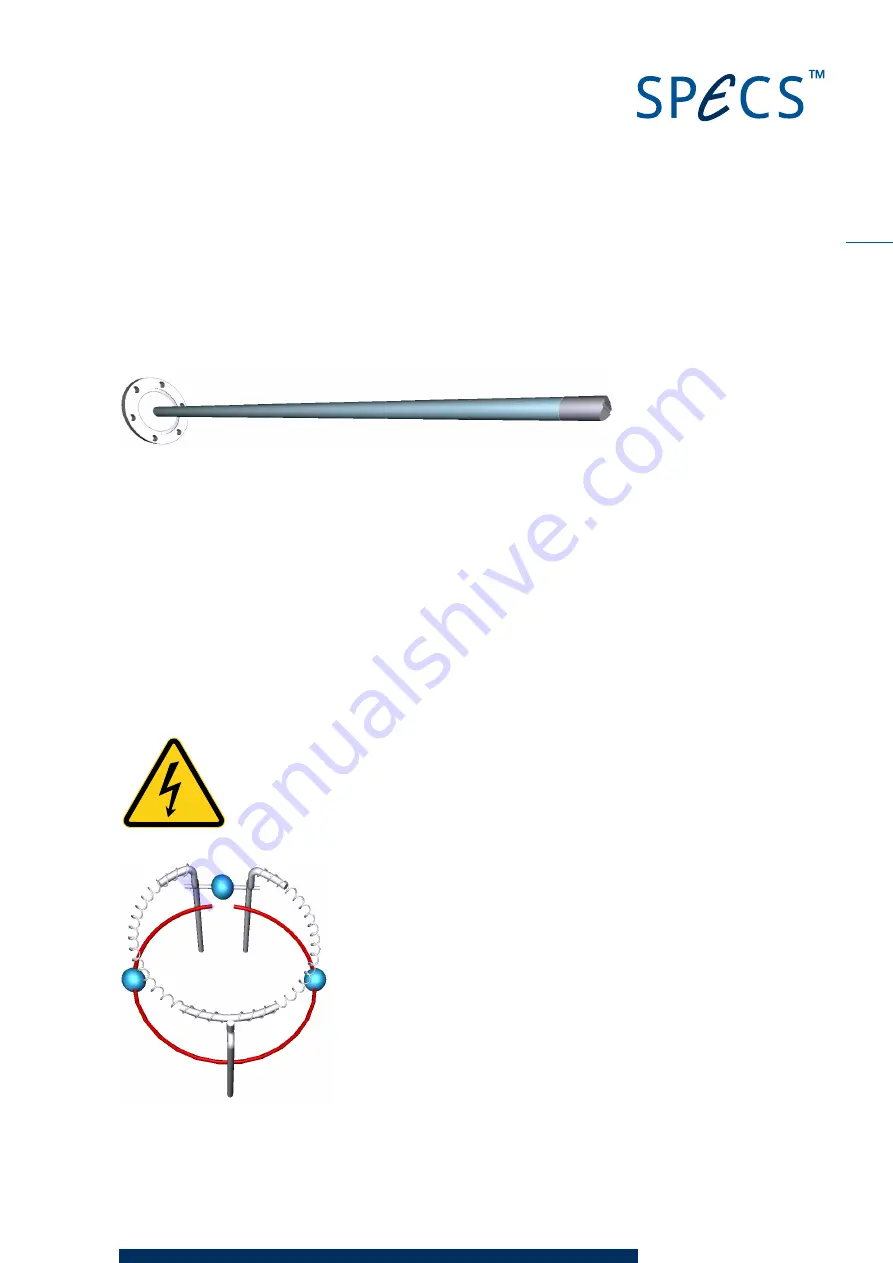
Replacing the Cathode
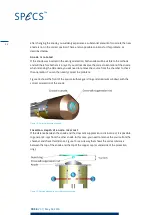
The cathode assembly contains the filament. It is divided into two parts which can be used inde-
pendently for the two anodes. The assembly is mounted at the front of the source. When chan-
ging the cathode, it is necessary to remove the entire X-ray source from the vacuum system.
Danger—High Voltages Present!
It will take 3 minutes before all high voltages are absent in the system. Wait
at least 3 minutes before disconnecting any cables from the power supply or
the X-ray source.
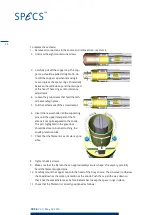
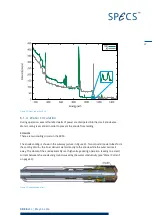
Figure 17: Cathode (filament) assembly
Содержание XR 50
Страница 1: ...XR 50 XR 50 NAP X Ray Source User Manual V3 1 May 02 2016...
Страница 6: ...XR 50 V3 1 May 02 2016 This page intentionally left vi...
Страница 20: ...XR 50 V3 1 May 02 2016 This page intentionally left 14...
Страница 30: ...XR 50 V3 1 May 02 2016 This page intentionally left 24...
Страница 38: ...XR 50 V3 1 May 02 2016 This page intentionally left 32...
Страница 46: ...XR 50 V3 1 May 02 2016 This page intentionally left 40...
Страница 58: ......


