O
peration manual
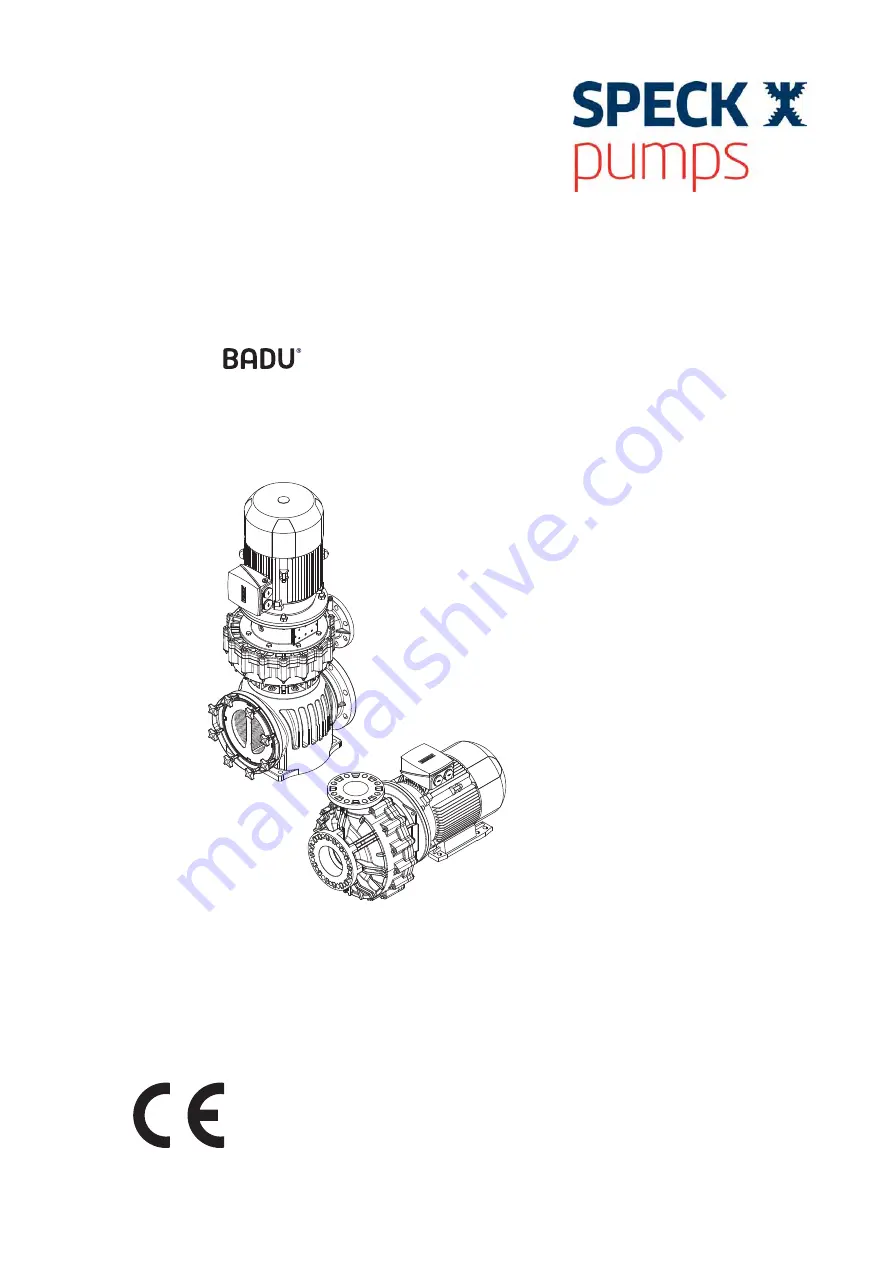
Normblock Multi
Block Multi
65/250, 100/250, & 125/250
VW61.21.030
Страница 1: ...Operation manual Normblock Multi Block Multi 65 250 100 250 125 250 VW61 21 030...
Страница 2: ...o speck pumps com www speck pumps com All rights reserved Contents may not be distributed duplicated edited or transferred to third parties without the written permission of SPECK Pumps This document...
Страница 3: ...and spare parts 10 2 6 Signs 10 2 7 Residual risk 10 2 7 1 Falling parts 10 2 7 2 Rotating parts 11 2 7 3 Stability 11 2 7 4 Electrical energy 11 2 7 5 Hot surfaces 11 2 7 6 Hazardous materials 11 2...
Страница 4: ...nd drainage 21 5 1 3 Ventilation and aeration 21 5 1 4 Structure borne and airborne noise transmission 21 5 1 5 Reserve space 21 5 1 6 Fasteners 21 5 2 Pipes 22 5 2 1 Pipe sizing 22 5 2 2 Laying pipes...
Страница 5: ...bling of the pump unit 36 8 4 1 Preparation 36 8 4 2 Dismantling pump unit 36 8 4 3 Dismantling the motor 37 8 4 4 Dismantling motor unit 37 8 4 5 Dismantling pump housing 37 8 4 6 Dismantling the imp...
Страница 6: ...210 can be found in the exploded drawing Pump Machine with motor Suction line Pipe connected to the suction discharge Declaration of clearance A declaration of clearance is a statement from the custo...
Страница 7: ...all times Pass the manual on to any future owners or operators of the product 1 2 Target group This instruction manual is intended for qualified professionals See point 2 2 on page 9 1 3 Other applic...
Страница 8: ...EN 04 2019 Important information and technical notes are specially marked to explain correct operation Symbol Meaning Instructions for a one step action 1 2 Directions for a multi step action Observe...
Страница 9: ...ating the pump unit without pumped fluid Incorrect installation of the pump unit 2 2 Personnel qualification This unit can be used by persons with limited physical sensory or mental capacity or by peo...
Страница 10: ...ver operate the pump unit without protective covers 2 5 Structural modifications and spare parts Alterations or modifications can affect operational safety Never modify or alter the pump unit without...
Страница 11: ...ble breakage Observe VDE and utility company regulations Build swimming pools and their protection according to DIN VDE 0100 702 Before working on the electrical system take the following measures Dis...
Страница 12: ...forces are exceeded leaks can occur at the screwed connection or the pump itself Do not use the pump as a fixed point for the pipe line Connect pipes free of load and mount them elastically Install co...
Страница 13: ...ts Install a non return valve The use of a frequency converter or a smooth start is recommended in order to rule out pressure surges on the unit side 2 9 6 Blockages in the pump Pieces of dirt in the...
Страница 14: ...afe use of the product Safe use of the product is no longer guaranteed in the following instances If the pipework is not in proper condition If the pump seizes See point 2 8 on page 12 If protective d...
Страница 15: ...raws the swimming pool water in via a shut off valve in the suction line and suction discharge 1 A strainer basket is integrated in the filter housing 4 of the BADU Block Multi which filters out rough...
Страница 16: ...h min 1 H Bj mm m VW61 21 020 1 2 3 4 5 6 7 8 9 Fig 2 1 Serial number 2 Series construction size 3 Material version 4 Flow rate 5 Motor speed 6 Other 7 Impeller diameter 8 Dynamic head 9 Construction...
Страница 17: ...ling protection 681 from the drive lantern Loosen screws 901 3 Push the lock washers 931 into the shaft groove Tighten screws 901 3 4 2 Lifting the pump DANGER Goods being transported can fall and res...
Страница 18: ...Transport and intermediate storage 18 EN 04 2019 VW61 21 027 Fig 3 VW61 21 029 Fig 4...
Страница 19: ...ure which is as constant as possible NOTICE There is a risk of damage to the winding and entry of foreign matter due to open ports Do not remove the port covers until the pipes are ready to be connect...
Страница 20: ...ate storage 20 EN 04 2019 4 4 Returns Drain the pump completely Clean the pump and rinse it with clear water especially with hazardous or risky pumped fluids Complete the declaration of clearance and...
Страница 21: ...pump motor and other system components for example switch cabinets and control units Limitation of the ambient temperature to maximum 40 C 5 1 4 Structure borne and airborne noise transmission Observe...
Страница 22: ...as short and straight as possible Avoid sudden changes to the cross section and direction Lay the suction line below the water level Lay the suction line as follows to prevent air pockets from forming...
Страница 23: ...evation on the foundation must therefore be built for the assembly of the motor feet 5 3 1 Installing the pump and connecting it to the pipework 1 When installing the pump align the pump with the disc...
Страница 24: ...ions must always be carried out by authorised specialists Observe VDE and utility company regulations Install pumps for swimming pools and their protection according to DIN VDE 0100 702 Install a disc...
Страница 25: ...verter or a smooth start is recommended in order to rule out pressure surges on the unit side 5 5 Check the direction of rotation NOTICE Ensure that the pump unit is full of water NOTICE The pump unit...
Страница 26: ...lves may not be closed during the filling procedure 1 Ventilate the pump and suction line and fill with the pumping liquid The Normblock Multi is self ventilating No handles necessary BADU Block Multi...
Страница 27: ...pletely 2 Close or slightly open the valve on the discharge side 3 Switch the pump unit on 4 As soon as the full speed has been reached open the valve on the discharge side completely and set the oper...
Страница 28: ...tomer components must be renewed 6 2 1 Pump unit remains assembled Switch the pump unit on regularly monthly to quarterly during long idle periods Switch the pump back off again after approx 5 minutes...
Страница 29: ...se Solutions Dynamic head lower than that indicated in the order Set operating point exactly For constant overload turn the impeller further enquiry required Higher density of the pumping liquid than...
Страница 30: ...oo low Correct the fluid level Install pump lower Completely open shut off valve in the intake line If the resistance is too large modify the intake line Check suction basket suction opening Observe t...
Страница 31: ...impeller Flow rate too low Increase minimum flow rate Fault Unauthorised increase in pump temperature Possible cause Solution Pump and pipes not completely ventilated or filled Ventilate pump Fill pu...
Страница 32: ...eal is worn or damaged Replace mechanical seal Damage during disassembly Replace mechanical seal Pump is loud Improve suction conditions Adjust pump unit Increase the pressure on the suction discharge...
Страница 33: ...on opening Observe the permitted pressure reduction speed Wear of components Replace components Dynamic head lower than that indicated in the order Set operating point exactly For constant overload tu...
Страница 34: ...dditional connections Guarantee operational readiness of reserve pumps Operate them once a week 8 2 Maintenance work NOTICE Before maintenance work close all shut off valves and drain all pipes When W...
Страница 35: ...arly in tablet form into the strainer basket NOTICE Tightening the lid too tight will make it difficult to re open the lid Only apply normal manual force 9 Replace and tighten the lid 160 10 Open the...
Страница 36: ...ous components from the shaft can be difficult following longer operation times Either use suitable extractor devices or commercial rust disolvers 8 4 1 Preparation 1 Switch the pump off and secure it...
Страница 37: ...hten the hexagon screws 901 3 7 Loosen the hexagon socket screws 914 1 8 Loosen the nuts 920 5 on the motor flange 9 Lift off the motor 800 8 4 4 Dismantling motor unit 1 Hang or support the motor uni...
Страница 38: ...Loosen the impeller nut 922 with the inserted o ring 412 4 4 Remove the impeller 230 Place the impeller on a clean and level surface 5 Remove the shaft key 940 from the shaft key nut 6 Remove the rot...
Страница 39: ...emble the rotating insert in the mechanical seal 433 on the impeller hub 8 5 3 Assembling impeller 1 Insert shaft key 940 into shaft key nut 2 Push the impeller 230 onto the shaft 210 3 Hold the pump...
Страница 40: ...See Fig 7 on page 40 2 Tighten the hexagon socket screw 914 1 3 Loosen the hexagon screw 901 3 4 Pull both lockwashers 931 completely out of the shaft nut See Fig 8 on page 40 5 Tighten the hexagon sc...
Страница 41: ...Maintenance 04 2019 EN 41 8 6 Screw torque Fig 9 W Torque at the flange connection 15 Nm Fig 10 X Only fasten handtight Y Rubber seal 60 Shore A...
Страница 42: ...livery address Shipping method The description and position number can be found on the exploded drawing or spare parts list See point 10 3 on page 54 8 8 Warranty The warranty includes the devices del...
Страница 43: ...ccording to the regulations At the end of its service life the pump unit or individual components must be disposed of correctly Disposal in the household waste is not permitted Dispose of the packagin...
Страница 44: ...ical data 44 EN 04 2019 10 Technical data 10 1 Dimensional drawing Normblock Multi L 140 w G1 4 D1 G 1 4 Sa G 1 4 x s a1 a2 e h1 h y 230 280 b f 214 244 Da d 2 Sa Da VD61 21 006 P DN k D d 2 DN k D Fi...
Страница 45: ...h1 12 12 15 15 r 208 208 208 208 s 12 12 12 12 t 250 250 250 250 u 209 209 209 209 v 100 100 100 100 w 183 5 183 5 203 5 203 5 x 246 5 253 5 292 5 292 5 y 265 288 334 334 z 208 208 208 208 D1 250 250...
Страница 46: ...132 160 h1 15 15 18 r 244 244 244 s 12 12 15 t 280 280 280 u 230 230 230 v 140 140 140 w 201 5 201 5 231 5 x 290 5 290 5 339 5 y 334 334 396 5 z 214 214 214 D1 300 300 350 L 777 777 866 Weight kg 102...
Страница 47: ...308 4 308 4 308 4 308 4 s 15 15 15 15 t 355 355 355 355 u 286 1 286 1 286 1 286 1 v 140 140 140 140 w 259 5 259 5 259 5 259 5 x 367 5 367 5 380 5 380 5 y 396 5 396 5 466 466 z 262 5 262 5 262 5 262 5...
Страница 48: ...Technical data 48 EN 04 2019 BADU Block Multi Fig 12...
Страница 49: ...14 p 400 400 400 400 q 214 214 214 214 r 223 223 223 223 t 250 250 250 250 u 203 203 203 203 v 227 227 227 227 w 183 5 183 5 203 5 203 5 y 165 176 202 202 z 128 128 128 128 L 909 892 5 993 5 993 5 D1...
Страница 50: ...19 19 19 p 400 400 400 q 265 265 265 r 259 259 259 t 280 280 280 u 235 235 235 v 3012 302 302 w 201 5 201 5 231 5 y 202 202 235 5 z 175 175 175 L 1114 1114 1203 D1 300 300 350 D2 262 262 314 Weight kg...
Страница 51: ...400 400 400 400 q 265 265 265 265 r 259 259 259 259 t 355 355 355 355 u 235 235 235 235 v 302 302 302 302 w 259 5 259 5 259 5 259 5 y 236 5 236 5 286 286 z 175 175 175 175 L 1230 5 1290 5 1294 5 1324...
Страница 52: ...5 10 20 30 40 50 60 70 80 90 100 0 250 500 750 1000 1250 1500 1750 2000 2250 2500 TOTAL HEAD IN FEET U S GALLONS PER MINUTE C B A F E D D 125 250 235mm 20 HP S F 1 25 E 125 250 245mm 25 HP S F 1 15 F...
Страница 53: ...0 RPM A Normblock Multi 65 250 225mm 7 5 HP S F 1 25 B Normblock Multi 65 250 240mm 10 0 HP S F 1 25 C Normblock Multi 100 250 220mm 15 0 HP S F 1 25 D Normblock Multi 100 250 240mm 20 0 HP S F 1 25 E...
Страница 54: ...20 6 412 2 903 4 903 3 412 3 902 10 925 160 143 410 124 412 5 800 901 2 554 2 914 1 940 412 1 901 3 931 901 1 554 412 4 903 412 2 412 2 903 920 5 902 5 341 914 681 515 210 901 554 903 412 2 161 433 41...
Страница 55: ...USING PUMP SHAFT CPL IMPELLER 65 250 7 5 HP 225mm IMPELLER 65 250 10 0 HP 240mm MOTOR LANTERN CPL BG 132 GASKET NBR O RING 355 x 5mm NBR O RING 12 x 2 5mm NBR O RING 24 x 3 5mm NBR O RING 31 5 X 2 5mm...
Страница 56: ...0 6 412 2 903 4 903 3 412 3 902 10 925 160 143 410 124 412 5 800 901 2 554 2 914 1 940 412 1 901 3 931 901 1 554 412 4 903 412 2 412 2 903 920 5 902 5 341 914 681 515 210 901 554 903 412 2 161 433 412...
Страница 57: ...R BASKET PLASTIC LID SEAL HOUSING PUMP SHAFT CPL IMPELLER 15 0 HP 220mm IMPELLER 20 0 HP 240mm MOTOR LANTERN CPL BG 132 GASKET NBR O RING 375 x 5mm NBR O RING 12 x 2 5mm NBR O RING 37 5 x 2 65mm NBR M...
Страница 58: ...ulti 125 250 902 4 550 920 6 412 2 903 4 903 3 412 3 902 10 925 160 143 410 124 412 5 800 901 2 554 2 914 1 940 412 1 901 3 931 901 1 554 412 4 903 412 2 412 2 903 920 5 902 5 341 914 681 515 210 901...
Страница 59: ...RAINER BASKET PLASTIC LID SEAL HOUSING PUMP SHAFT CPL PUMP SHAFT CPL IMPELLER 20 0 HP 235mm IMPELLER 25 0 HP 245mm IMPELLER 30 0 HP 255mm MOTOR LANTERN CPL BG 132 GASKET NBR GASKET SEAL HOUSING 440 x...
Страница 60: ...4 2019 10 3 Exploded View Normblock Multi 65 250 412 433 230 922 101 412 2 903 554 920 903 412 2 412 2 903 412 4 901 1 554 931 901 3 940 914 1 901 2 554 2 800 920 5 902 5 341 681 914 901 554 210 515 9...
Страница 61: ...5 HP 225mm IMPELLER 10 0 HP 240mm MOTOR LANTERN CPL BG 132 O RING 355 x 5mm NBR O RING 12 x 2 5mm NBR O RING 31 5 X 2 5mm MECHANICAL SEAL 32mm CPL CARBON SiC EPDM MECHANICAL SEAL 32mm CPL SiC SiC EPD...
Страница 62: ...2019 10 3 Exploded View Normblock Multi 100 250 412 433 230 922 101 412 2 903 554 920 903 412 2 412 2 903 412 4 901 1 554 931 901 3 940 914 1 901 2 554 2 800 920 5 902 5 341 681 914 901 554 210 515 9...
Страница 63: ...554 2 681 901 901 1 901 2 901 3 902 5 903 914 920 920 5 922 940 940 NOT SHOWN 1 1 1 1 1 1 1 4 1 1 1 1 31 8 2 13 15 1 8 2 4 4 4 13 15 4 1 1 1 1 CASING CPL SEAL HOUSING PUMP SHAFT CPL IMPELLER 100 250 1...
Страница 64: ...2019 10 3 Exploded View Normblock Multi 100 250 412 433 230 922 101 412 2 903 554 920 903 412 2 412 2 903 412 4 901 1 554 931 901 3 940 914 1 901 2 554 2 800 920 5 902 5 341 681 914 901 554 210 515 9...
Страница 65: ...IMPELLER 25 0 HP 245mm IMPELLER 30 0 HP 255mm MOTOR LANTERN CPL BG 132 GASKET SEAL HOUSING 440 x 6mm NBR O RING 30 x 2mm NBR O RING 12 x 2 5mm NBR O RING 117 x 4mm NBR MECHANICAL SEAL 45mm CPL CARBON...
Страница 66: ...8 Disposal 45 E Electrical connection 26 F Faults 12 31 Frost 14 I Installation 23 25 Intended use 9 M Maintenance 36 Mechanical seal 31 misuse 9 O Other applicable documents 7 P pipe 12 24 25 S Spare...