


The RTK Surveyor can be used with little or no configuration. The following information is for advanced setups
including advanced survey-in scenarios and post processing RAWX data.
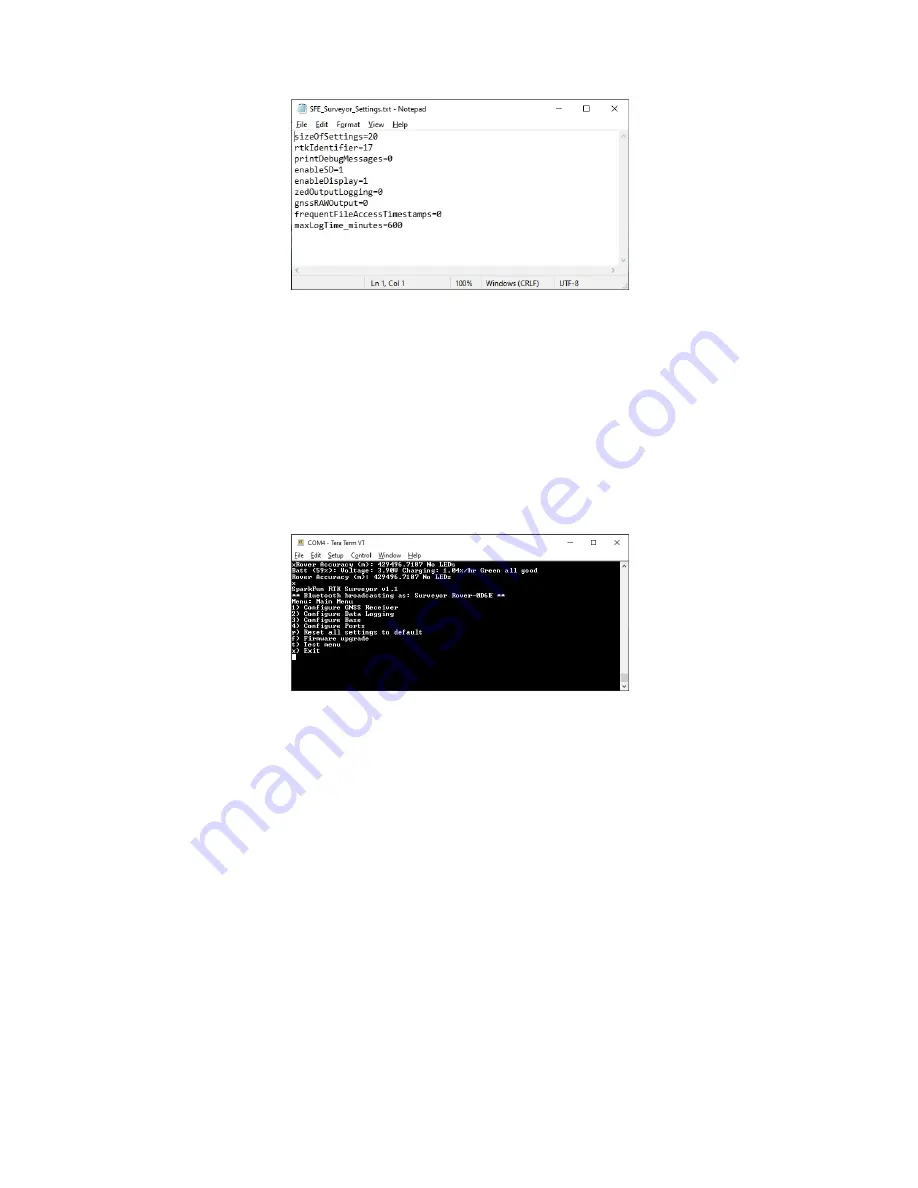
SparkFun RTK Surveyor Settings File
Note: All system configuration can also be done by editing the
SFE_Surveyor_Settings.txt
file (shown above) that
is created when a microSD card is installed. The settings are clear text but it is safer and more straightforward to
use the serial terminal interface.
Main Menu
To configure the RTK Surveyor attach a USB C cable to the
Configure ESP32
connector. Open a terminal window
at 115200bps; you should see various status messages every second. Press any key to open the configuration
menu. Not sure how to use a terminal? Checkout our Serial Terminal Basics tutorial.
Terminal showing menu
Pressing any button will display the Main menu. The Main menu will display the Bluetooth broadcast name. This
can be helpful when multiple RTK Surveyors are in the vicinity and it’s not clear which device to connect to. Note:
When powered on, the RTK Surveyor will broadcast itself as either
Surveyor Rover-XXXX
or
Surveyor Base-XXXX
depending on the position of the SETUP switch.
The menus will timeout after 15 seconds of inactivity, so if you do not press a key the RTK Surveyor will return to
reporting status messages after 15 seconds.
Configure GNSS Receiver
Pressing 1 will bring up the GNSS Receiver configuration menu. The ZED-F9P is immensely configurable. The
RTK Surveyor will, by default, put the ZED-F9P into the most common configuration for rover/base RTK for use
with SW Maps. The GNSS Receiver menu allows a user to enable/disable various sentences and options for the
ZED-F9P:


