


SY-6KE Quick Start Guide
10
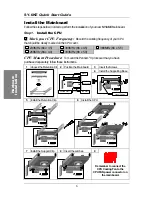
Hardware Installation
Step 6.
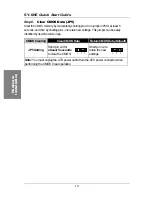
Clear CMOS Data (JP5)
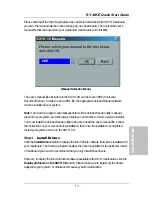
Clear the CMOS memory by momentarily shorting pin 2-3 on jumper JP5 for at least 5
seconds, and then by shorting pin 1-2 to retain new settings. This jumper can be easily
identified by its white colored cap.
CMOS Clearing
Clear CMOS Data
Retain CMOS Data (Default)
JP5 Setting
Short pin 2-3 for
at least 5 seconds
to clear the CMOS.
Short pin 1-2 to
retain the new
settings.
Note: You must unplug the ATX power cable from the ATX power connector when
performing the CMOS Clear operation.
3
2
1
3
2
1


