34
34
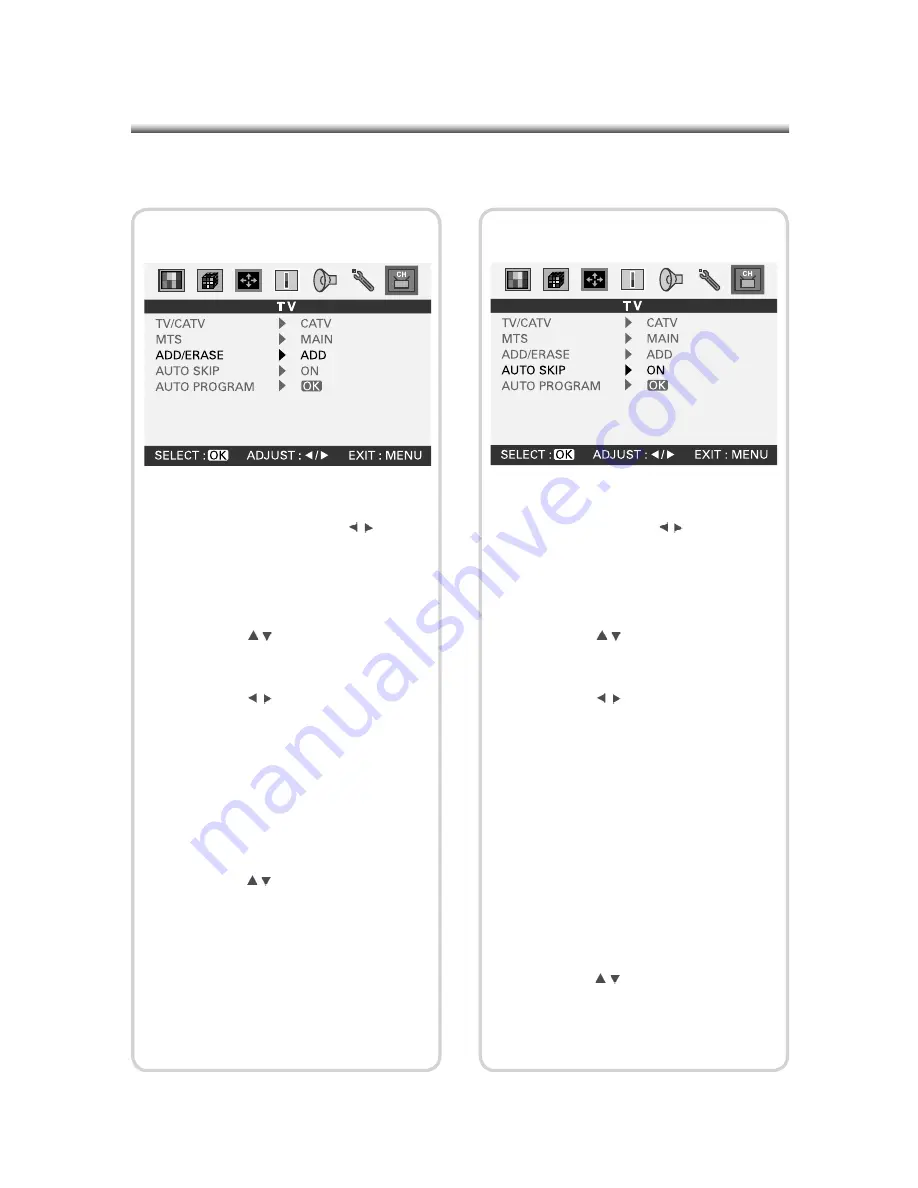
(1) Press the (MENU) button on the Panel
or on the Remote Control to enter the
Main Menu and press the( ) button
on the Remote Control or (-VOL+) on the
panel to select “TV” settings.
(2) Press the (OK) button to enter “TV” set-
tings.
(3) Press the ( ) button on the Remote
Control or (-PROG+) on the panel to
select the “ADD/ERASE” option.
(4) Press the ( ) button on the Remote
Control or (-VOL+) on the panel to turn
the channel On or Off. If set to On, this
channel will be added into the memory;
if set to Off, this channel will be erased
from the memory. By default, each chan-
nel is preset to On and added into the
memory.
(5) To continue setting other “TV” sub-items,
press the ( ) button on the Remote
Control or (-PROG+) on the panel to
select the desired option. After setting
is complete, press the (MENU) button to
return to the Main Menu.
7-3 ADD/ERASE Settings
(1) Press the (MENU) button on the Panel or
on the Remote Control to enter the Main
Menu and press the ( ) button on the
Remote Control or (-VOL+) on the panel
to select “TV” settings.
(2) Press the (OK) button to enter “TV” set-
tings.
(3) Press the ( ) button on the Remote
Control or (-PROG+) on the panel to
select the “AUTO SKIP” option.
(4) Press the ( ) button on the Remote
Control or (-VOL+) on the panel to turn
the Auto Skip function On or Off. You
must perform the Add/Erase or Auto
Program function once to enhance the
Auto Skip function. If set to On, pressing
the (-PROG+) button will only select the
channels in the memory. When set to
Off, pressing the (-PROG+) button will
select every channel. You can press the
numeric buttons to select any channel
directly; this is irrelevant to the Auto Skip
settings.
(5) To continue setting other “TV” sub-items,
press the ( ) button on the Remote
Control or (-PROG+) on the panel to
select the desired option. After setting
is complete, press the (MENU) button to
return to the Main Menu.
7-4 Auto Skip


